Set Up a MacBook for Qemu with Bridged Network
Note: This is part of a series. Make sure you started here: Building a Portable Kubernetes Home Lab with OpenShift - OKD4
Let’s set up a MacBook to run the OpenShift Bootstrap node.
-
Install Qemu and some dev tools.
Note: You will likely have to install Xcode CLI tools.
brew install qemu autoconf automake wolfssl -
Plug in your USB-C network adapter and identify the device:
-
Run this to list all of your devices:
networksetup -listallhardwareports -
Look for the USB entry:
Mine looked like this:
Hardware Port: USB 10/100/1G/2.5G LAN Device: en6 Ethernet Address: 00:e0:4c:84:ca:aa -
Note the
Devicename, and set a variable:export BOOTSTRAP_BRIDGE=en6
-
-
Set your WiFi to be the primary internet link:
-
Click on the wifi icon in the top right of your screen.
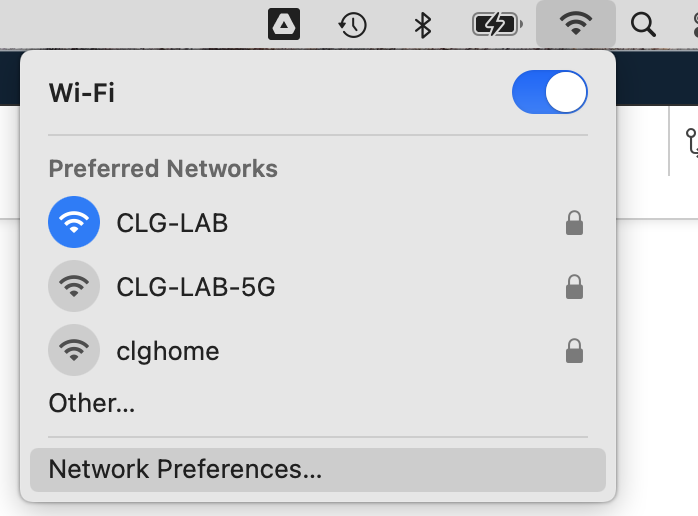
-
In the bottom left of the pop up, select the menu dropdown and click on
Set Service Order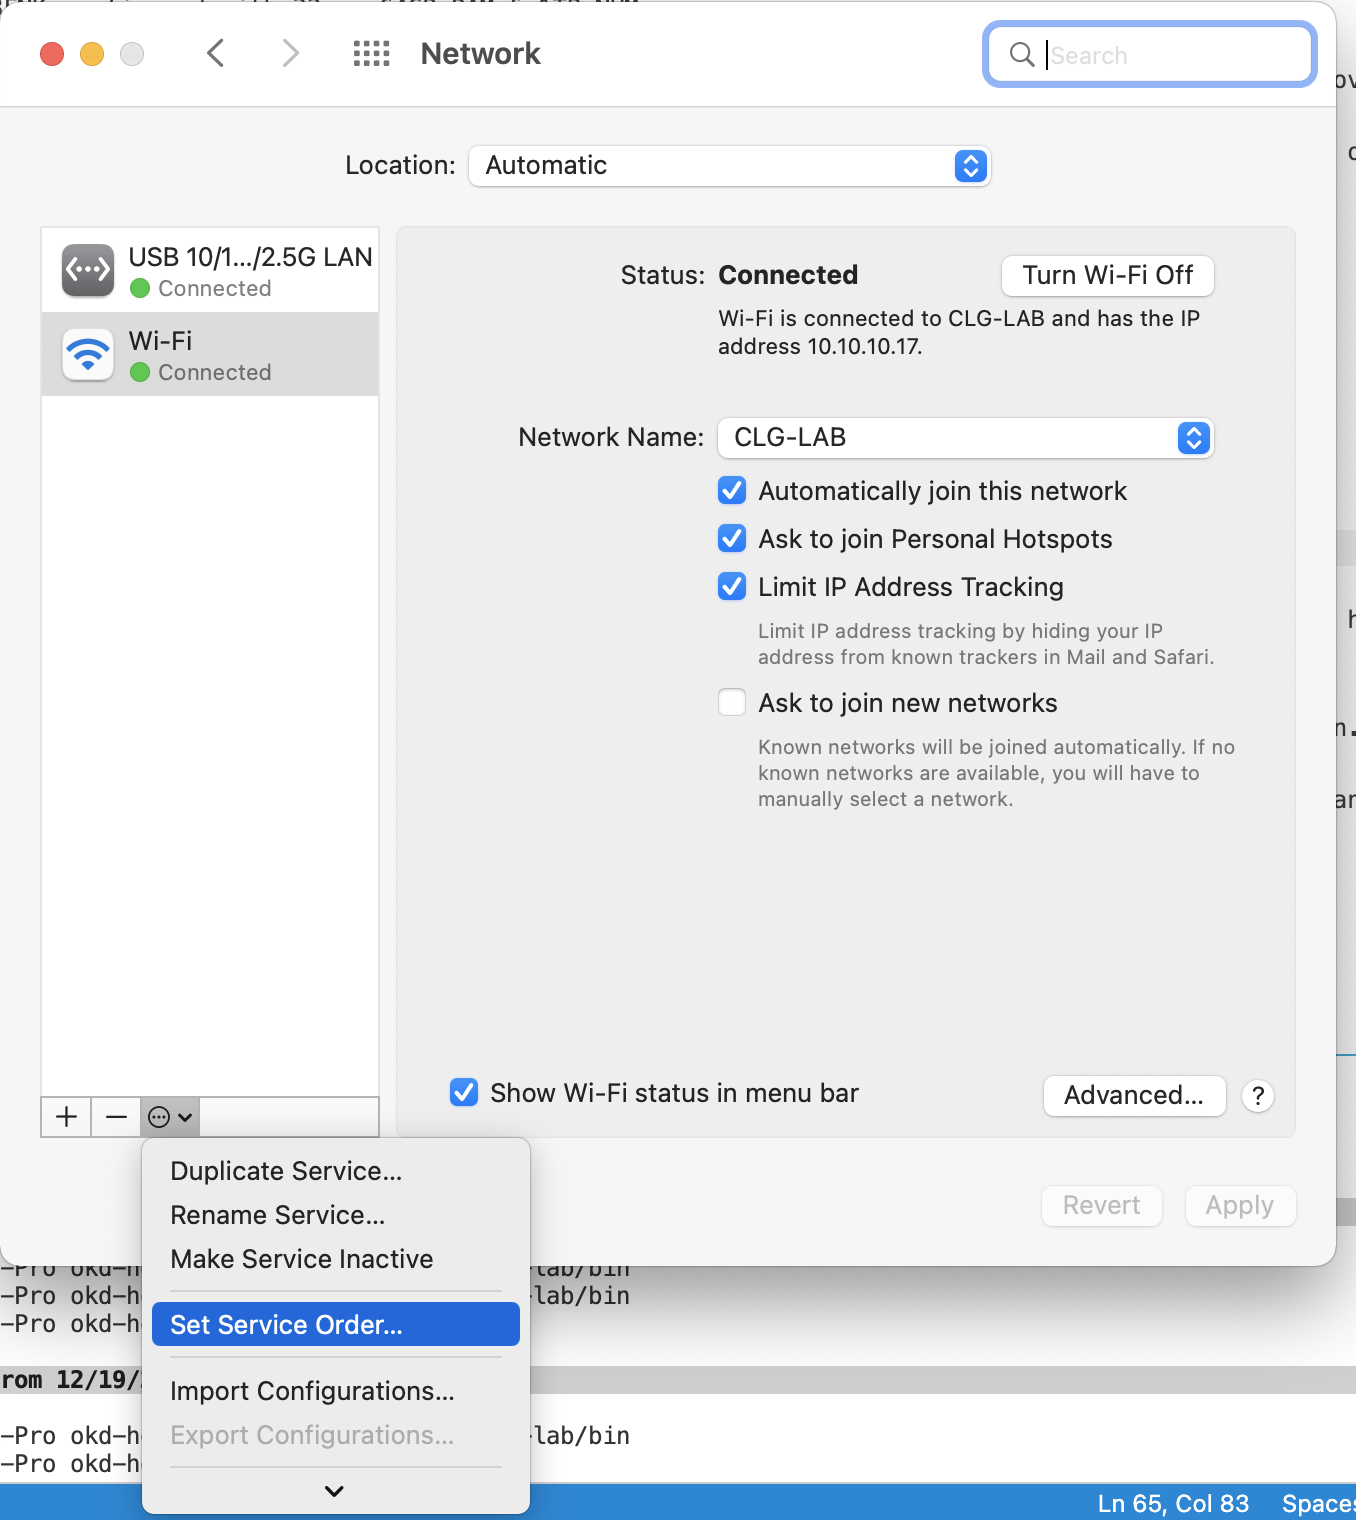
-
Drag
WiFito the top.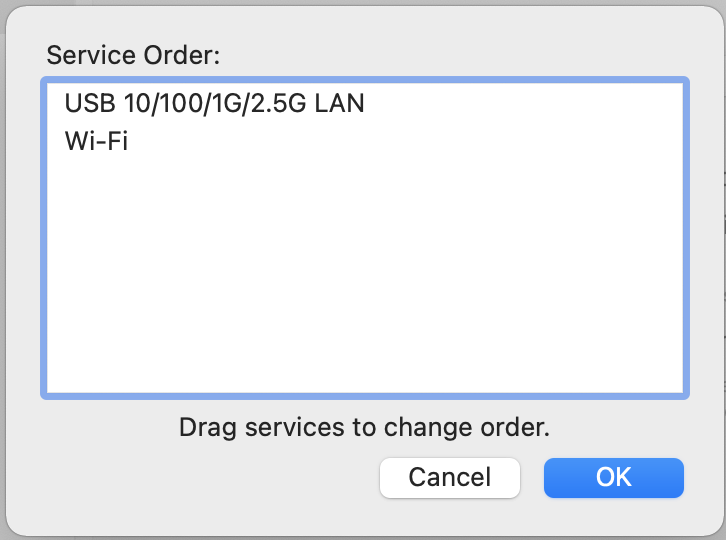
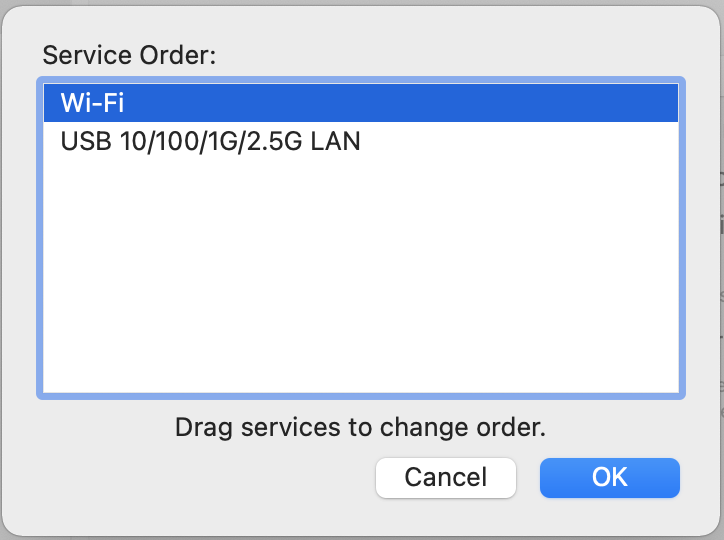
-
Click
OKthen clickApply
-
-
Now, install VDE for bridged networking:
mkdir -p ${OKD_LAB_PATH}/work-dir cd ${OKD_LAB_PATH}/work-dir git clone https://github.com/virtualsquare/vde-2.git cd vde-2 autoreconf -fis ./configure --prefix=/opt/vde make sudo make install -
Finally, set up the network bridge device:
cd ${OKD_LAB_PATH}/work-dir
git clone https://github.com/lima-vm/vde_vmnet
cd vde_vmnet
make PREFIX=/opt/vde
sudo make PREFIX=/opt/vde install
sudo make install BRIDGED=${BOOTSTRAP_BRIDGE}
Resetting The Bridge Device
It will be necessary to reset the bridge device from time to time after a reboot, or unplugging the NIC.
labcli --reset-nic