Quarkus for Architects who Sometimes Write Code - Introduction
WIP - Moving from Blog Posts with minor refactoring
So… I have written a few applications over the course of my career in IT. But, I’ve never been a “real” Software Engineer. That is to say, I’ve never been a coder on an application delivery team. You can likely tell from the content of this blog, that I am more of a platform guy than a developer. As I made the transition from platform engineer to architect, the code that I wrote was mainly for prototyping and teaching. But, I find that knowing the principles of software engineering and design as well as platforms and security has been a huge help in my various roles as an enterprise architect. It has given me a level of empathy for the Dev, Sec, & Ops roles that I would not otherwise have had.
I’m a huge fan of the Quarkus Java Framework. Check it out here: https://quarkus.io It’s a Java framework for Kubernetes native apps. If you are familiar with Spring Boot, you’ll find a lot to like about Quarkus.
Note: I am assuming in this series that you are at least somewhat familiar with the Java programming language.
In this first section, we are going to set up our dev tools and create a simple Quarkus project.
Set Up Your Dev Environment
Follow the instructions here: Quarkus for Architects who Sometimes Write Code - Setup
Now, Let’s write some code
In this first project were going to write a very basic application. No TLS. No authentication. just a very basic app.
We’ll get familiar with the tooling and processes.
Explore the Quarkus CLI and Dev tooling
Let’s stand up a very basic Quarkus application.
cd ${HOME}/okd-lab/quarkus-projects
quarkus create
You should see output similar to:
Creating an app (default project type, see --help).
Looking for the newly published extensions in registry.quarkus.io
-----------

applying codestarts...
📚  java
🔨  maven
📦  quarkus
📝  config-properties
🔧  dockerfiles
🔧  maven-wrapper
🚀  resteasy-reactive-codestart

-----------
[SUCCESS] ✅  quarkus project has been successfully generated in:
--> /Users/charrogruver/okd-lab/quarkus/code-with-quarkus
-----------
Navigate into this directory and get started: quarkus dev
Take a look at what just happened!
The quarkus cli abstracts away a lot of the drudgery of setting up a new project.
Go explore the project that was created in ${HOME}/okd-lab/quarkus-projects/code-with-quarkus
.
├── README.md
├── mvnw
├── mvnw.cmd
├── pom.xml
└── src
    ├── main
    │   ├── docker
    │   │   ├── Dockerfile.jvm
    │   │   ├── Dockerfile.legacy-jar
    │   │   ├── Dockerfile.native
    │   │   └── Dockerfile.native-micro
    │   ├── java
    │   │   └── org
    │   │       └── acme
    │   │           └── GreetingResource.java
    │   └── resources
    │       ├── META-INF
    │       │   └── resources
    │       │       └── index.html
    │       └── application.properties
    └── test
        └── java
            └── org
                └── acme
                    ├── GreetingResourceIT.java
                    └── GreetingResourceTest.java
Because we took all of the defaults when we ran the quarkus create command, it bootstrapped a conventional REST API for us. We’ll start here on our journey, and then create our own apps.
Start Quarkus Dev Mode
-
One of the many fantastic features of Quarkus is its live developer mode. We’ll go ahead and start that now.
cd ${HOME}/okd-lab/quarkus-projects/code-with-quarkus quarkus dev -
You should see output similar to:
__ ____ __ _____ ___ __ ____ ______ --/ __ \/ / / / _ | / _ \/ //_/ / / / __/ -/ /_/ / /_/ / __ |/ , _/ ,< / /_/ /\ \ --\___\_\____/_/ |_/_/|_/_/|_|\____/___/ 2022-07-27 07:51:47,931 INFO [io.quarkus] (Quarkus Main Thread) code-with-quarkus 1.0.0-SNAPSHOT on JVM (powered by Quarkus 2.10.3.Final) started in 1.190s. Listening on: http://localhost:8080 2022-07-27 07:51:47,943 INFO [io.quarkus] (Quarkus Main Thread) Profile dev activated. Live Coding activated. 2022-07-27 07:51:47,943 INFO [io.quarkus] (Quarkus Main Thread) Installed features: [cdi, resteasy-reactive, smallrye-context-propagation, vertx] -- Tests paused Press [r] to resume testing, [o] Toggle test output, [:] for the terminal, [h] for more options> -
Note: At the bottom of your terminal output:
--
Tests paused
Press [r] to resume testing, [o] Toggle test output, [:] for the terminal, [h] for more options>
Go ahead and press
rNote that all the tests pass.
Explore the Quarkus Dev UI
Point your browser at http://localhost:8080
You will see the content from the generated index.html file:
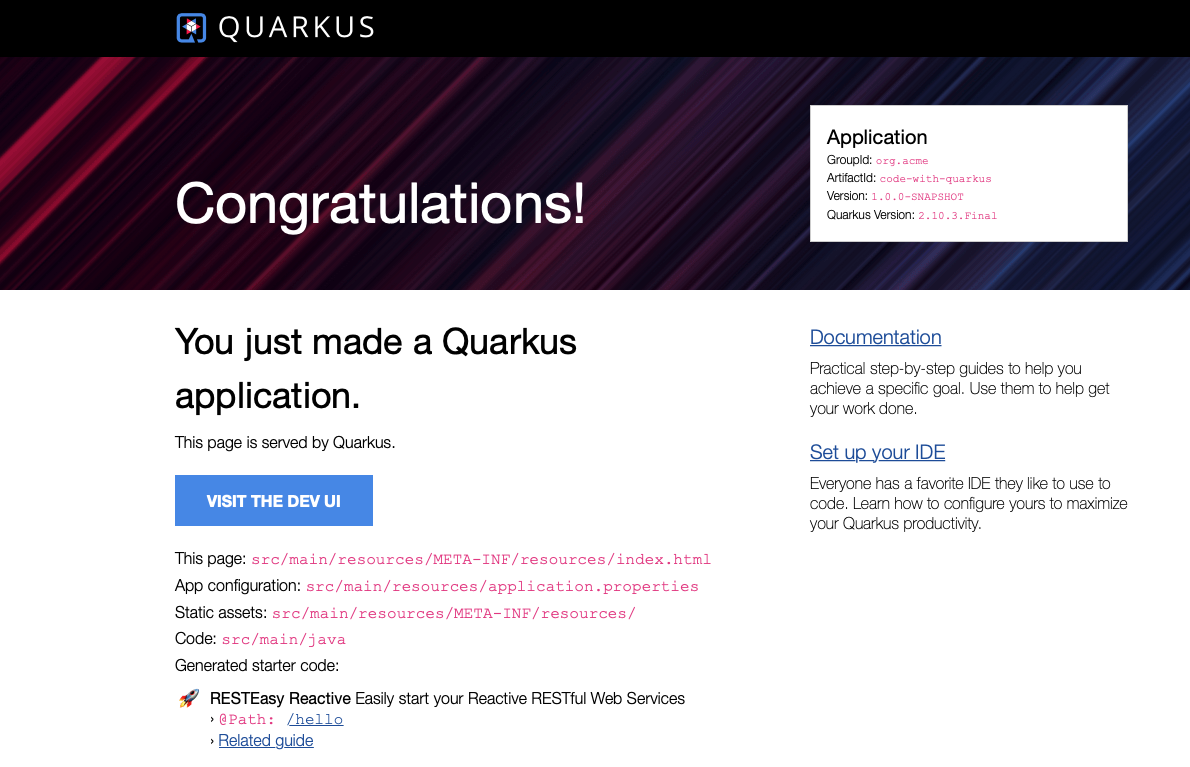
Spend a few minutes exploring the links on this page. Take a good look at the DEV UI behind the VISIT THE DEV UI button. From here you can manipulate a lot of the configuration of your running application.
Leave the terminal with quarkus dev running for now. We’ll be referring to it in the next steps:
Working with the Live Developer Mode
-
Point your browser at http://localhost:8080/hello
Note the output:
Hello from RESTEasy Reactive -
Import your new project into your IDE.
-
Open the file:
GreetingResource.javapackage org.acme; import javax.ws.rs.GET; import javax.ws.rs.Path; import javax.ws.rs.Produces; import javax.ws.rs.core.MediaType; @Path("/hello") public class GreetingResource { @GET @Produces(MediaType.TEXT_PLAIN) public String hello() { return "Hello from RESTEasy Reactive"; } } -
Make the following change:
package org.acme; import javax.ws.rs.GET; import javax.ws.rs.Path; import javax.ws.rs.Produces; import javax.ws.rs.core.MediaType; @Path("/hello") public class GreetingResource { @GET @Produces(MediaType.TEXT_PLAIN) public String hello() { return "Hello from Quarkus"; } } -
Save the file and reload your browser at: http://localhost:8080/hello
Note that the output changed to:
Hello from Quarkus
The application applied your changes in realtime! Isn’t that nice?
Now, take a look at the terminal where you have the Quarkus CLI running your live dev mode.
-
Note that the tests are now failing!
Our code change broke a test. So, let’s fix it.
-
Open the file:
GreetingResourceTest.javaunder thesrc/testdirectory tree.package org.acme; import io.quarkus.test.junit.QuarkusTest; import org.junit.jupiter.api.Test; import static io.restassured.RestAssured.given; import static org.hamcrest.CoreMatchers.is; @QuarkusTest public class GreetingResourceTest { @Test public void testHelloEndpoint() { given() .when().get("/hello") .then() .statusCode(200) .body(is("Hello from RESTEasy Reactive")); } } -
Notice the problem. We changed the response body, so now the test fails.
-
Fix the test:
package org.acme; import io.quarkus.test.junit.QuarkusTest; import org.junit.jupiter.api.Test; import static io.restassured.RestAssured.given; import static org.hamcrest.CoreMatchers.is; @QuarkusTest public class GreetingResourceTest { @Test public void testHelloEndpoint() { given() .when().get("/hello") .then() .statusCode(200) .body(is("Hello from Quarkus")); } } -
Save the file.
In the terminal window, Note that all tests are now passing.
Press
rif you want it to re-run the tests.
There you have it… Test Driven Development with live code reloading… in it’s simplest form.
Create a More interesting Payload
One last thing for today. Let’s have our API return a JSON payload instead of TEXT. After all, you are going to write very few if any APIs that respond with TEXT_PLAIN… right?!?!?
-
Make sure that you are running dev mode in a terminal, if you stopped it above.
quarkus dev -
Add a file named
Greeting.javato the same folder holdingGreetingResource.javapackage org.acme; import java.util.UUID; public class Greeting { private UUID greetingId; private String greeting; public Greeting() { } public Greeting(UUID greetingId, String greeting) { this.greetingId = greetingId; this.greeting = greeting; } public UUID getGreetingId() { return greetingId; } public void setGreetingId(UUID greetingId) { this.greetingId = greetingId; } public String getGreeting() { return greeting; } public void setGreeting(String greeting) { this.greeting = greeting; } } -
Now, let’s fix the test first this time:
Modify
GreetingResourceTest.javaas follows:package org.acme; import io.quarkus.test.junit.QuarkusTest; import org.junit.jupiter.api.Test; import static io.restassured.RestAssured.given; import static org.hamcrest.CoreMatchers.is; @QuarkusTest public class GreetingResourceTest { @Test public void testHelloEndpoint() { given() .when().get("/hello") .then() .statusCode(200).body("greeting", is("Hello There")); } } -
Note that when you saved that file, the test fails.
That’s good. Now we need to fix the code so that it passes the test.
-
Modify
GreetingResource.javaas follows:package org.acme; import java.util.UUID; import javax.ws.rs.GET; import javax.ws.rs.Path; import javax.ws.rs.Produces; import javax.ws.rs.core.MediaType; @Path("/hello") public class GreetingResource { @GET @Produces(MediaType.APPLICATION_JSON) public Greeting hello() { return new Greeting(UUID.randomUUID(), "Hello There"); } } -
Note that the test still fails!!!
What?!? Is something still wrong?
Kind of. We need to include the ability to marshal and unmarshal JSON.
-
Here’s another hint at the problem:
Point your browser at: http://localhost:8080/hello
Note the arcane output. That’s not a JSON payload… Looks to me like the reference address to an instance of
org.acme.Greeting.While that is the object that we want to return, we want it to be returned as JSON.
-
We are missing a dependency now. So, let’s add
Jacksonto our project for handling JSON.I did this intentionally to show you yet another cool feature of the quarkus CLI.
-
In your terminal with Quarkus dev mode running, hit
qto shut down dev mode. -
Run this command to add the missing dependency:
quarkus ext add resteasy-reactive-jackson -
Restart dev mode:
quarkus dev -
Note that the application is rebuilt, and tests are again paused.
-
Press
rin the dev mode terminal to resume tests, and note that this time the test passes. -
Point your browser at: http://localhost:8080/hello
Note the JSON output.
-
Make the output pretty with JQ:
Leave dev mode running and open a new terminal.
Execute the following:
curl http://localhost:8080/helloNote the JSON output.
curl http://localhost:8080/hello | jqIsn’t that nice?
Switch from Class to Record
OK, if you are using Java 17, let’s get rid of all of the boilerplate in our Greeting object.
Modify Greeting.java as follows:
package org.acme;

import java.util.UUID;

public record Greeting(UUID greetingId, String greeting) {}
Save it, and verify that your test still passes, and that the API output still looks the same.
Nice! Right!? Love record. It is awesome.