OpenShift Pipelines (Tekton) - Tutorial
Introduction To Tekton
In this tutorial, I am going to summarize a lot of information, and then focus on running code examples.
The intent is to get you up and running quickly with more than just a “Hello World”. I’m going to walk you through all of the pieces of the Tekton ecosystem that you will need to build a full CI/CD pipeline for your code.
You can find a lot of great information about OpenShift Pipelines here:
- OpenShift Pipelines Official Documentation:
- Upstream Tekton Project:
If you are familiar with Jenkins, but new to Tekton, this link may also help: OpenShift - Migrating from Jenkins to Tekton
Pre-Requisites
-
For the code examples, you will need access to an OpenShift cluster with the OpenShift Pipelines Operator installed.
If you have a beefy developer workstation, then Code Ready Containers may work for you.
I also have some lab tutorials that you may be interested in: https://upstreamwithoutapaddle.com
If you use Code Ready Containers, you need to give it at least 12GB of RAM, (16GB is better):
crc setup
crc config set memory 12288
crc start
The default memory allocation for CRC is just enough for the cluster and its default operators to run. It won’t support much else.
-
You will also need to have the OpenShift Pipelines Operator installed in your cluster. Install it via Operator Hub, or if you are following one of my lab tutorials, you can install it from the upstream Tekton project here: Install Tekton Pipelines
If you are installing via Operator Hub, you need to log into your cluster as a cluster admin user.
-
Navigate to
Operator Hubin the left-hand nav menu: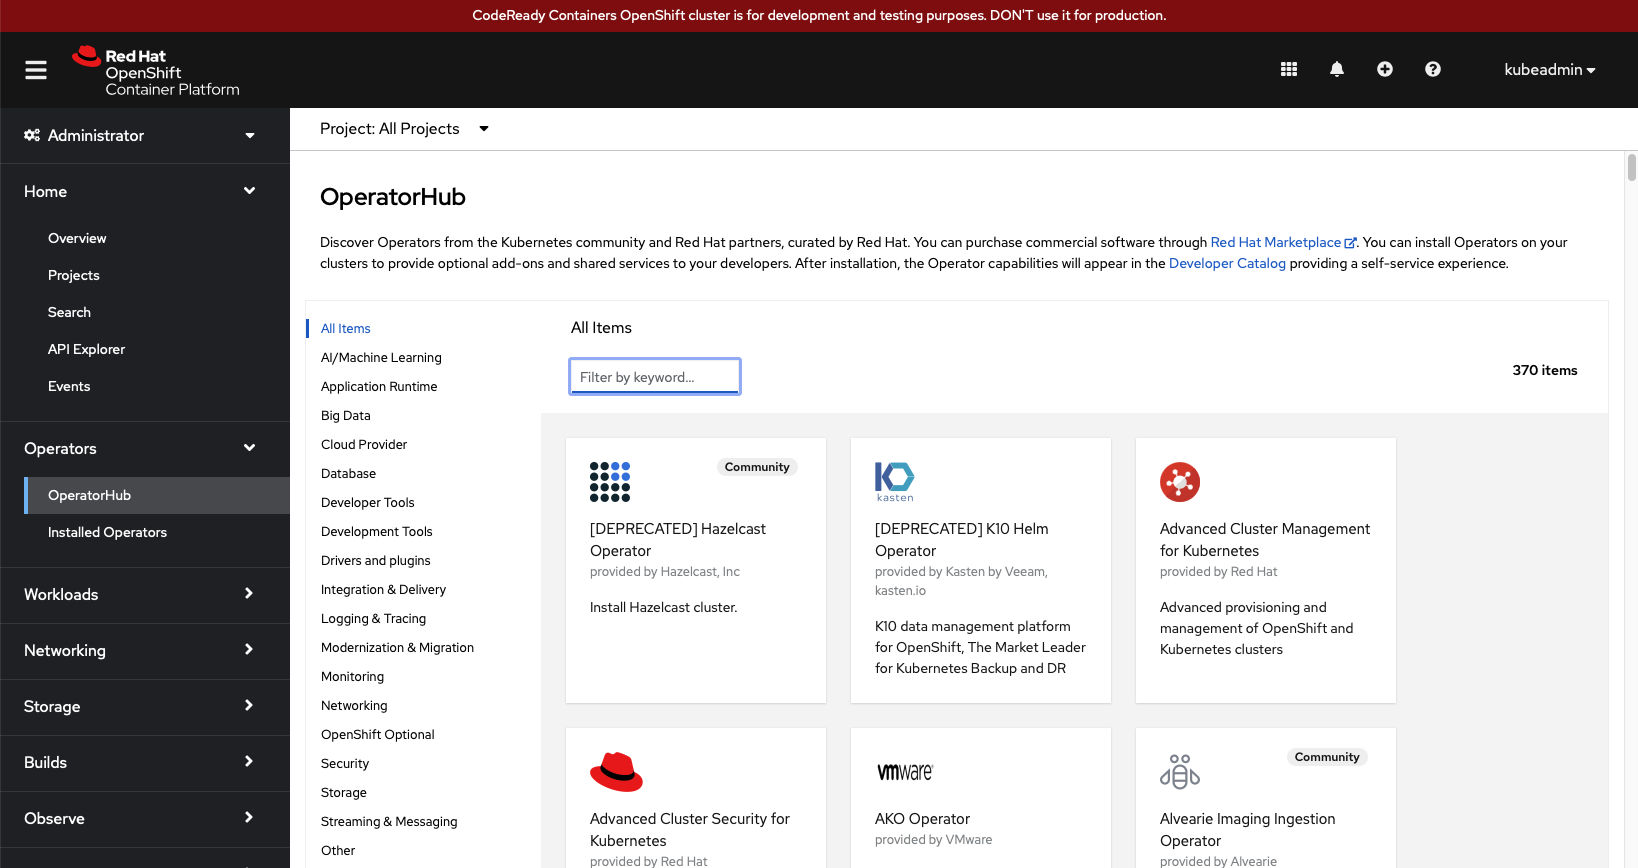
-
Type
pipelinesinto the search dialog: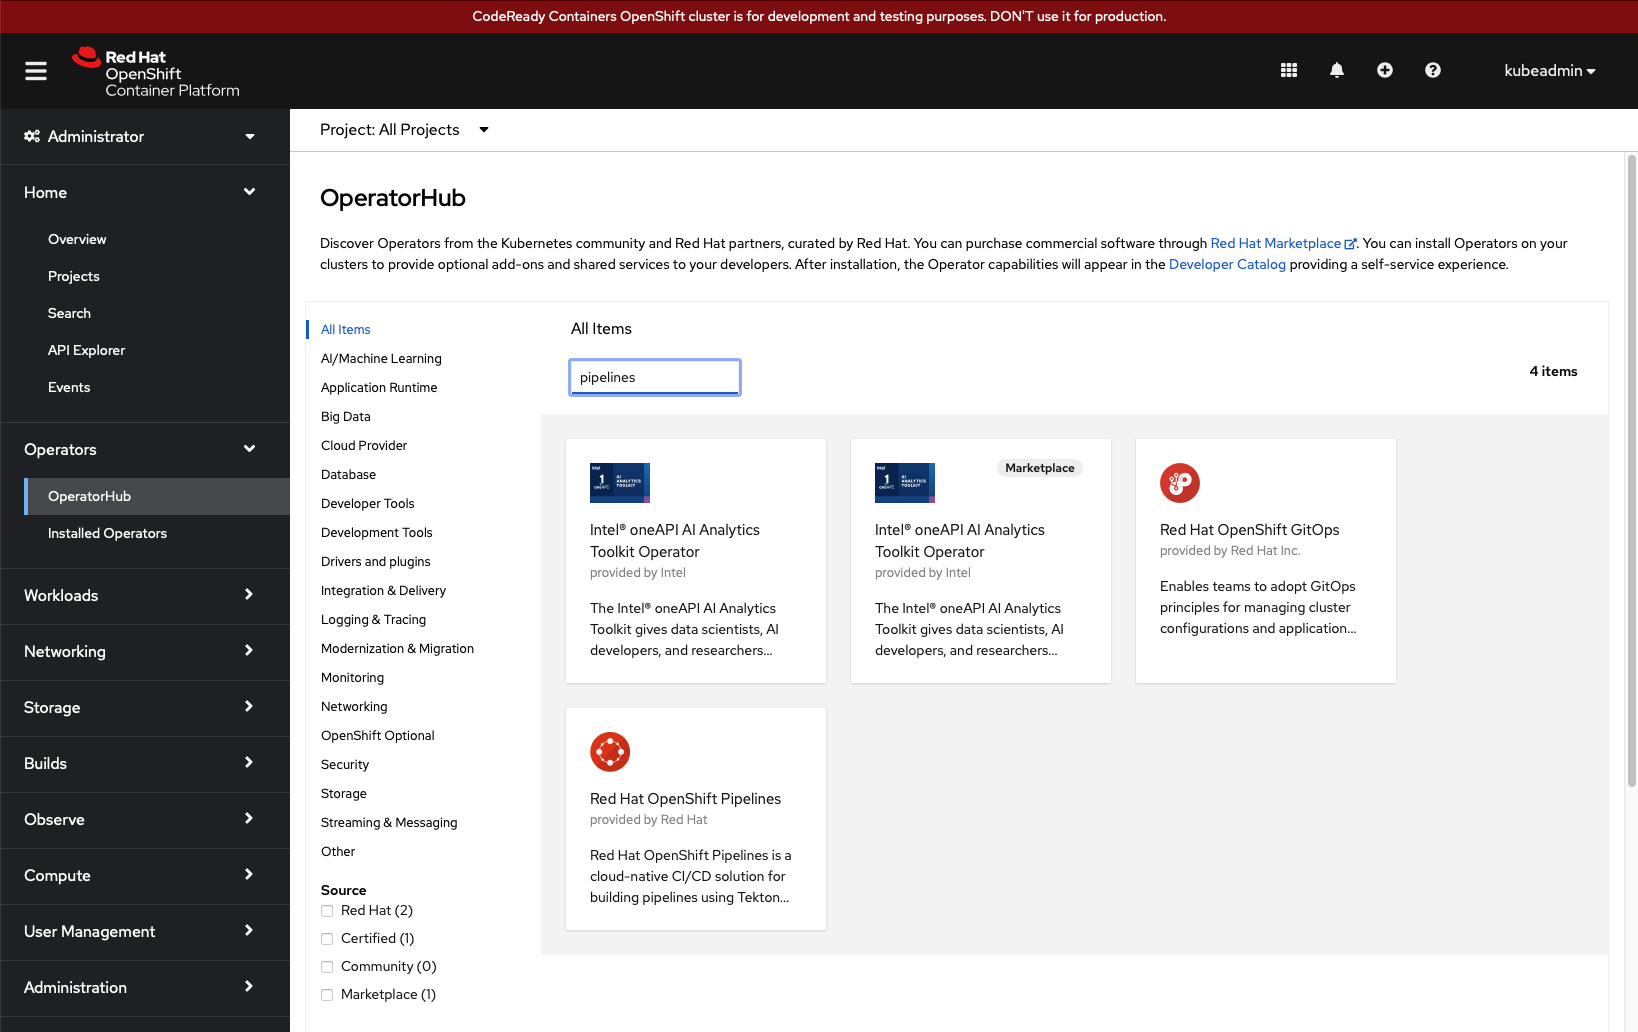
-
Select the
Red Hat OpenShift Pipelinesoperator and selectInstall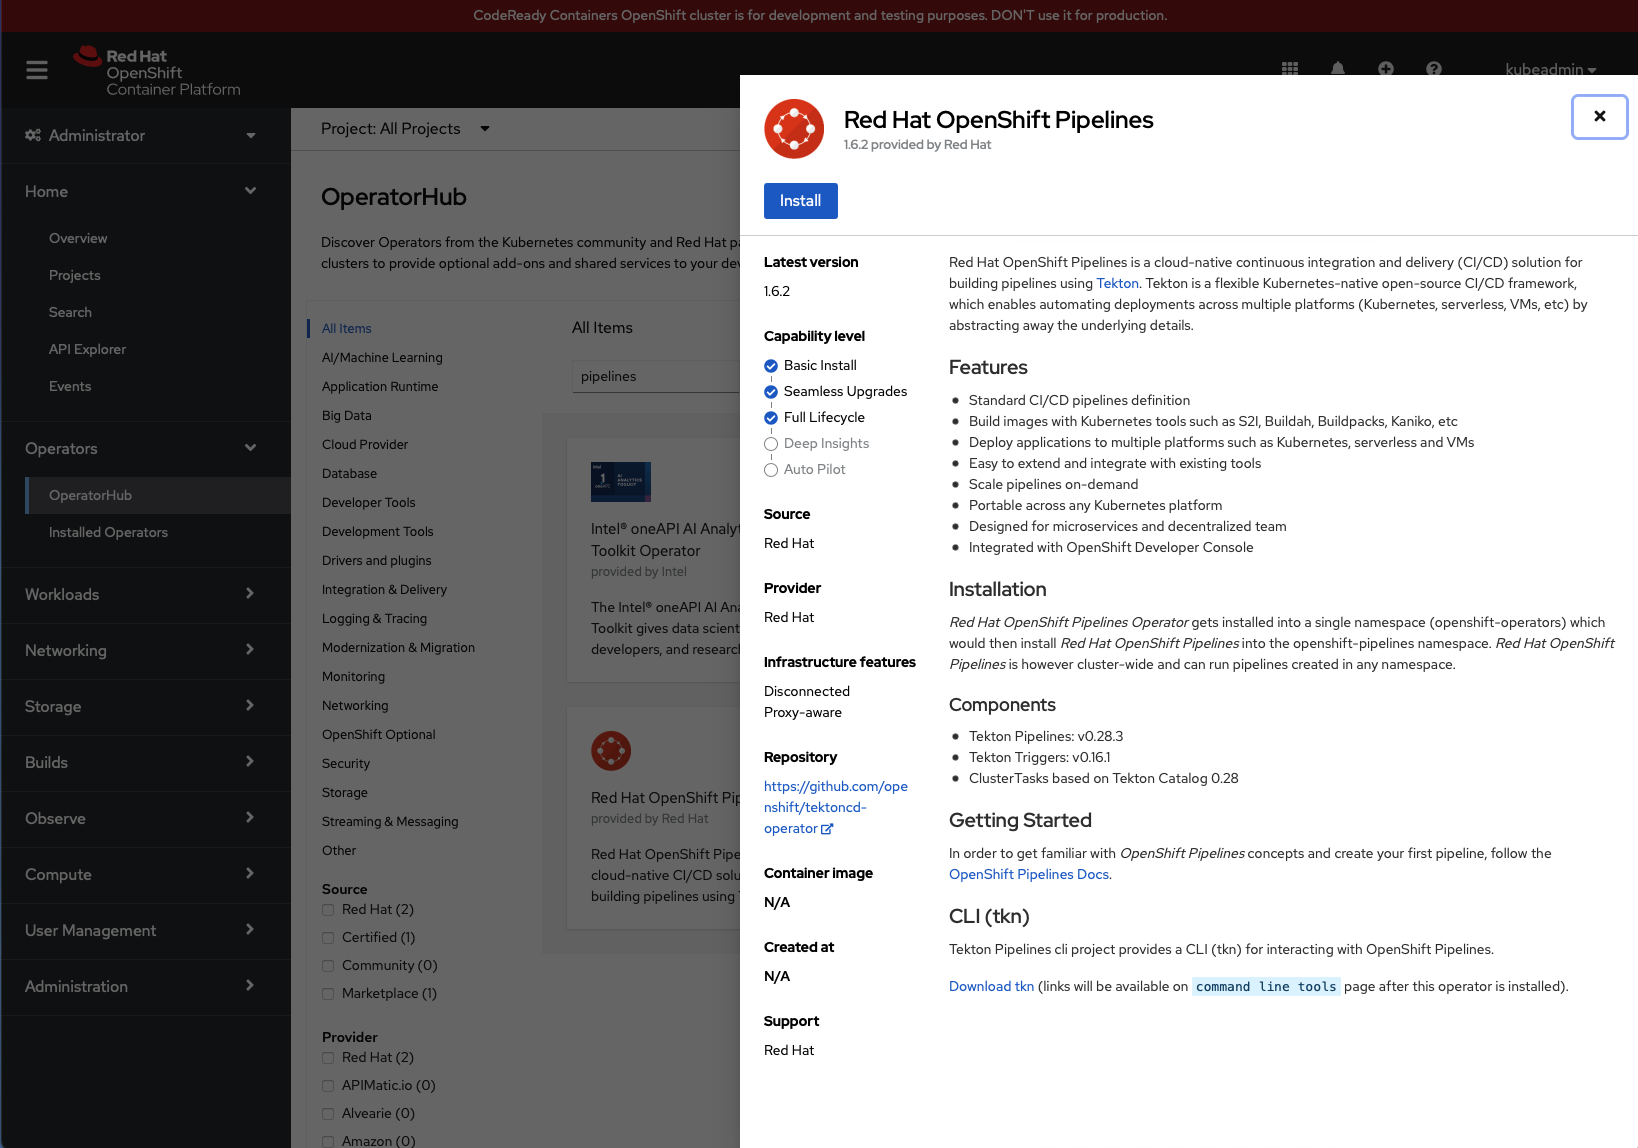
-
Select
Install: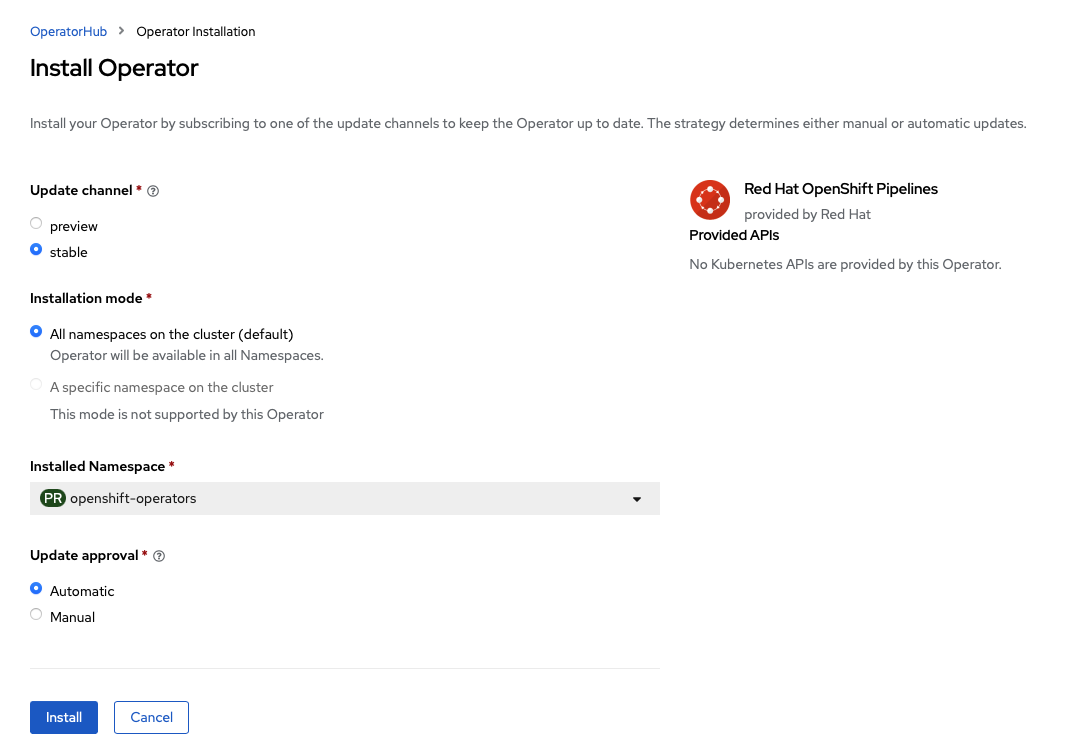
-
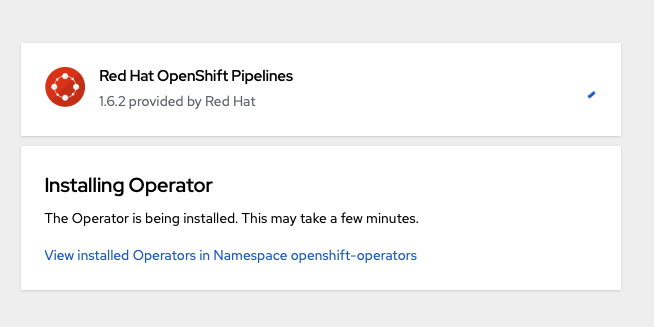
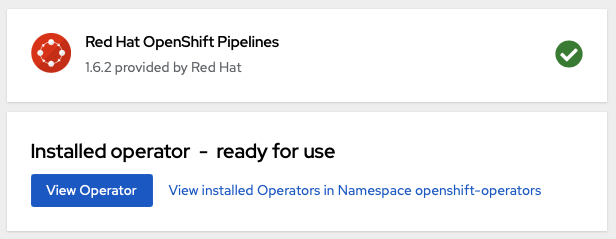
Wait for the installation to complete:
-
-
Your workstation will need to be set up with the following tools:
- OpenJDK 11
- Apache Maven 3.8.4 or newer
- Git
- OpenShift Command line Tools
- Quarkus Command Line Tools
- Curl
-
Note: This tutorial assumes that you are using a workstation with a
bashorzshshell. If you are on a Windows based system, you may be able to use Git Bash in Visual Studio Code.
This tutorial is broken up into chapters. Each chapter builds on the previous one, so please follow them in order.