Building a Single Node OpenShift Home Lab - Agent Based Install
Greetings! Welcome to another episode of OpenShift Outdoors.
Today, let’s build an affordable, yet powerful cloud native home lab with OpenShift!
Since I have changed the format of this blog to be video based, this post is accompanied by a video. The explanation and instructions are in the video. This post include commands for you to follow along with.
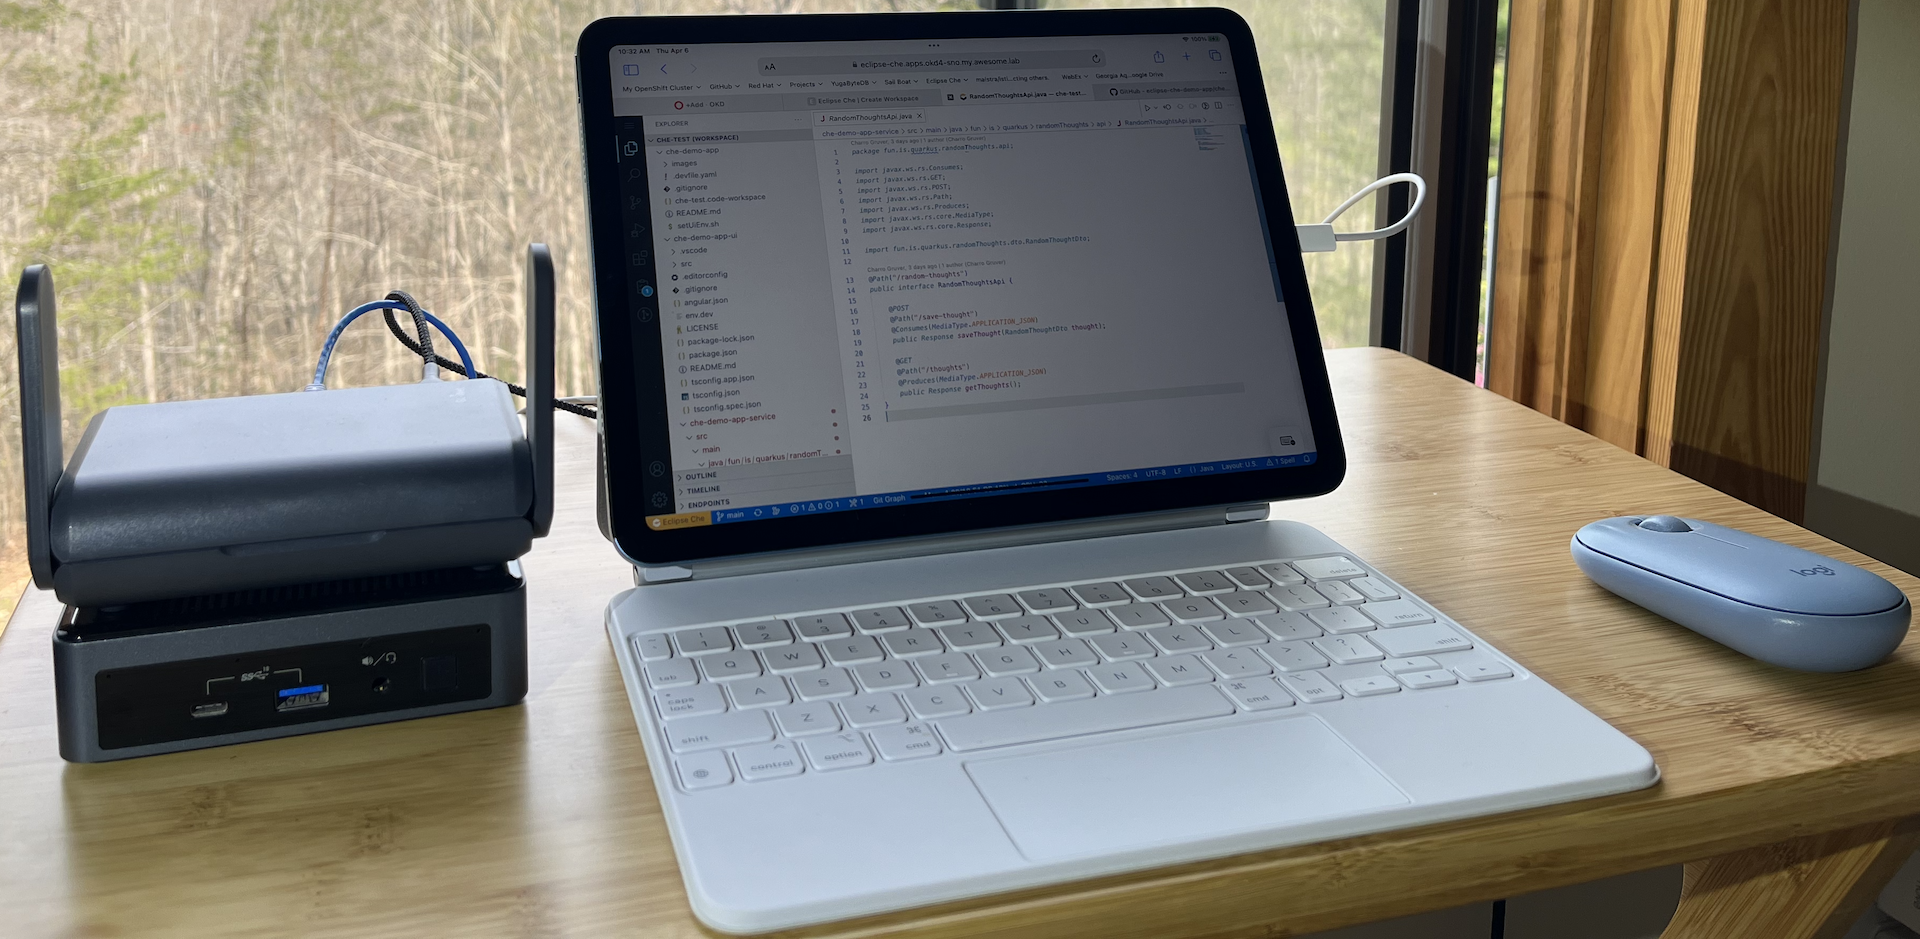
In order to follow along with this post, you are going to need some gear. Below is the bill of materials that I am using today.
Lab Bill of Materials
| Server | Intel NUC13ANKi7 |
| RAM for Server | TEAMGROUP Elite DDR4 64GB Kit |
| SSD for Server OS | Transcend TS128GMTS430S 128GB M.2 2242 SATAIII B+M Key MTS430S Solid State Drive |
| SSD for OpenShift Storage Provisioner | Lexar 1TB NM620 M.2 2280 Internal SSD |
| Router | GL.iNet GL-AXT1800 |
| MicroSD Card for Router | PNY 128GB Premier-X Class 10 U3 V30 microSDXC Flash Memory Card |
Now, without further ado, click on the video link below and we’ll get started.
https://www.youtube.com/playlist?list=PLKH_FBfRRqlQh3X2QQu_gXV9m8GmBJSDH
Follow along commands
-
Create an account at developers.redhat.com
-
Install the lab CLI scripts that I have prepared:
mkdir -p ${HOME}/openshift-lab/bin mkdir -p ${HOME}/openshift-lab/lab-config/{cluster-configs,lab-config-files,kubeconfigs} WORK_DIR=$(mktemp -d) git clone https://github.com/cgruver/kamarotos.git ${WORK_DIR} cp ${WORK_DIR}/bin/* ${HOME}/openshift-lab/bin chmod 700 ${HOME}/openshift-lab/bin/* cp -r ${WORK_DIR}/examples ${HOME}/openshift-lab/lab-config rm -rf ${WORK_DIR} -
Add the following to your shell environment:
Your default shell will be something like
bashorzsh. Although you might have changed it.You need to add the following line to the appropriate shell file in your home directory:
.bashrc, or.zshrc, etc…Bash:
echo ". ${HOME}/openshift-lab/bin/labEnv.sh" >> ~/.bashrcZsh:
echo ". ${HOME}/openshift-lab/bin/labEnv.sh" >> ~/.zshrcNote: Take a look at the file
${HOME}/openshift-lab/bin/labEnv.sh. It will set variables in your shell when you log in, so make sure you are comfortable with what it is setting. If you don’t want to add it to your shell automatically, the you will need to execute. ${HOME}/openshift-lab/bin/labEnv.shbefore running any lab commands. -
Open a new terminal to set the variables.
-
Install
yqhttps://mikefarah.gitbook.io/yq/We will need the
yqutility for YAML file manipulation.-
If you are using MacOS:
brew install yqNote: If you don’t have the HomeBrew package manager installed, you can install it with:
/bin/bash -c "$(curl -fsSL https://raw.githubusercontent.com/Homebrew/install/HEAD/install.sh)" -
If you are using Linux:
 mkdir ${OPENSHIFT_LAB_PATH}/yq-tmp
 YQ_VER=$(basename $(curl -Ls -o /dev/null -w %{url_effective} https://github.com/mikefarah/yq/releases/latest))
 wget -O ${OPENSHIFT_LAB_PATH}/yq-tmp/yq.tar.gz https://github.com/mikefarah/yq/releases/download/${YQ_VER}/yq_linux_amd64.tar.gz
 tar -xzf ${OPENSHIFT_LAB_PATH}/yq-tmp/yq.tar.gz -C ${OPENSHIFT_LAB_PATH}/yq-tmp
 cp ${OPENSHIFT_LAB_PATH}/yq-tmp/yq_linux_amd64 ${OPENSHIFT_LAB_PATH}/bin/yq
 chmod 700 ${OPENSHIFT_LAB_PATH}/bin/yq
-
-
Create an SSH Key Pair:
If you don’t have an SSH key pair configured on your workstation, then create one now:
ssh-keygen -t rsa -b 4096 -N "" -f ${HOME}/.ssh/id_rsa -
Copy the SSH public key to the Lab configuration folder:
cp ~/.ssh/id_rsa.pub ${OPENSHIFT_LAB_PATH}/ssh_key.pub
Create Lab Config Files
-
Create the lab config file that defines your lab network:
cat << EOF > ${OPENSHIFT_LAB_PATH}/lab-config/lab-config-files/my-openshift-lab.yaml
domain: my.openshift.lab
network: 10.11.12.0
router-ip: 10.11.12.1
install-host: router
netmask: 255.255.255.0
centos-mirror: rsync://mirror.facebook.net/centos-stream/
sub-domain-configs: []
cluster-configs:
- name: sno-ocp-4.15
  cluster-config-file: sno-ocp-4.15.yaml
  domain: edge
EOF
cat << EOF > ${OPENSHIFT_LAB_PATH}/lab-config/lab-list.yaml lab-configs: - name: "My OpenShift Lab" config: my-openshift-lab.yaml EOFln -s ${OPENSHIFT_LAB_PATH}/lab-config/lab-config-files/my-openshift-lab.yaml ${OPENSHIFT_LAB_PATH}/lab-config/lab.yaml -
Create a cluster config file that defines the parameters for your OpenShift cluster:
cat << EOF > ${OPENSHIFT_LAB_PATH}/lab-config/cluster-configs/sno-ocp-4.15.yaml cluster: name: sno-ocp-415 cluster-cidr: 10.100.0.0/14 service-cidr: 172.30.0.0/16 remote-registry: quay.io/openshift-release-dev/ocp-release tools-uri: quay.io/openshift-release-dev/ocp-release butane-version: v0.20.0 butane-spec-version: 1.5.0 butane-variant: fcos nmstatectl-version: v2.2.27 disconnected: "false" release-type: ocp release: 4.15.11-x86_64 control-plane: metal: true boot-dev: /dev/sda hostpath-dev: /dev/nvme0n1 nodes: - ip-addr: 10.11.12.100 mac-addr: 12:34:56:ab:cd:ef EOF -
Edit
${OPENSHIFT_LAB_PATH}/lab-config/cluster-configs/sno-ocp-4.15.yamlReplace
12:34:56:ab:cd:efwith the MAC address of your server. Use lower case letters. -
Select
Tokensfrom the drop down menu -
Select
Copyto the right ofPull Secret -
Paste the content of your pull secret into a new file named
${OPENSHIFT_LAB_PATH}/lab-config/ocp-pull-secret
Router Setup
-
Plug in your GL-AXT1800 and connect to it via WiFI or cable
-
Copy your SSH public key to the router
cat ${OPENSHIFT_LAB_PATH}/ssh_key.pub | ssh root@192.168.8.1 "cat >> /etc/dropbear/authorized_keys" -
Log into the router and set up its internet connection.
-
Set the environment up for your lab:
labctx sno-ocp-4.15 -
Initialize the router for the lab.
labcli --router -i -e -
After the router reboots, run the following to complete the setup.
labcli --router -s -e -f -
Initialize the artifacts for the OpenShift install:
labcli --deploy -c -
Start the install:
labcli --start -c -
Watch the installation logs:
Bootstrap:
labcli --monitor -bJournal on the CoreOS node:
labcli --monitor -m=0Final OpenShift Installation logs after bootstrap:
labcli --monitor -i -
Clean up after the install completes:
labcli --post -
Trust the cluster certs on your workstation:
labcli --trust -c -
Create a cluster admin user:
labcli --user -i -a -u=admin -
Create a non-privileged user:
labcli --user -u=mydevuser -
Install the HostPath Provisioner Operator:
labcli --hostpath -
Have fun with your new Single Node Cluster!
