OpenShift - Your New Favorite IDE
Think about this for a moment. If you were handed a brand new laptop tomorrow, how long would it take you to get it fully set up for application development? An hour? A day? Two days?
And then there’s the old; “But it works on my machine…“ Yes, we’ve all been there. You do your best with your local environment. But, unless you are writing desktop apps, your local environment is likely much different from the environment that your code will ultimately run in.
If you work for a large non-tech enterprise, you are also likely working on a machine that you had little input into selecting. Your code runs in Linux based containers, but your development environment is anything but. You might be among those who have embraced Mac Books for developers. That, at least has UNIX underpinnings. But, you are likely on the good old standard of Windows. Plus, let’s face it. Linux has come a long way on the desktop, but most organizations don’t embrace it there.
How about compute resources? Do you have enough CPU or RAM? If you do, how much time does that investment sit idle?
Do you have the ability to run all of the other apps that your project interacts with? A Kafka cluster? PostgreSQL or Cassandra? What about all of the other micro-services that your app consumes APIs or messages from?
Finally, let’s talk about governance. Do you have to submit a help desk ticket every time you need a new tool? How do you handle updates? How do you install new technologies that your app needs? Are you permitted to install new software or change the configuration of your workstation? What do you do when you are working on different projects that use conflicting versions of something?
If you are fortunate enough to have full autonomy on your workstation, how many times have you rendered it useless and had to rebuild from scratch? Yeah… I’m one of those (un)fortunate few. I’ve been there many, many times. I’ve donated many days to trying to get something to work on my machine…
Wouldn’t it be nice if we…
OK, now that the song is stuck in your head.
Wouldn’t it be nice if you could automatically configure your development environment based on the needs of the specific project that you are working on?
What if all you needed was the git URL to your project, and all of the IDE tools, dependencies, and peripheral applications were automatically provisioned for you, and then torn down when you were done?
What if you could destroy the whole environment with a click, and rebuild it with another click?
What if all you needed to joyfully deliver awesome apps, was a browser…?
Enter - OpenShift Dev Spaces, (aka Eclipse Che)
You can get all of the TL;DR here:
- https://www.eclipse.org/che/
- https://access.redhat.com/documentation/en-us/red_hat_openshift_dev_spaces
- https://devfile.io
But, who wants to read when we can write code!? So, let’s install Eclipse Che in our lab and use it to write some code.
Installing Eclipse Che
We’re going to install the upstream Eclipse Che on the community supported build of OpenShift, OKD.
If you don’t have an OKD cluster, you can build one by following the instructions in this post: Back To Where It All Started - Let’s Build an OpenShift Home Lab
Note: If you don’t have access to an OKD cluster, or want to use OpenShift Local with OpenShift Dev Spaces, then skip this next section and follow the instructions here instead: Install OpenShift Local and OpenShift Dev Spaces Then, come back to this post for the demo section.
If you already have access to an OpenShift cluster with Eclipse Che or OpenShift Dev Spaces, you can skip straight to the demo: Eclipse Che Demo
Install and Configure a CheCluster
The first thing that we need to do, is create a CatalogSource for the DevWorkspace Operator. Eclipse Che and OpenShift Dev Spaces are dependent on this operator. If you are on a subscribed OpenShift cluster or using OpenShift Local, then the DevWorkspace Operator is already available, and you can install the Red Hat supported build of Eclipse Che called OpenShift Dev Spaces.
But, like I said, this post is going to focus on upstream Eclipse Che. This blog is all about upstream after all…
-
Log into your OKD cluster with the
ocCLI as a cluster admin user. -
Create a CatalogSource for the Dev Workspace Operator
Note: This step is not necessary if you are installing OpenShift Dev Spaces.
cat << EOF | oc apply -f - apiVersion: operators.coreos.com/v1alpha1 kind: CatalogSource metadata: name: devworkspace-operator-catalog namespace: openshift-marketplace # Namespace for catalogsource, not operator itself spec: sourceType: grpc image: quay.io/devfile/devworkspace-operator-index:release publisher: Red Hat displayName: DevWorkspace Operator Catalog updateStrategy: registryPoll: interval: 5m EOF -
Now, log into your OpenShift cluster web console as a cluster admin user.
-
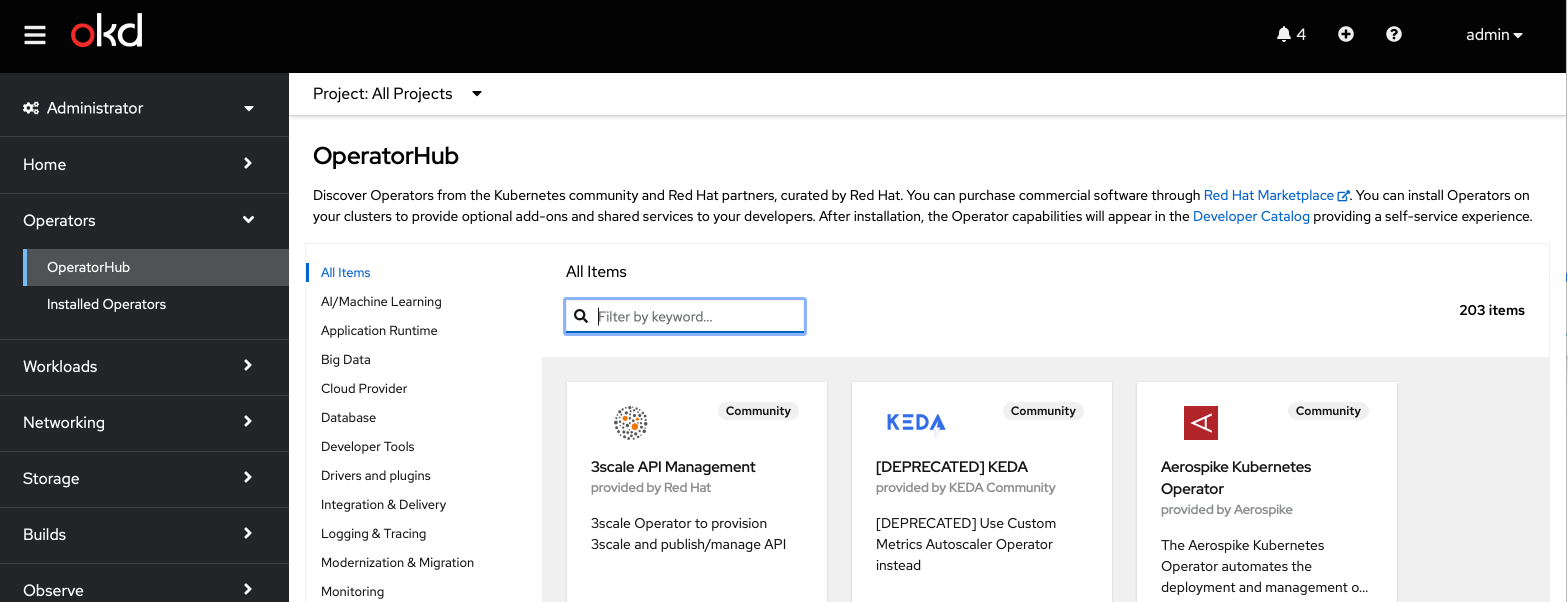
Navigate to the Operator Hub:
-
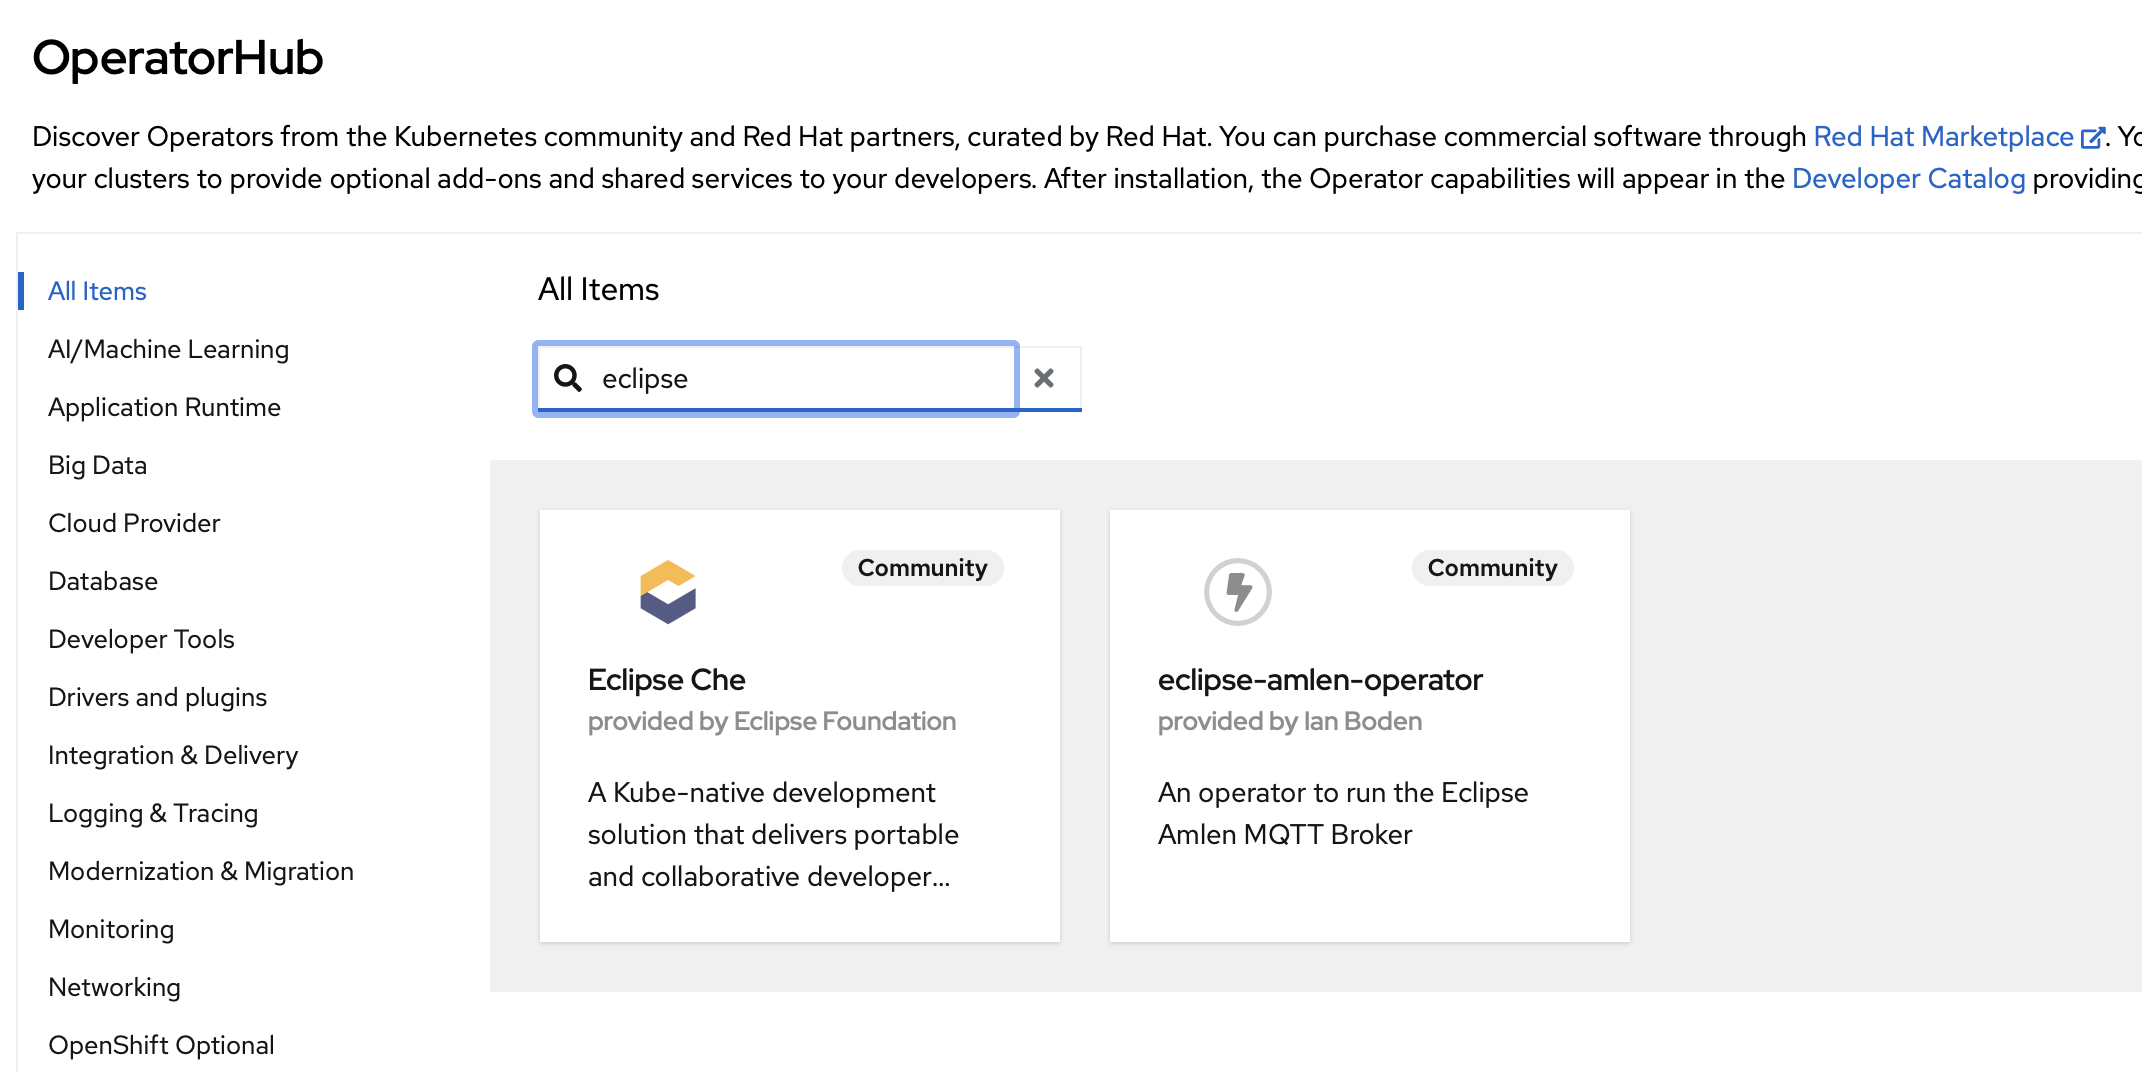
Search for the Eclipse Che Operator:
-
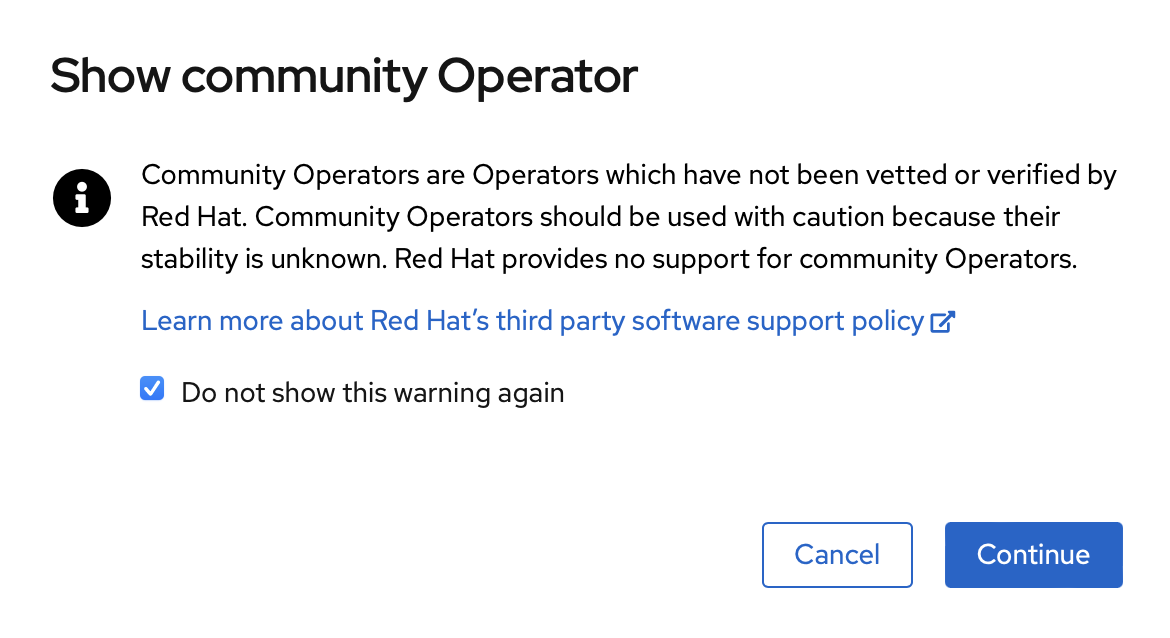
Click on the Eclipse Che Operator and acknowledge the popup about Community Operators:
-
Click
Install: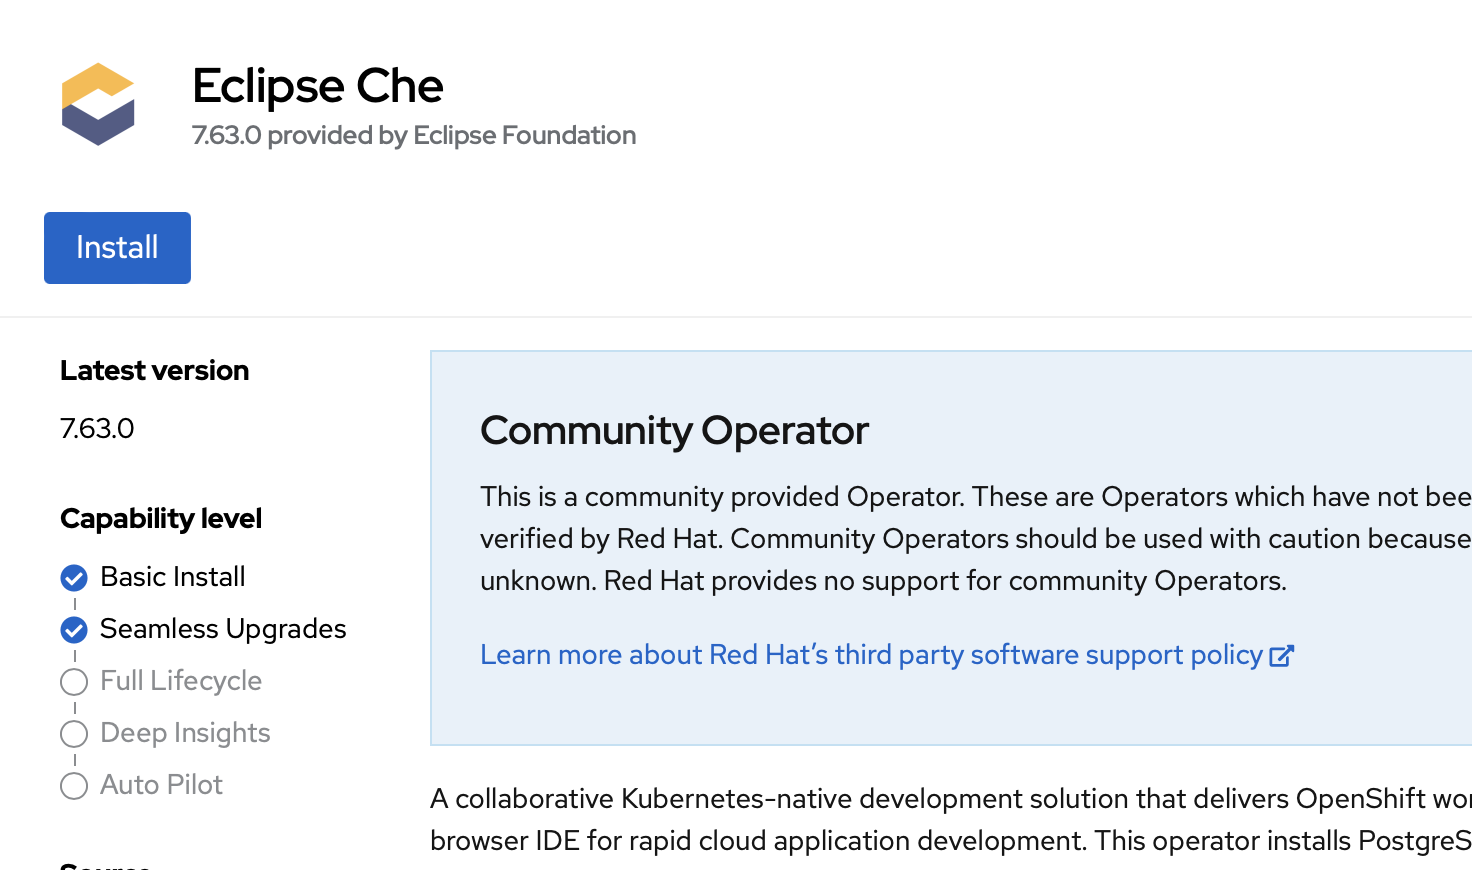
-
Leave the default settings and click
Install: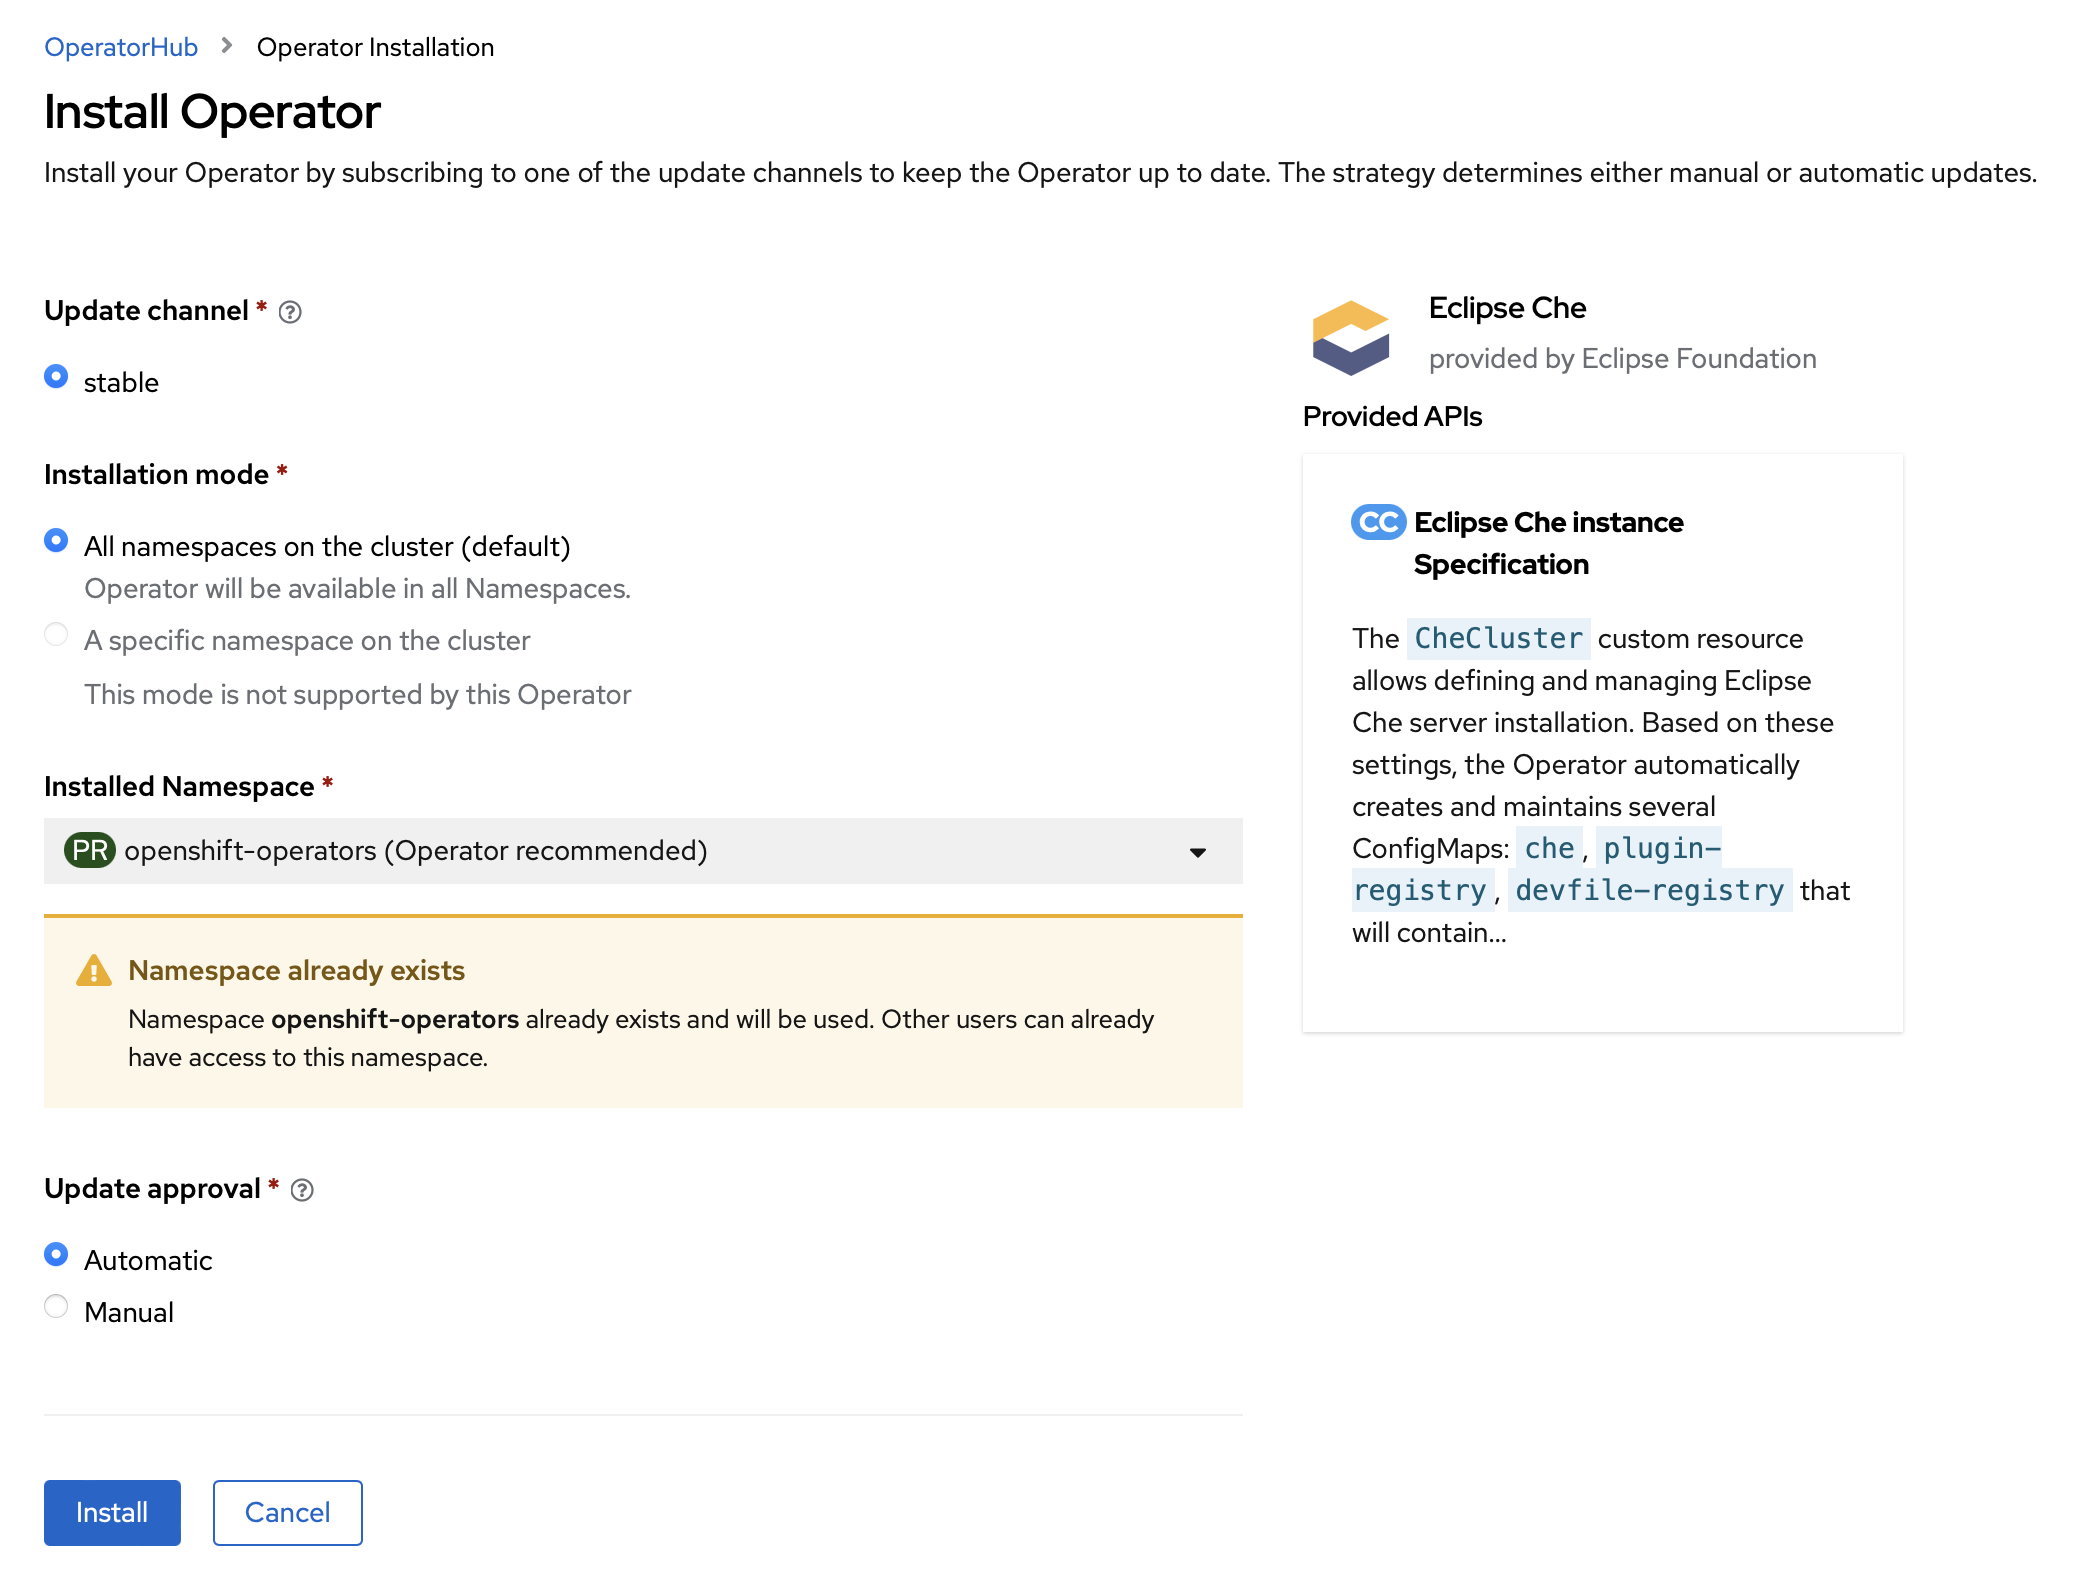
-
If you click on
Installed Operatorsin the left hand nav menu, you can verify the installation process: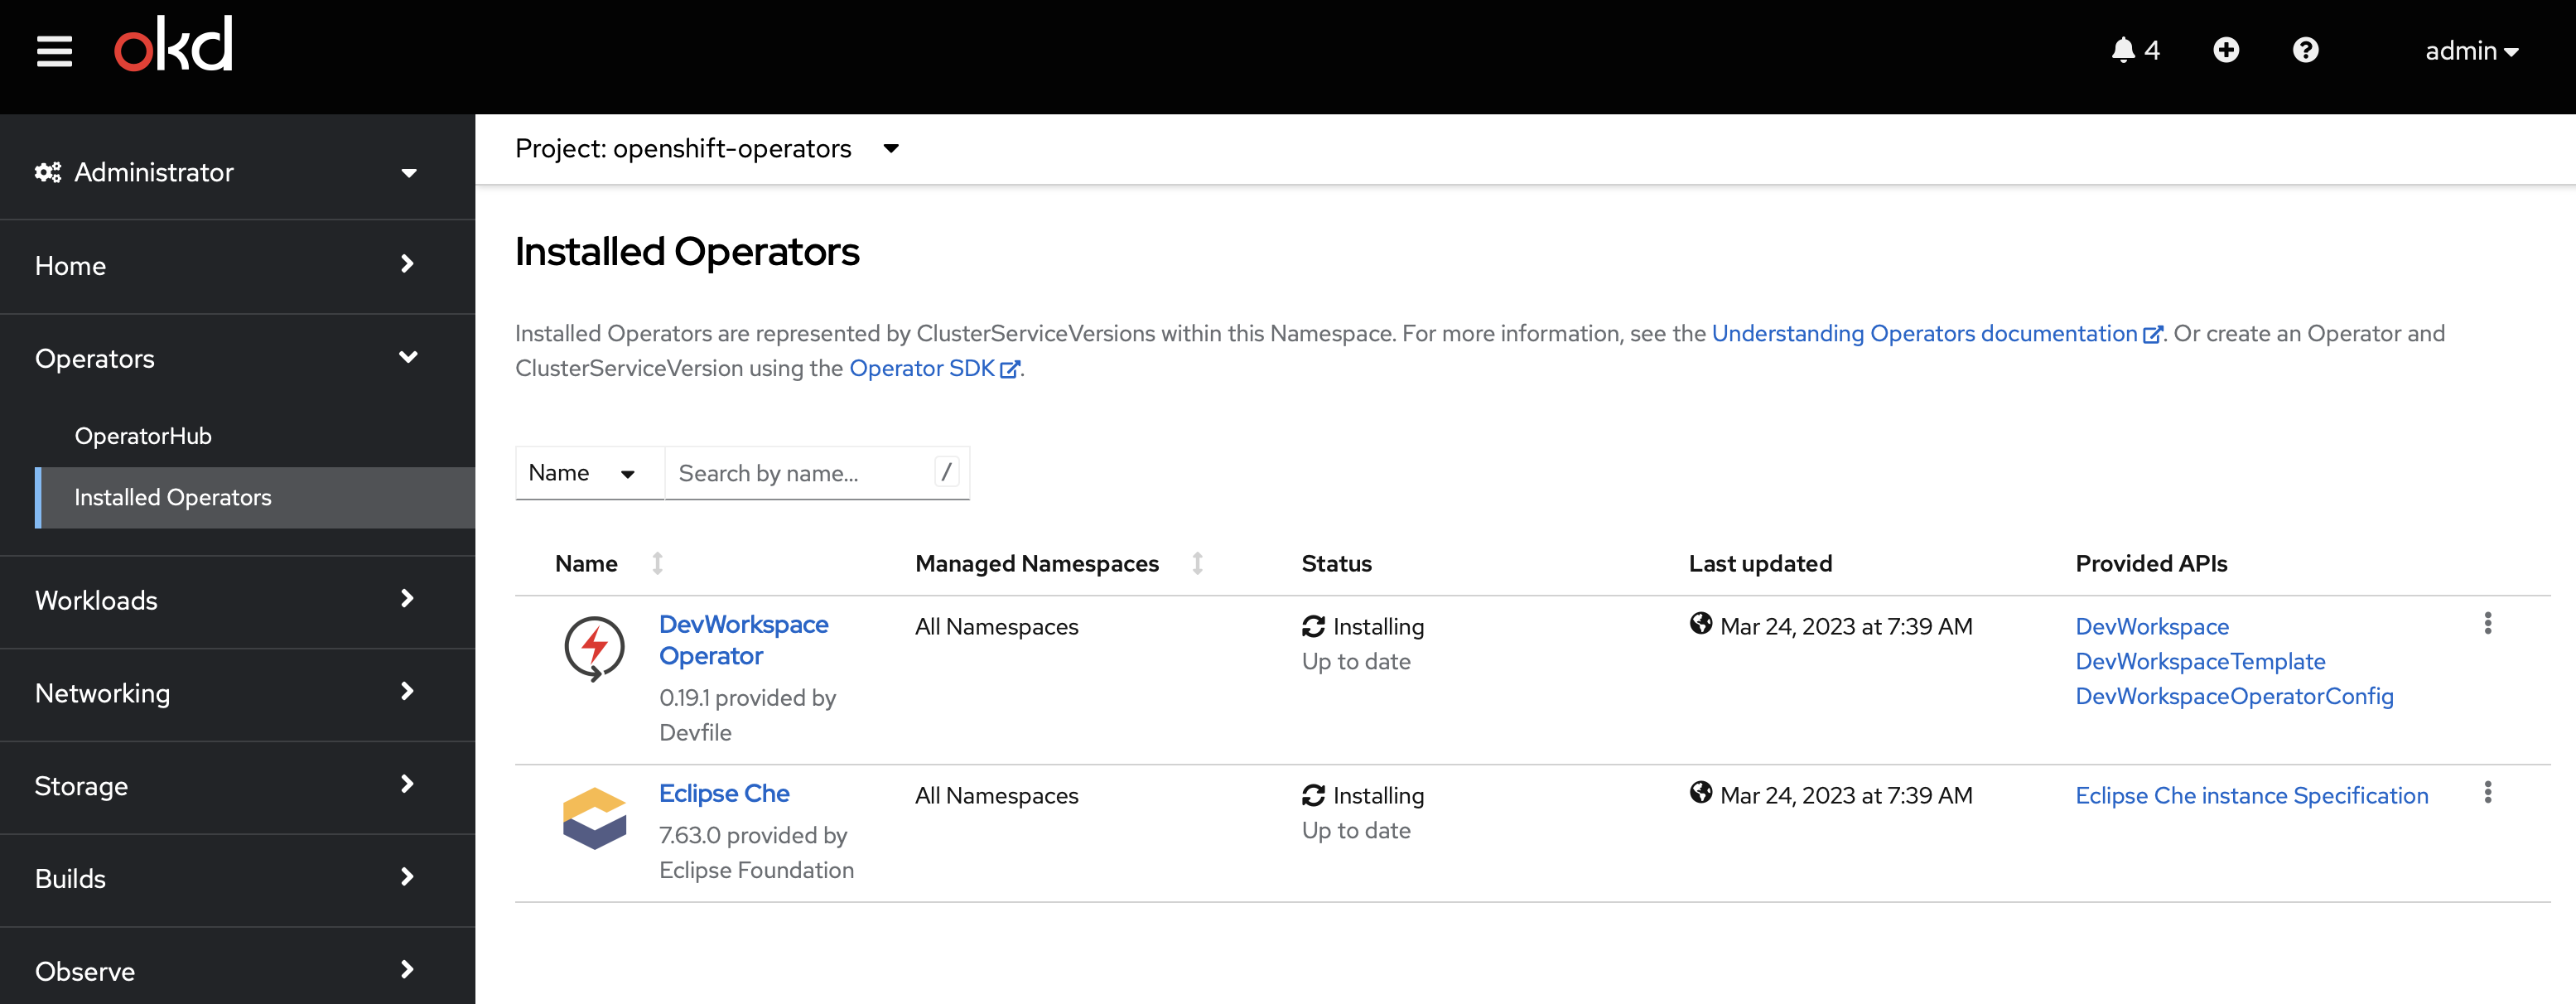
-
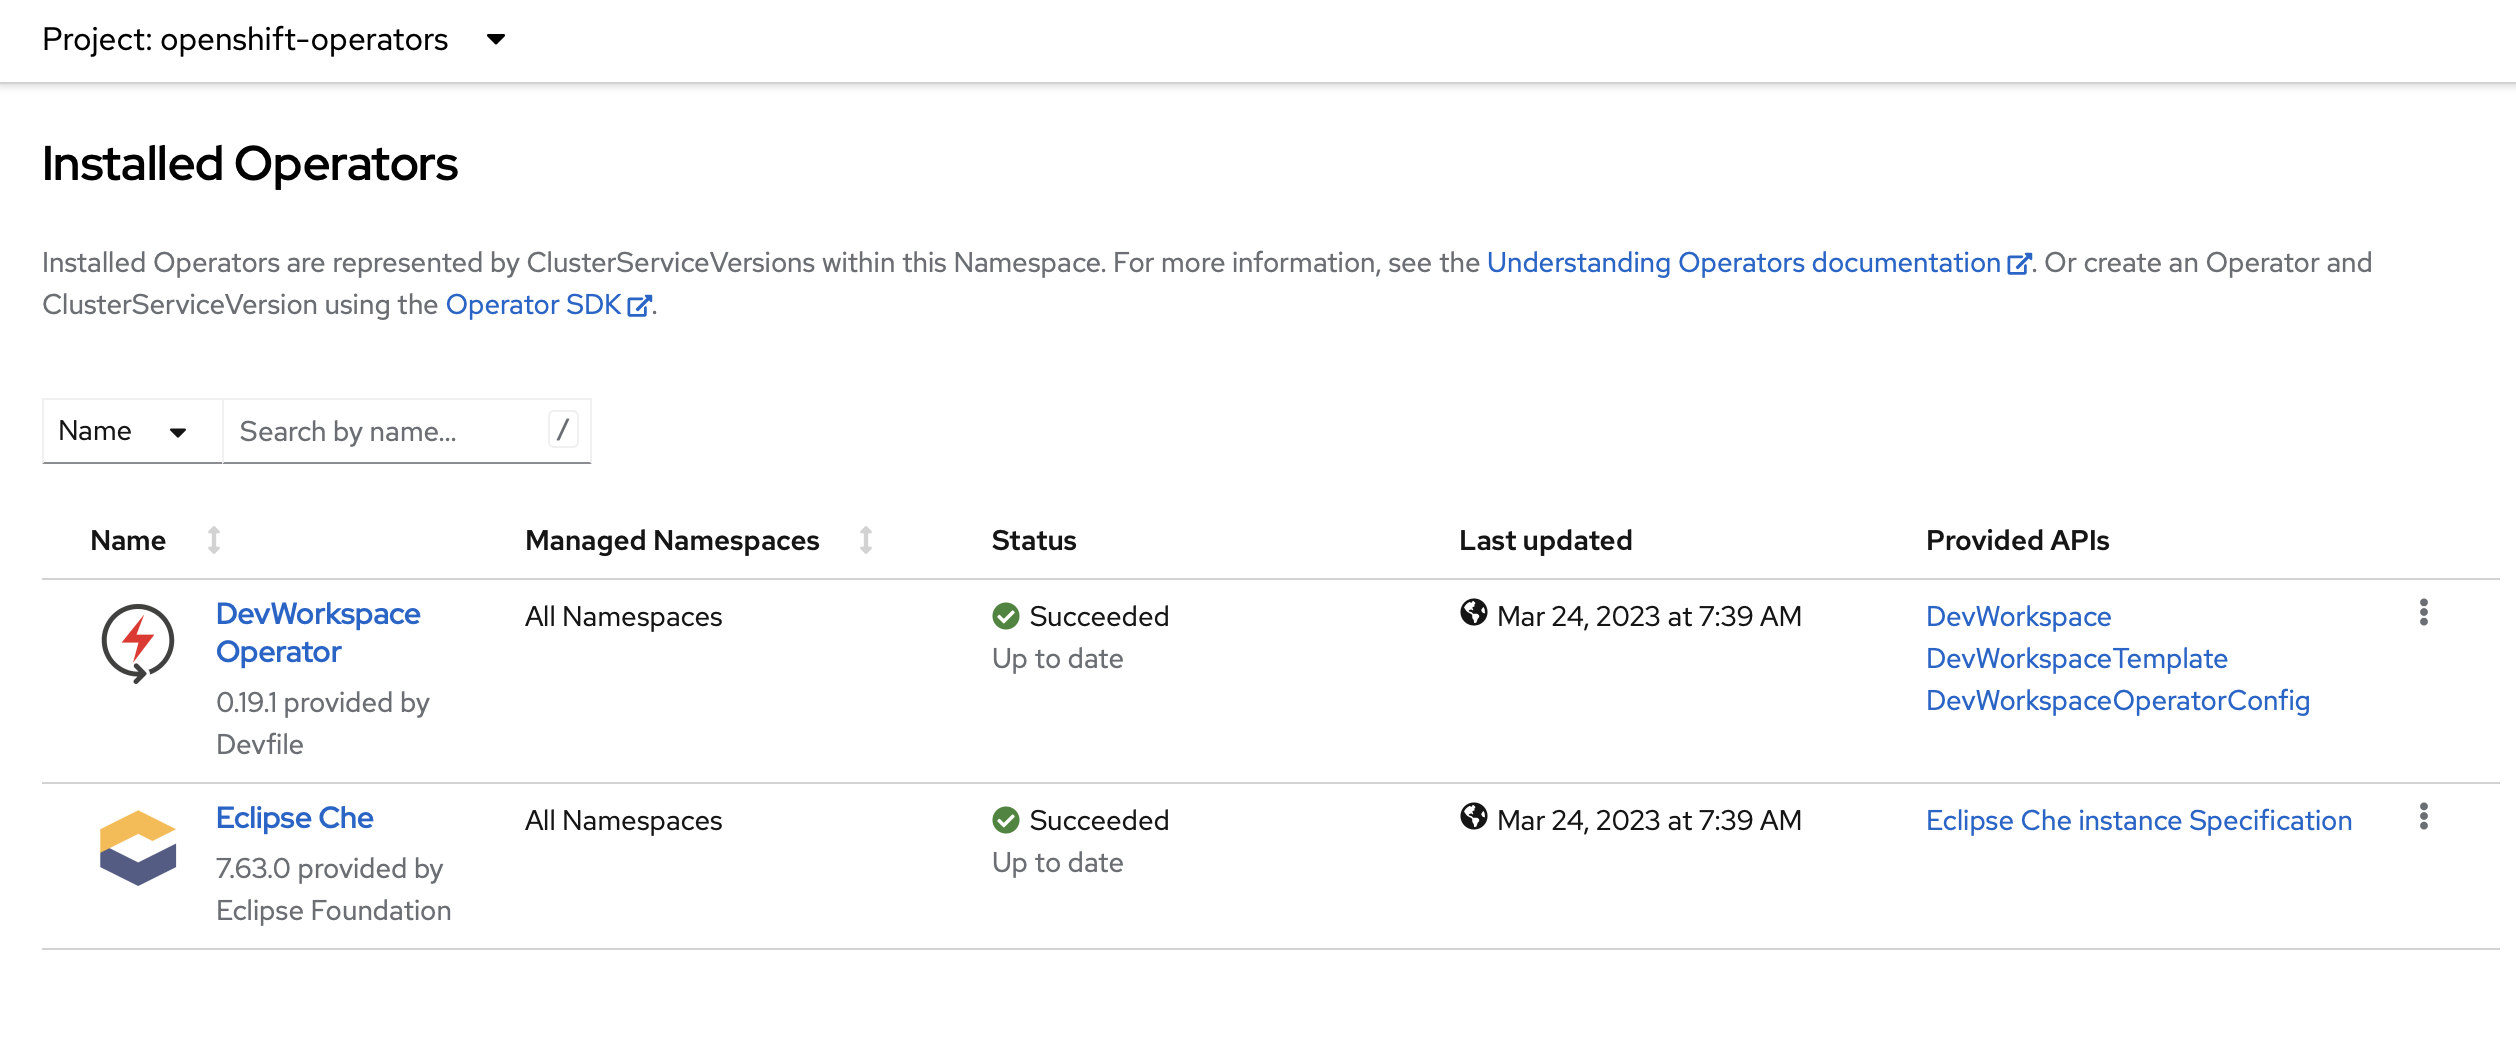
When the installation is complete, you should see both Eclipse Che and the DevWorkspace operators installed.
-
Finally, we need to create an instance of
CheCluster:From a terminal, log in to your cluster with cluster-admin privileges and run the following:
cat << EOF | oc apply -f -
apiVersion: v1
kind: Namespace
metadata:
  name: eclipse-che
---
apiVersion: org.eclipse.che/v2
kind: CheCluster
metadata:
  name: eclipse-che
  namespace: eclipse-che
spec:
  components:
    cheServer:
      debug: false
      logLevel: INFO
    metrics:
      enable: true
  containerRegistry: {}
  devEnvironments:
    startTimeoutSeconds: 300
    secondsOfRunBeforeIdling: -1
    maxNumberOfWorkspacesPerUser: -1
    containerBuildConfiguration:
      openShiftSecurityContextConstraint: container-build
    disableContainerBuildCapabilities: false
    defaultEditor: che-incubator/che-code/latest
    defaultNamespace:
      autoProvision: true
      template: <username>-che
    secondsOfInactivityBeforeIdling: 1800
    storage:
      pvcStrategy: per-workspace
  gitServices: {}
  networking: {}
EOF
Eclipse Che Demo
Now that everything is installed. Let’s see it in action.
You will need an unprivileged OpenShift account for this demo. You can do this with cluster-admin, but I encourage you not to. I want you to see just how much autonomy you can have with a normal restricted OpenShift account.
-
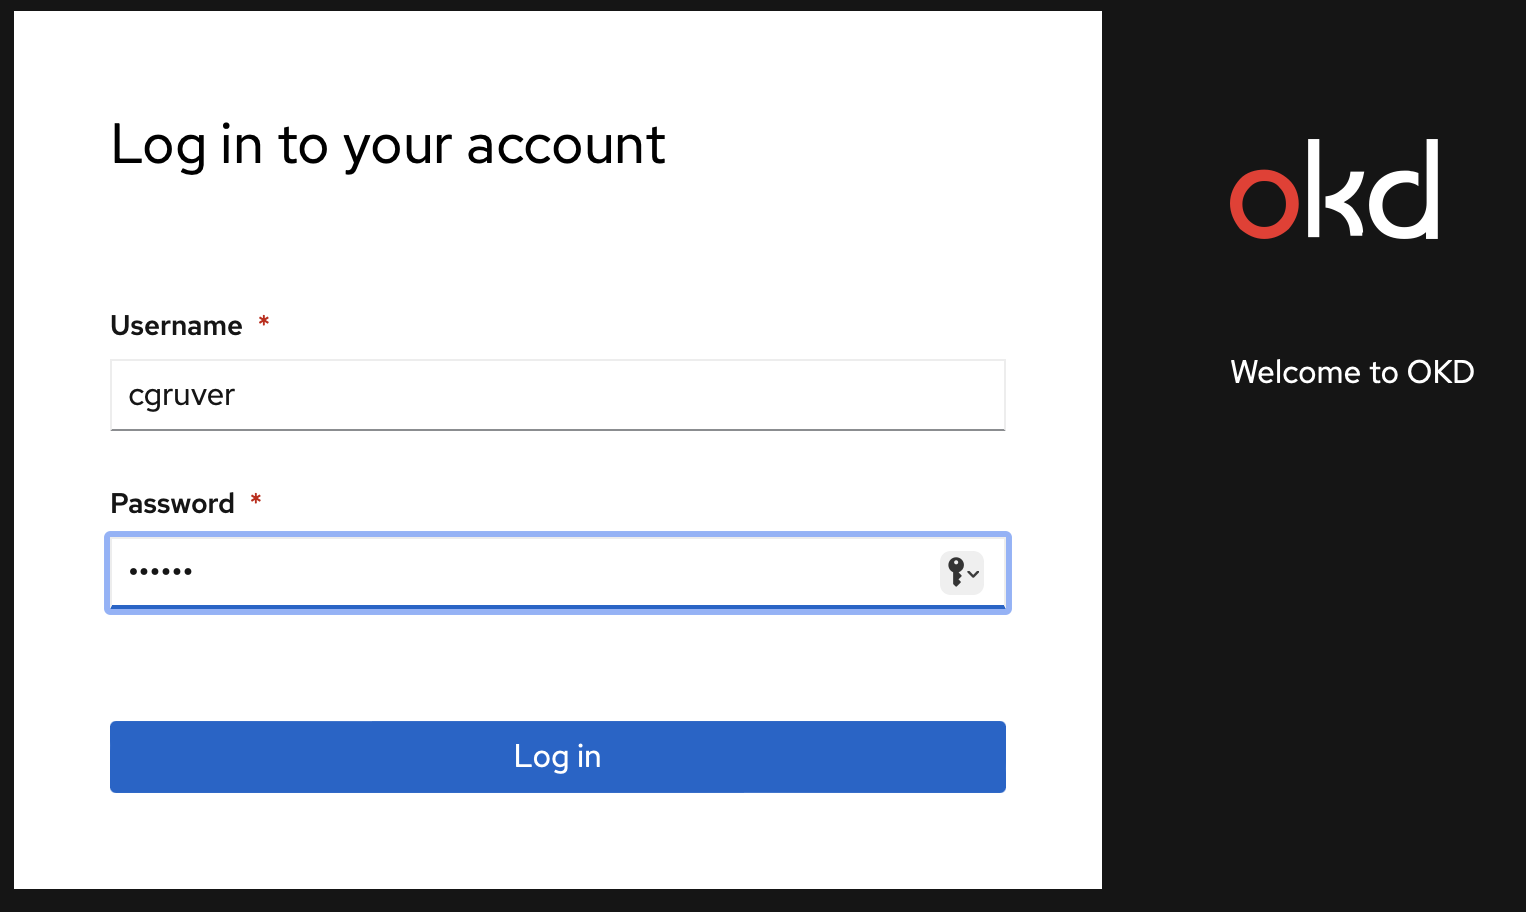
Log in as an unprivileged user:
-
Note the little 9-box icon in the top right of the screen. Click on that.
Then click on
Eclipse Che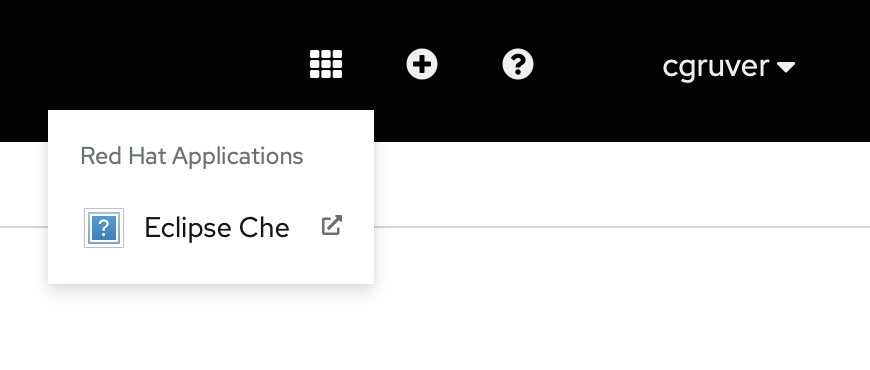
-
Select
Log in with OpenShift
-
Log in with the same user: (I know… It’s not SSO enabled…)
-
The first time, it will ask you to authorize access:
Click
Allow selected permissions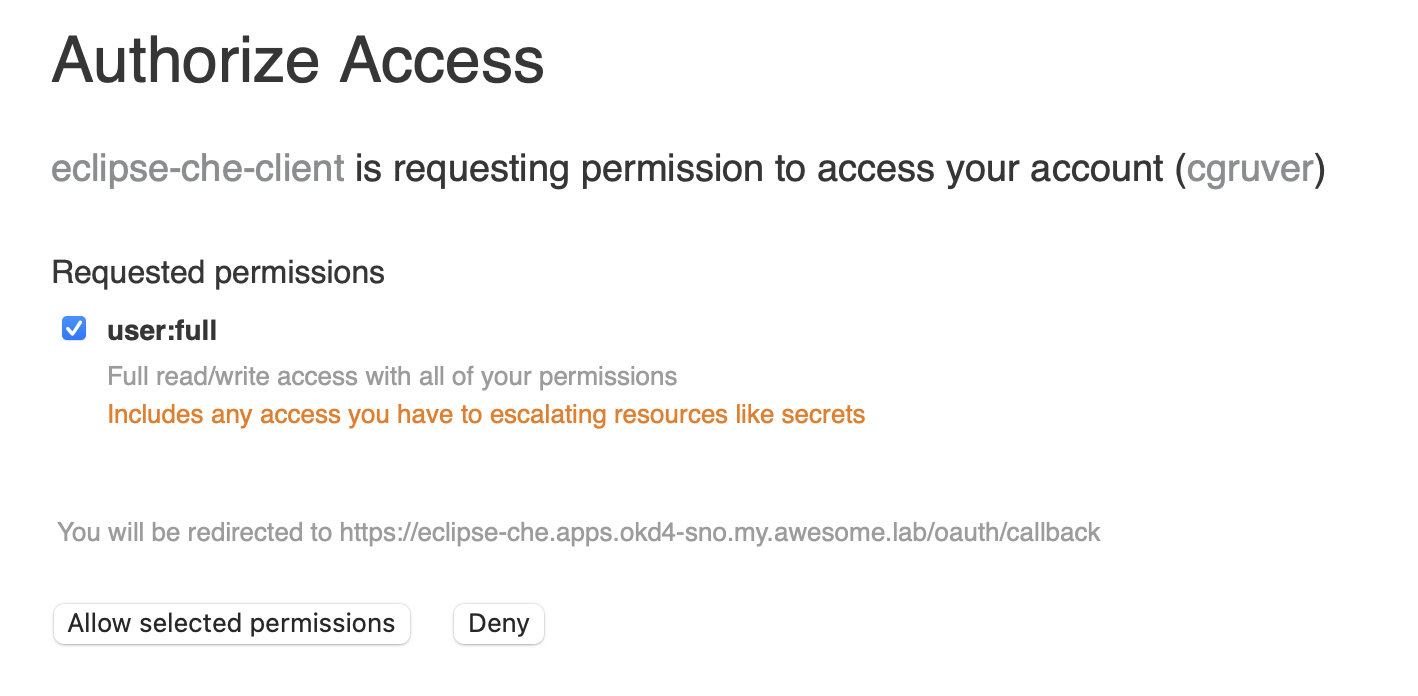
-
You should now see the Eclipse Che landing page:
-
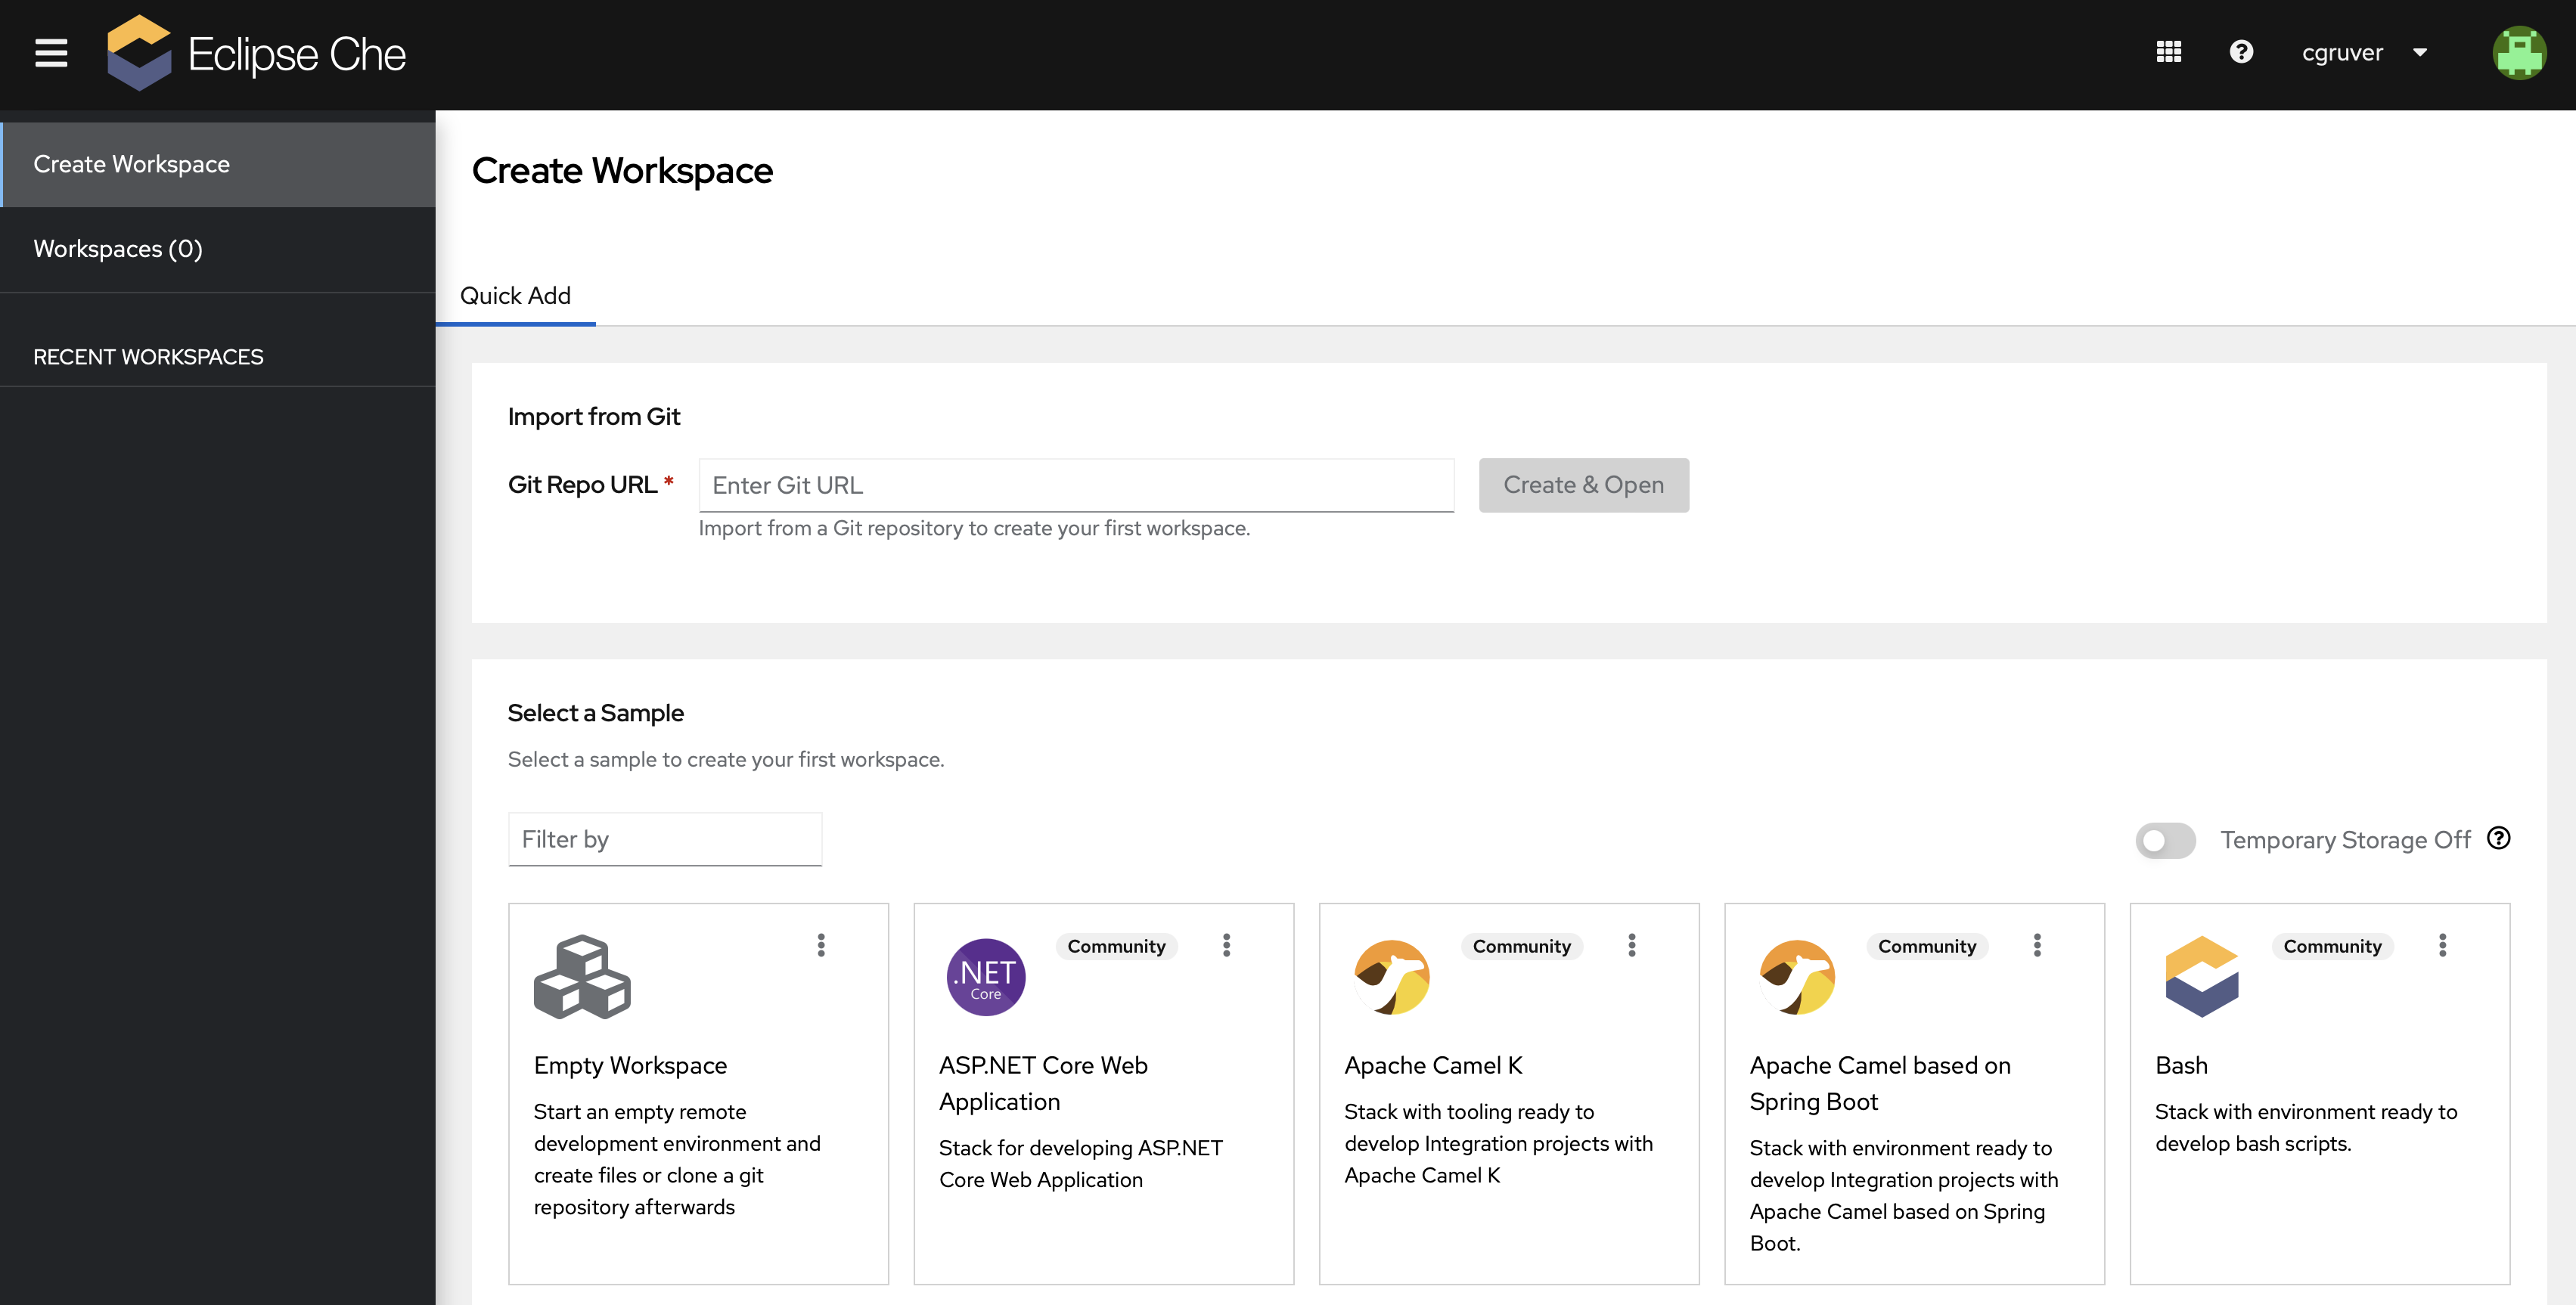
Create a new Workspace:
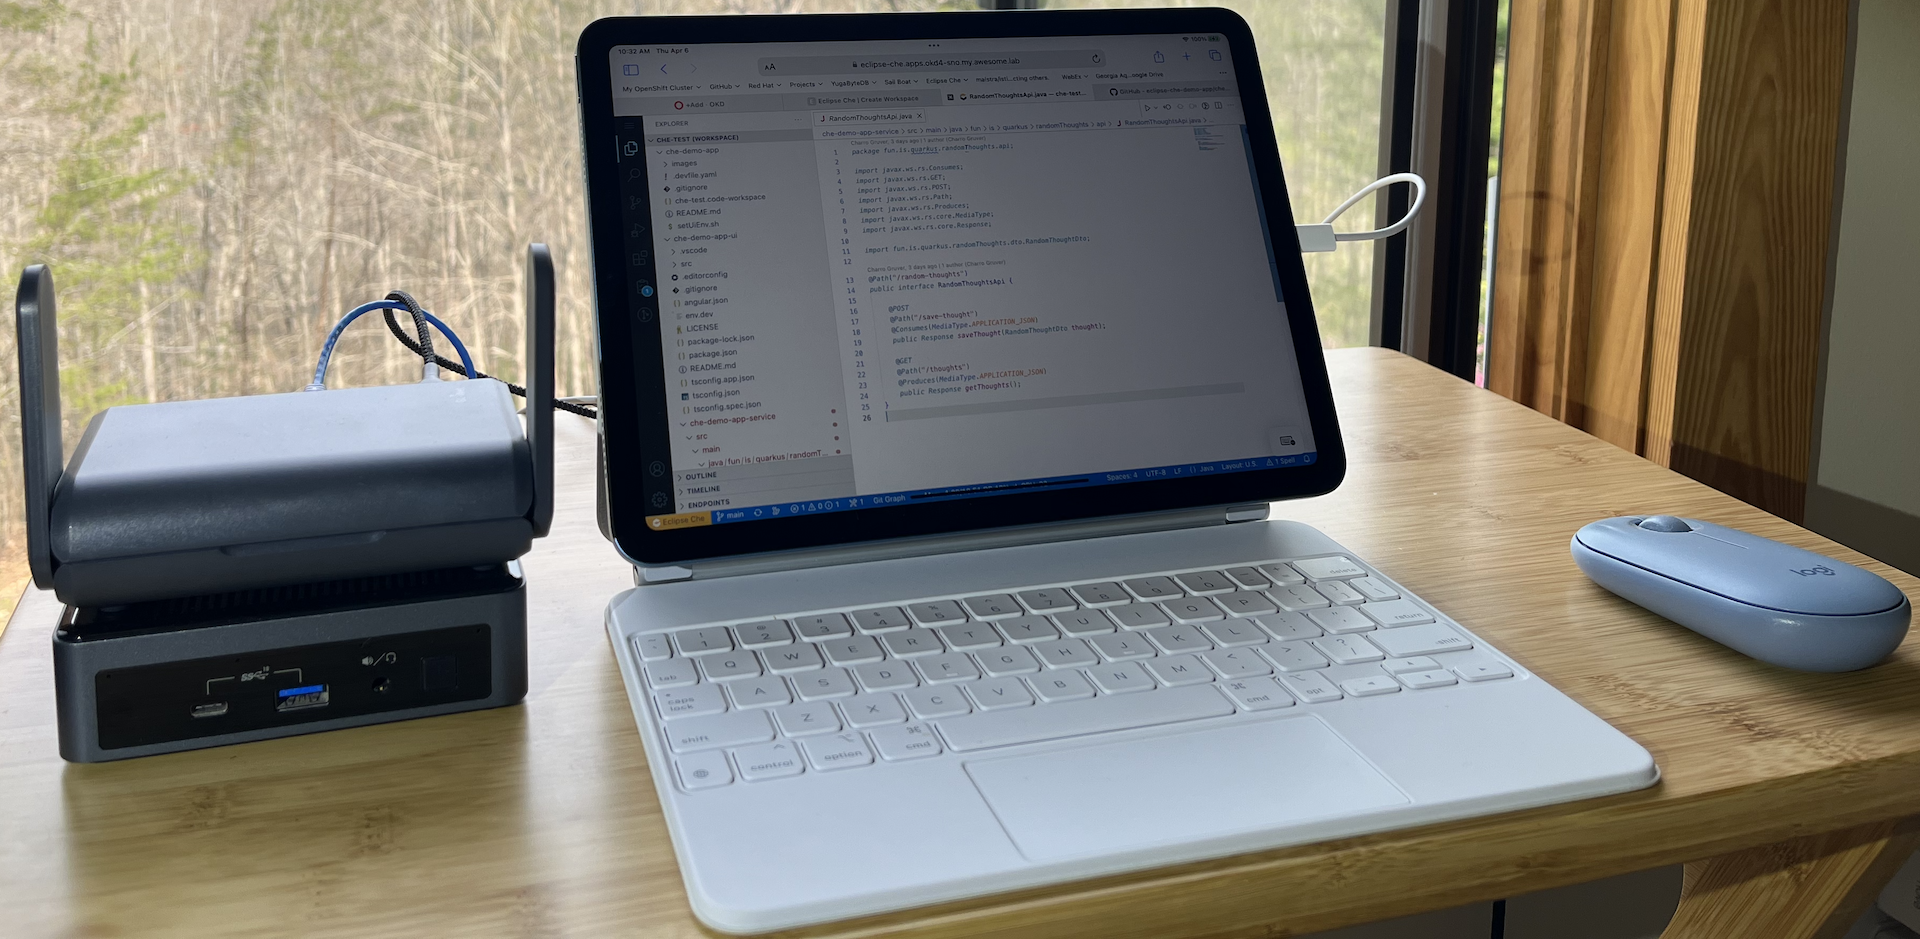
This is where things start to happen. All you need to get started is the URL of the git repository for your project.
For this demo, I have created a more complex project so that you can really see some of the power of Eclipse Che (OpenShift Dev Spaces).
I also created a GitHub organization to hold this project: https://github.com/eclipse-che-demo-app
The documentation is pretty sparse at the time of this Blog post, but will be filling out soon.
The project that we will be playing with is composed of three code repositories:
-
https://github.com/eclipse-che-demo-app/che-demo-app.git
This code repo contains the Eclipse Che and VS Code configurations for the project.
The config file for the Eclipse Che workspace is
.devfile.yamlYou can explore the syntax here: https://devfile.ioIn the not too distant future, I’ll publish a post explaining the DevFile in this project.
-
https://github.com/eclipse-che-demo-app/che-demo-app-ui.git
This code repo contains a very lame Angular UI that I wrote for this demo… I’m not a UI/UX guy and had to learn Angular over the weekend. So, no judgement please… ;-)
-
https://github.com/eclipse-che-demo-app/che-demo-app-service.git
This code repo contains a Quarkus application which exposes a couple of REST endpoints and uses a PostgreSQL database as its data persistence engine.
To create your workspace, simply paste this URL:
https://github.com/eclipse-che-demo-app/che-demo-app.gitinto the
Import from Gitdialog as shown below and clickCreate & Open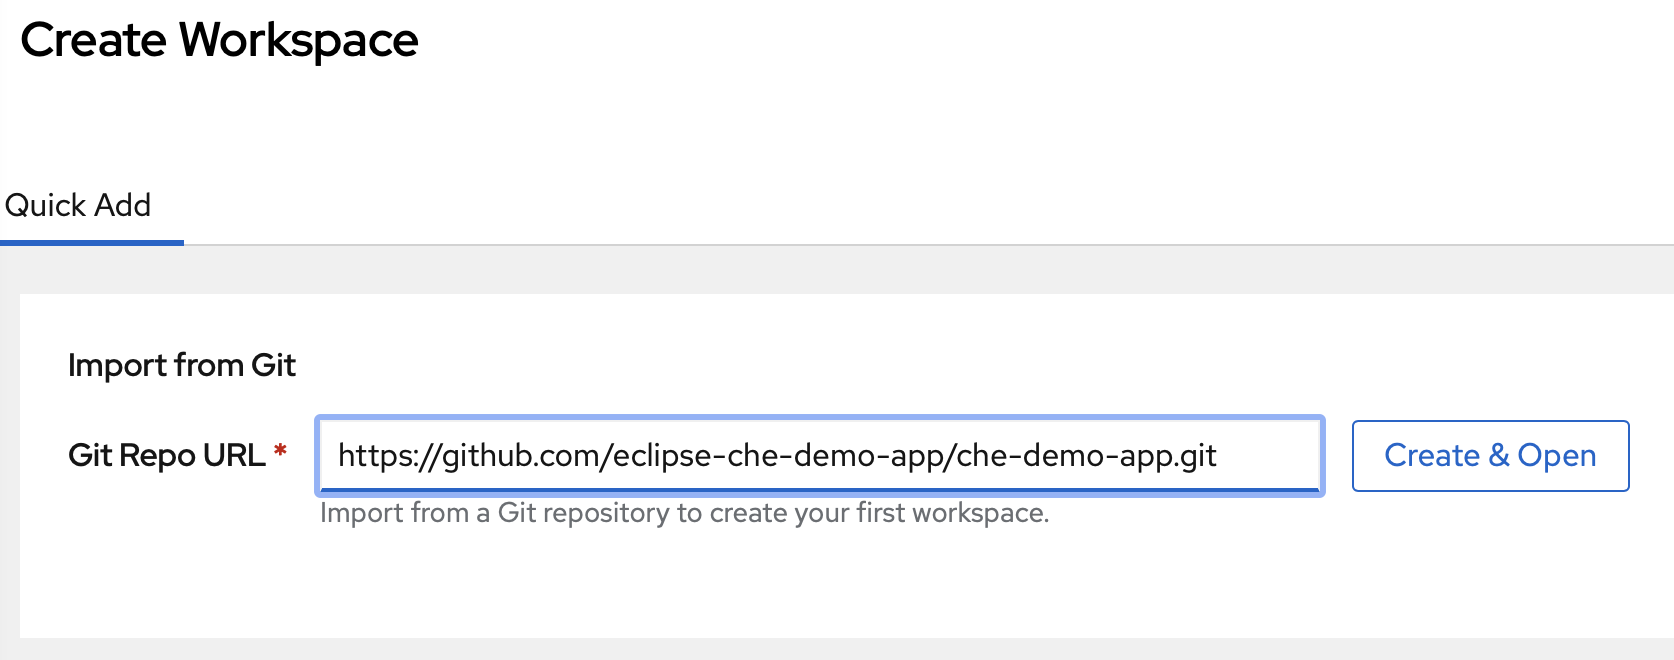
-
-
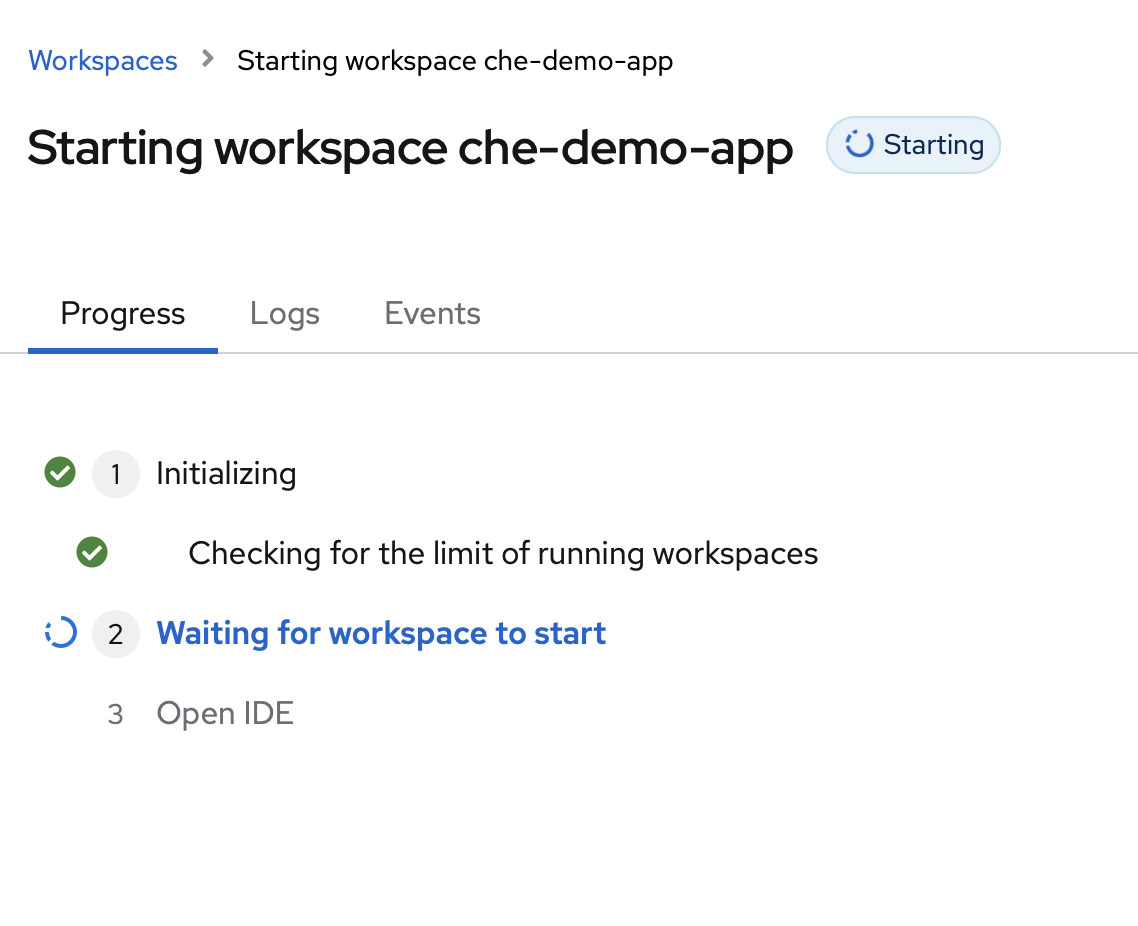
Your workspace should now be starting:

Note: There is a slight chance that you will see an error like this:
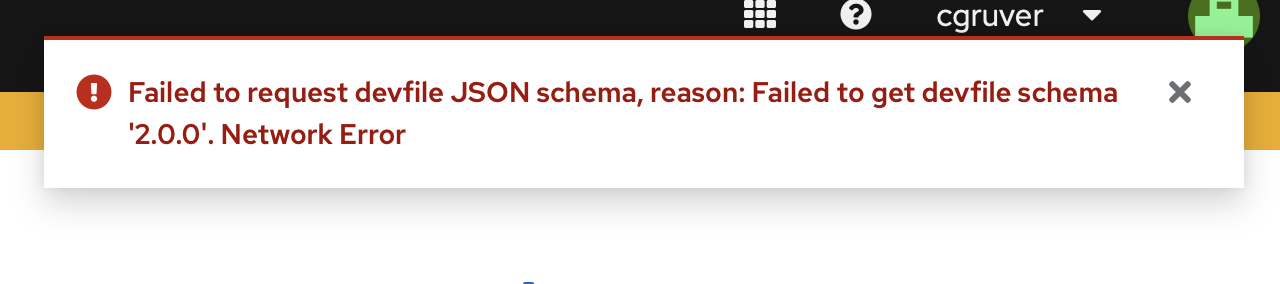
This popped up in
7.63. It appears to be a race condition of some sort.If you see this, your workspace did actually start. It just failed to open your browser to the correct page. In the left hand menu, you should see
che-demo-appinRECENT WORKSPACES. Just click on that and your workspace should open. -
VS Code will ask you to trust the authors of the git repository that you cloned:

-
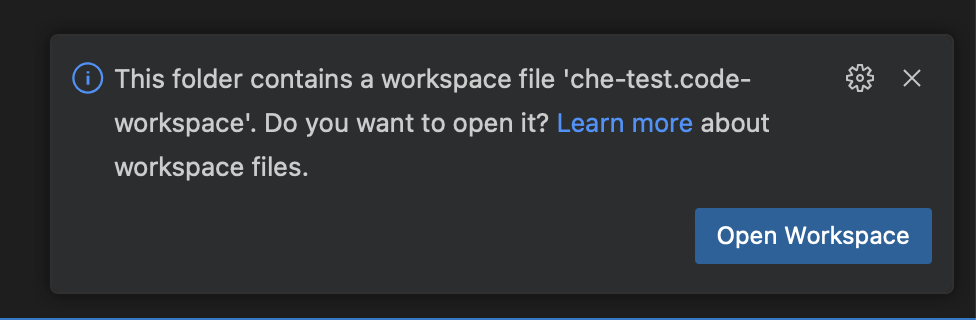
At this point you should be looking at VS Code in your browser. Note that it cloned the
che-demo-apprepo. Also, note that it detected the presence of a VS Code workspace and is asking if you want to open it.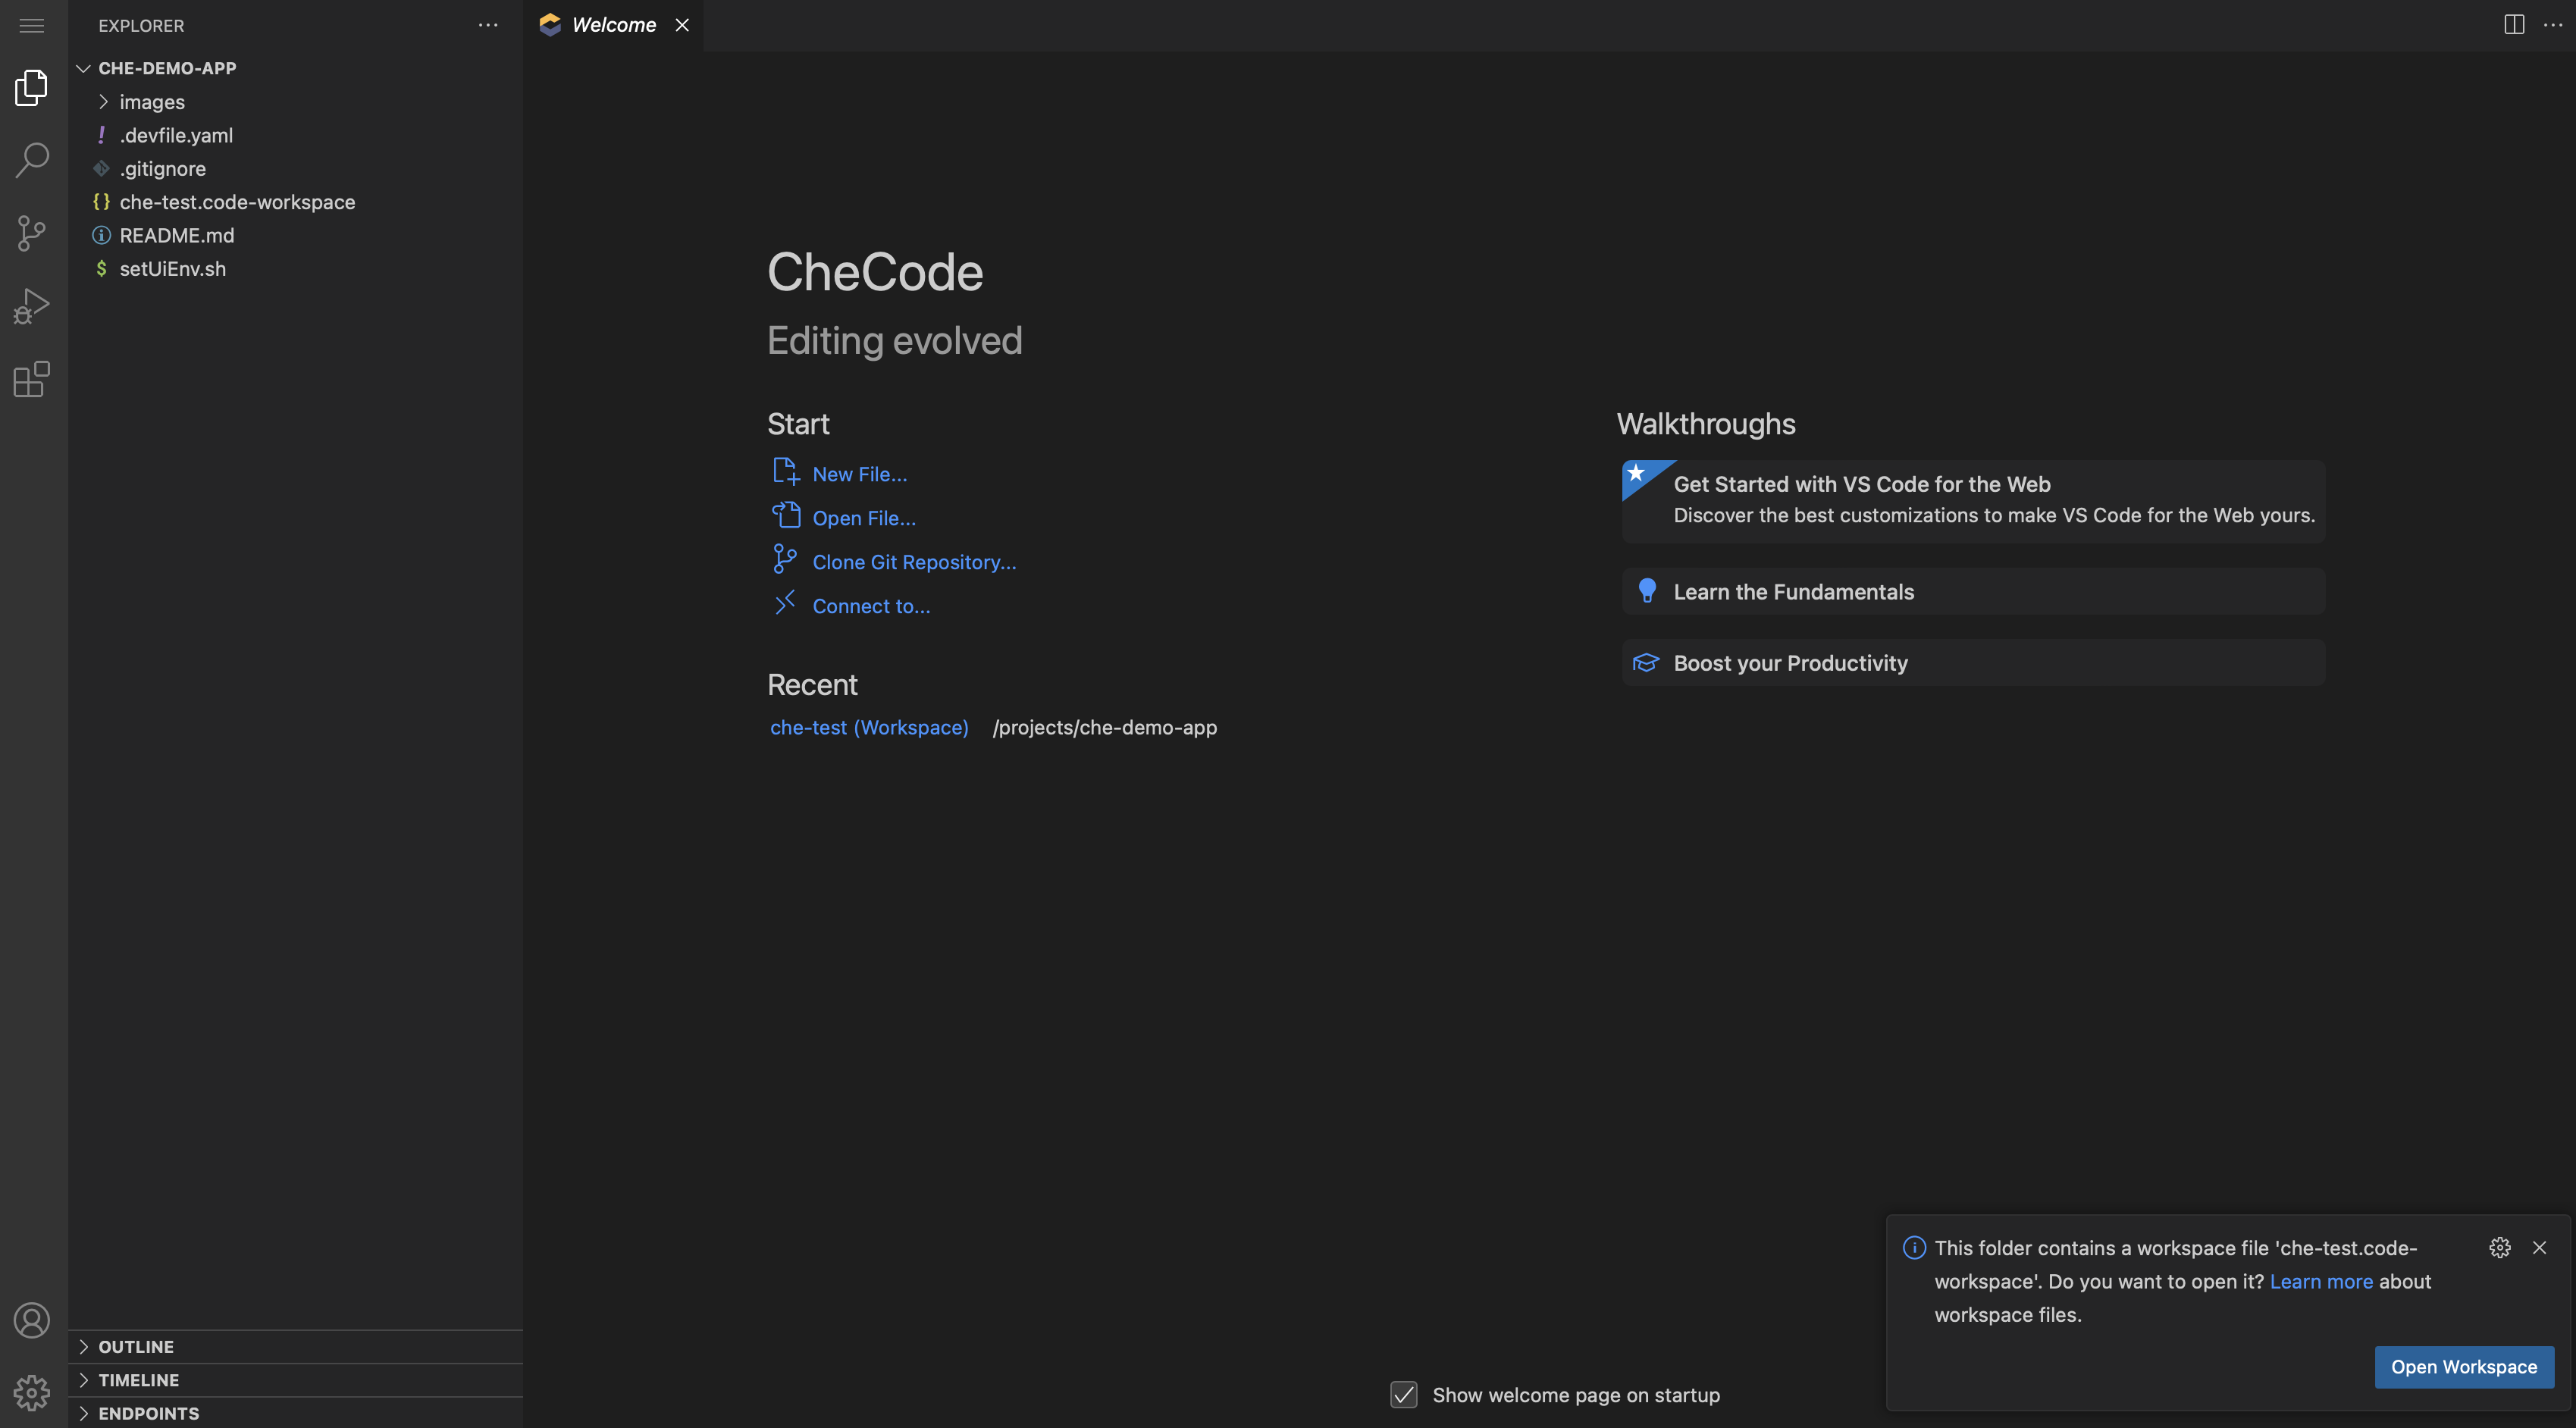
-
Open the workspace:
-
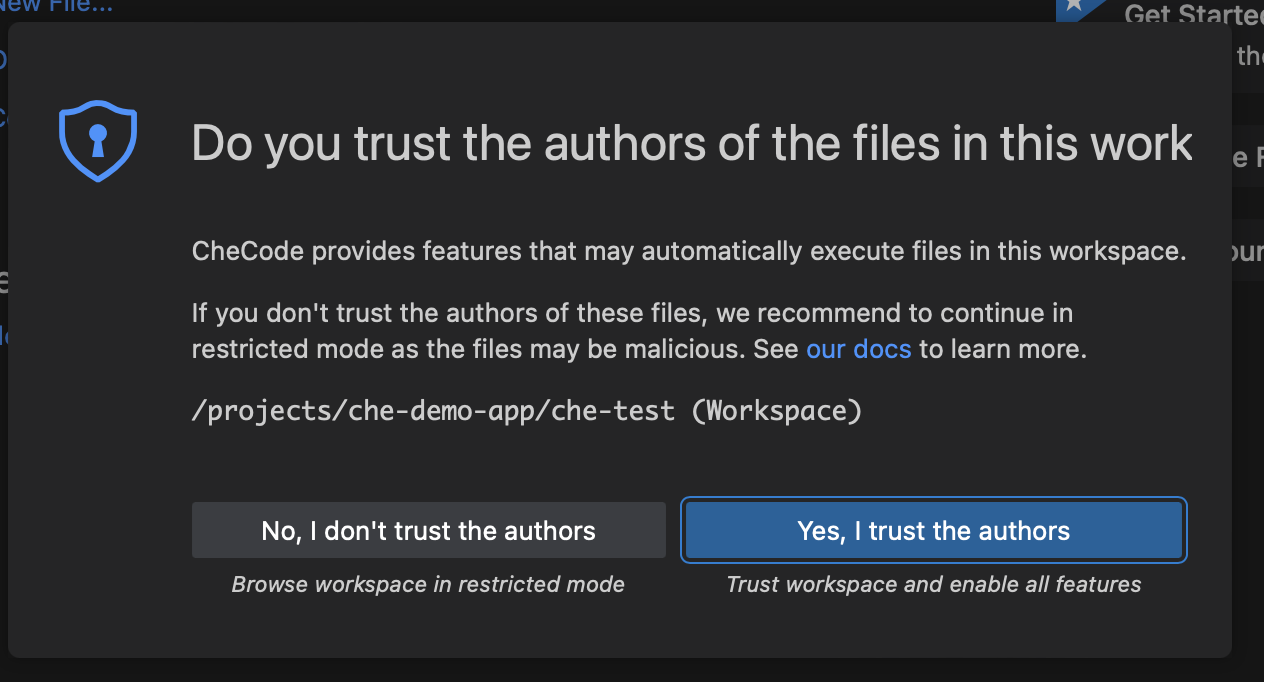
You’ll be prompted to trust the authors again, because it is now opening the other two code repos that it cloned.
-
Sit back and watch for just a minute. A lot is getting ready to happen.
One of the first things that you will likely notice, is that the screen suddenly changes from a dark theme to a light theme. This is because VS Code is installing the extensions that are recommended in the workspace config file that you just opened, and VS Code is applying the configuration. I intentionally used a light theme here to add more drama to the demo. :-) Plus, this is my favorite VS Code color theme. Both light and dark.
-
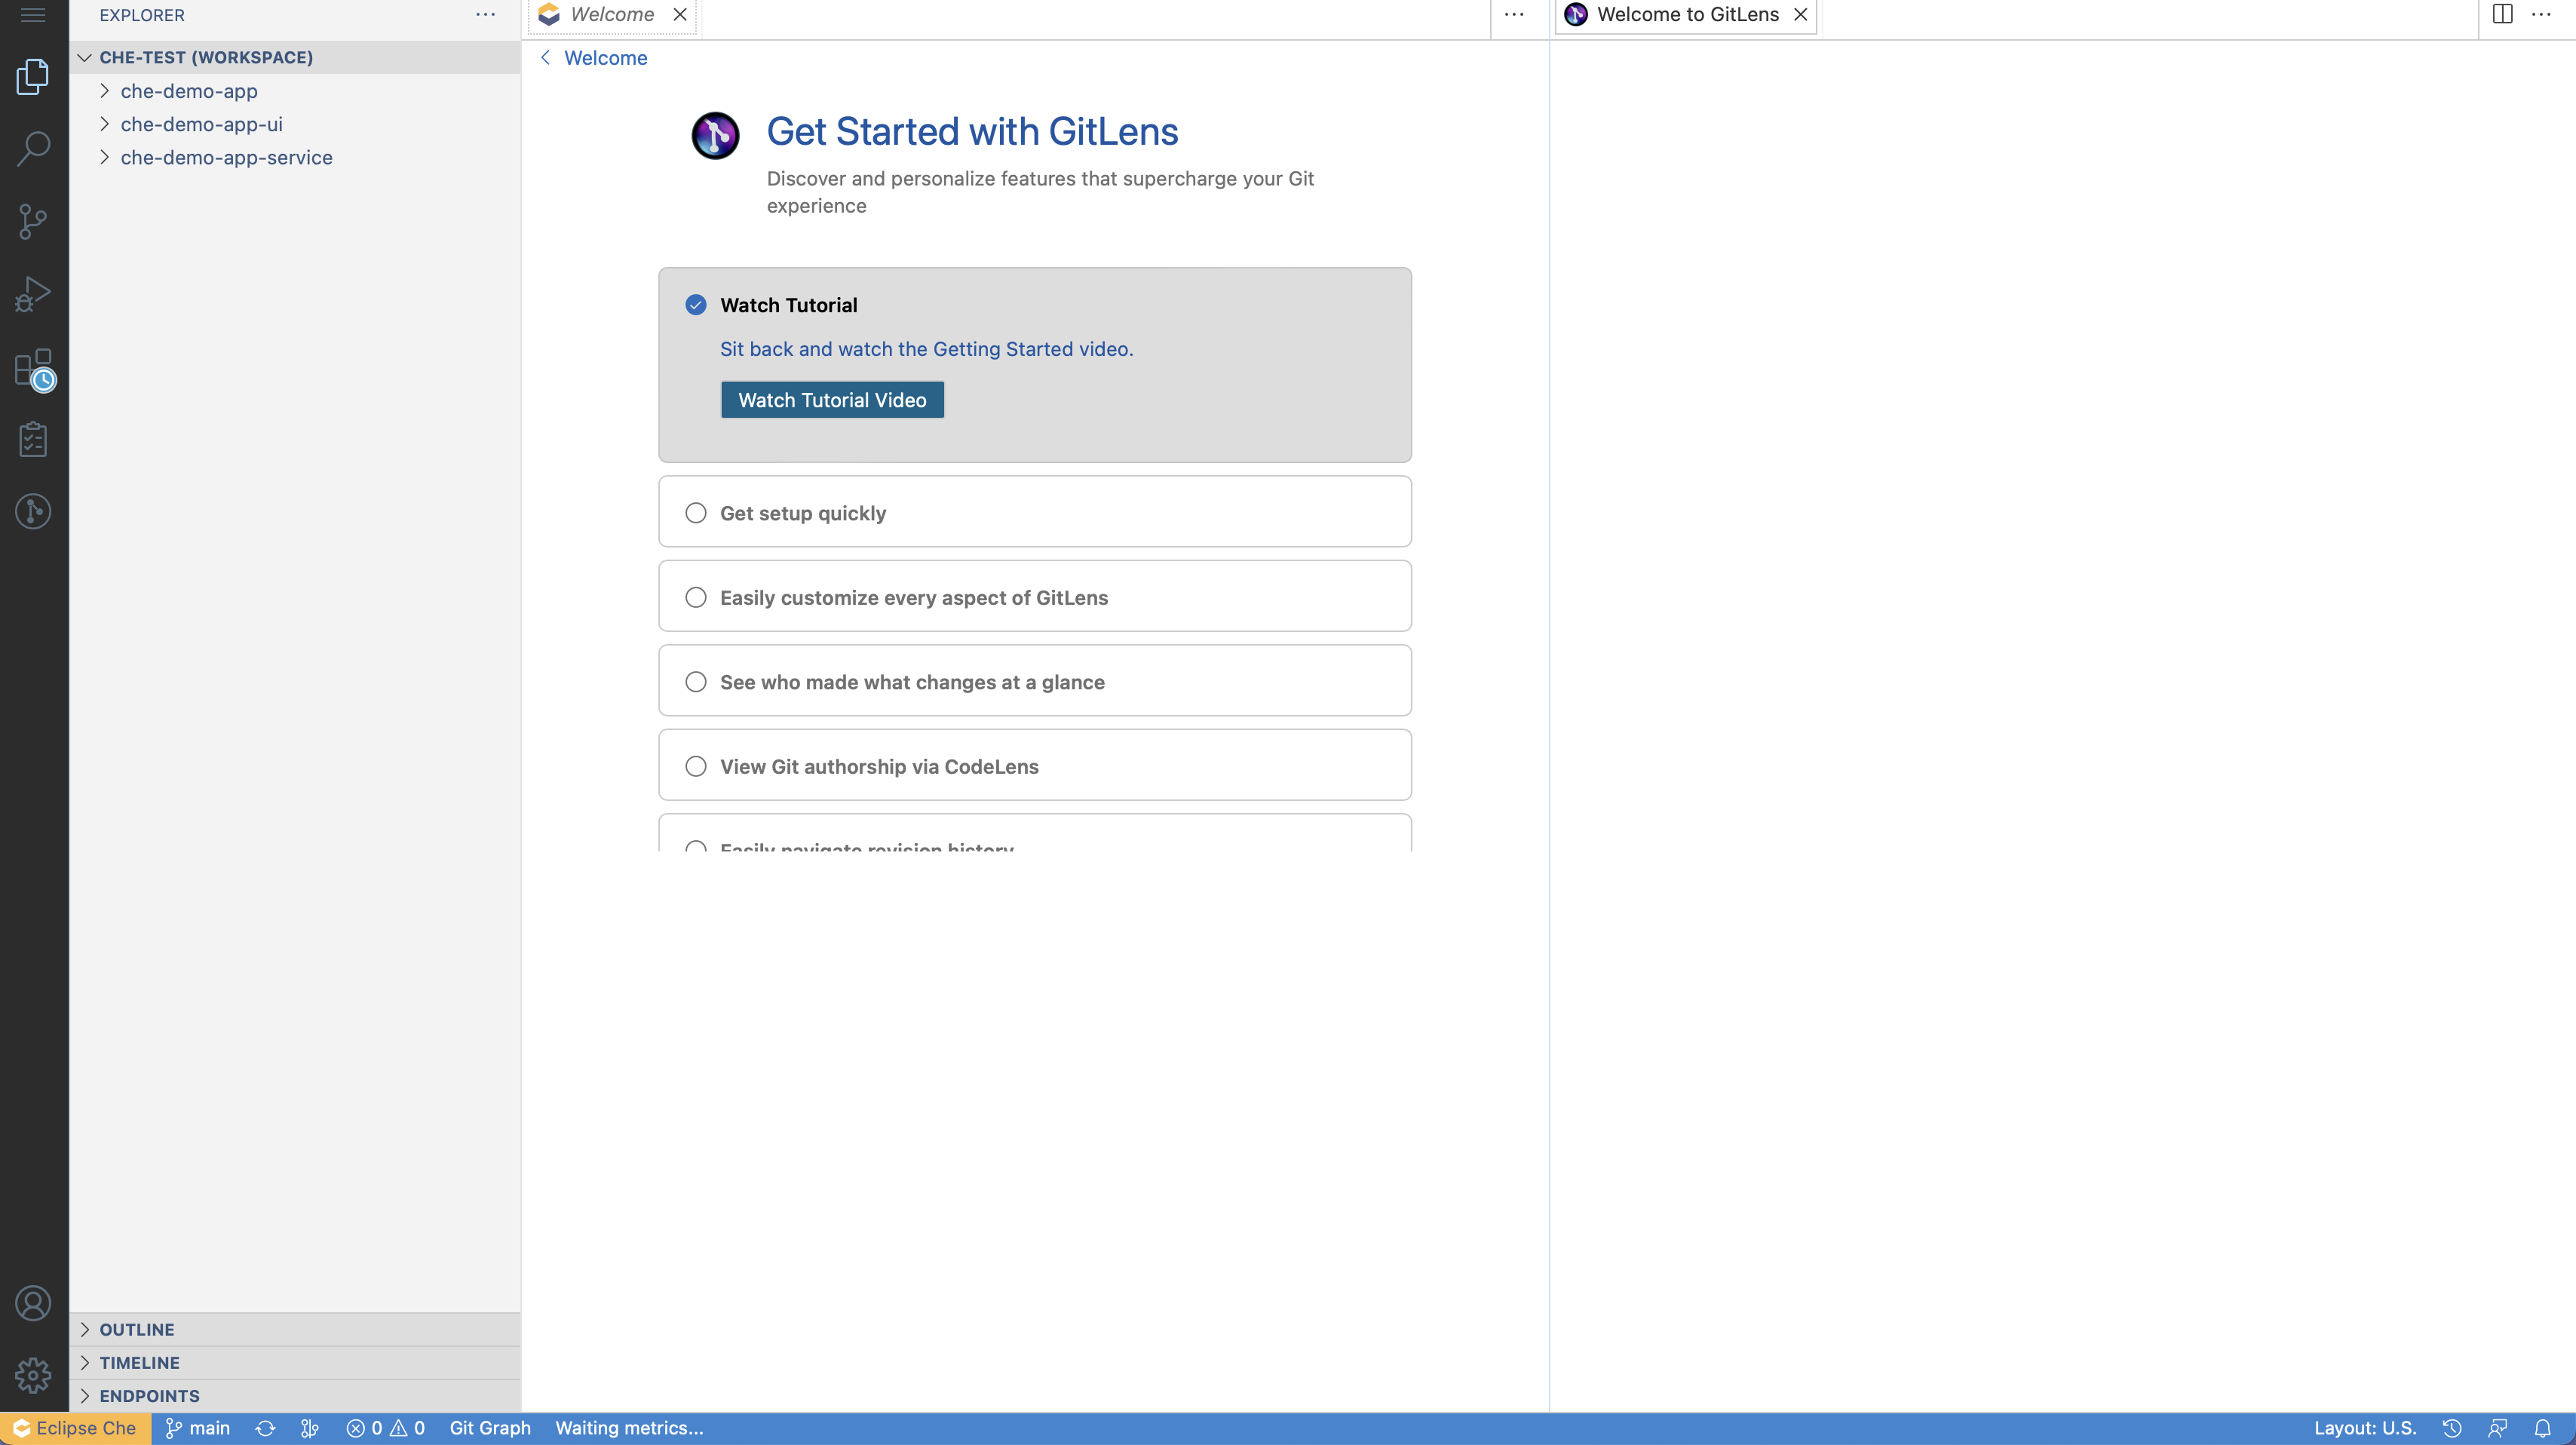
Look at the left side of the screen and notice that there are three code repos in your workspace:

-
Look down at the bottom right of your browser window and notice the
Opening Java Projects:dialog.
-
Click on
check detailsin that dialog:
-
You are seeing VS Code initialize the Quarkus app in this workspace:
When it is done, it will look like this:

You can click on the little
Xicon or the trashcan icon to close the terminal window.
Time to Work On Some Code
At this point you have seen how quickly and easily you can get set up to contribute to a project.
The DevFile (.devfile.yaml) and the VS Code workspace config file have all of the configuration specified. Eclipse Che (OpenShift Dev Spaces) consumed those files and set everything up for you. We’re not going to talk about it much in this post, but you even have a running PostgreSQL database, and the ability to create container images with podman or buildah.
This post is focused on coding, so let’s write some code now.
-
Before diving into some code, we need to start our frontend (Angular) and backend (Quarkus) apps in live dev mode:
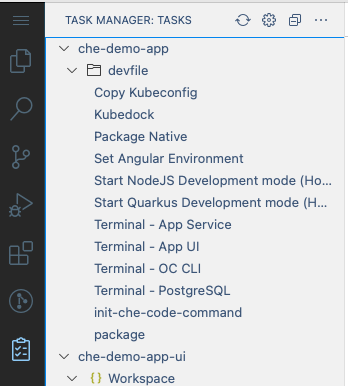
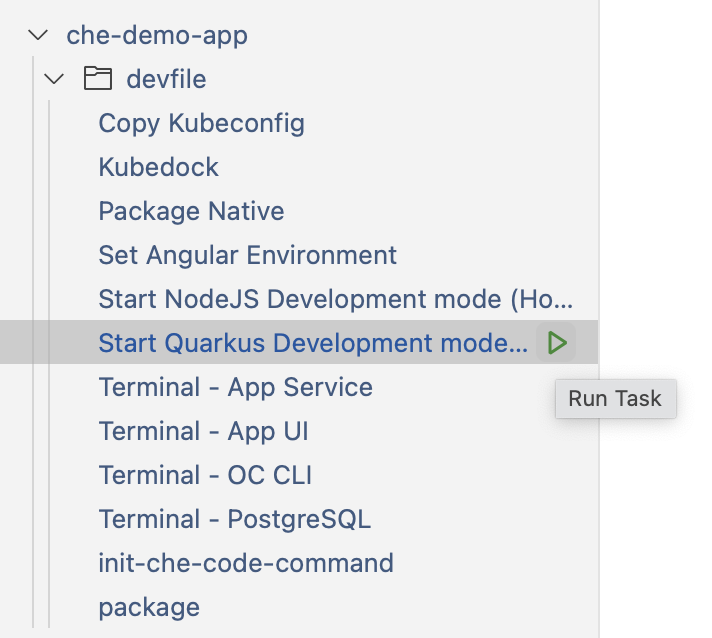
So, click on the icon in the left hand menu that looks like a small clipboard. This is the Task Manager extension. We need to run two tasks to get set up.
-
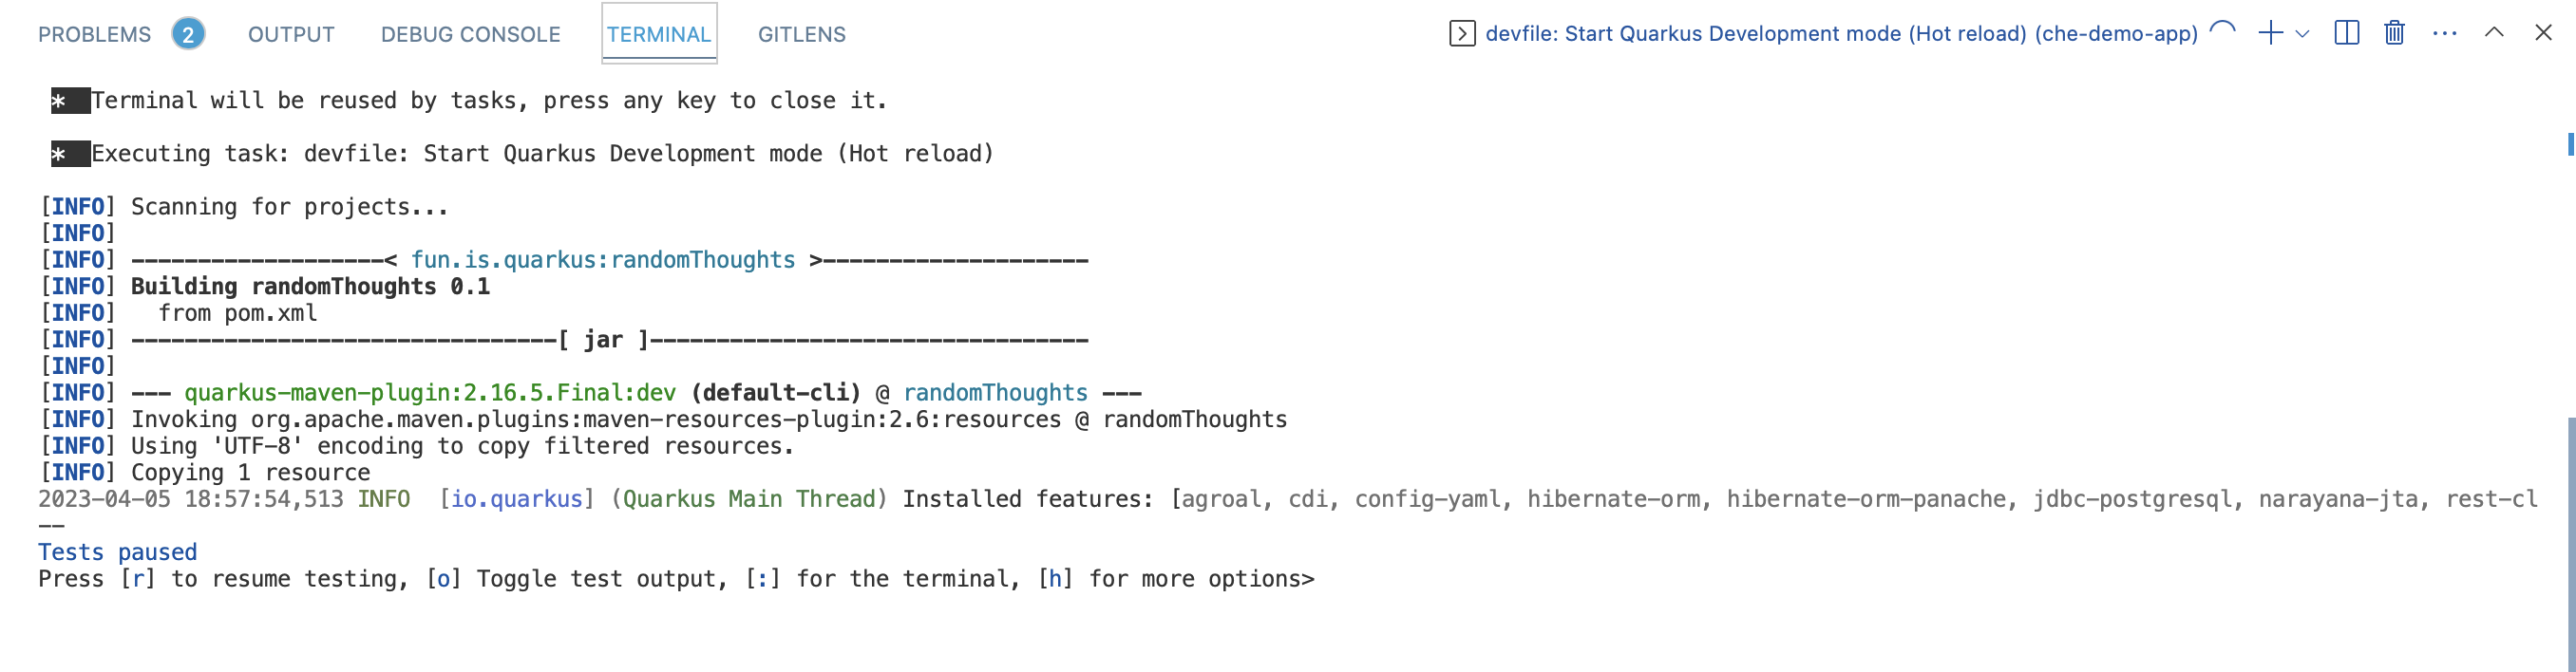
Start the Quarkus app in live dev mode:
-
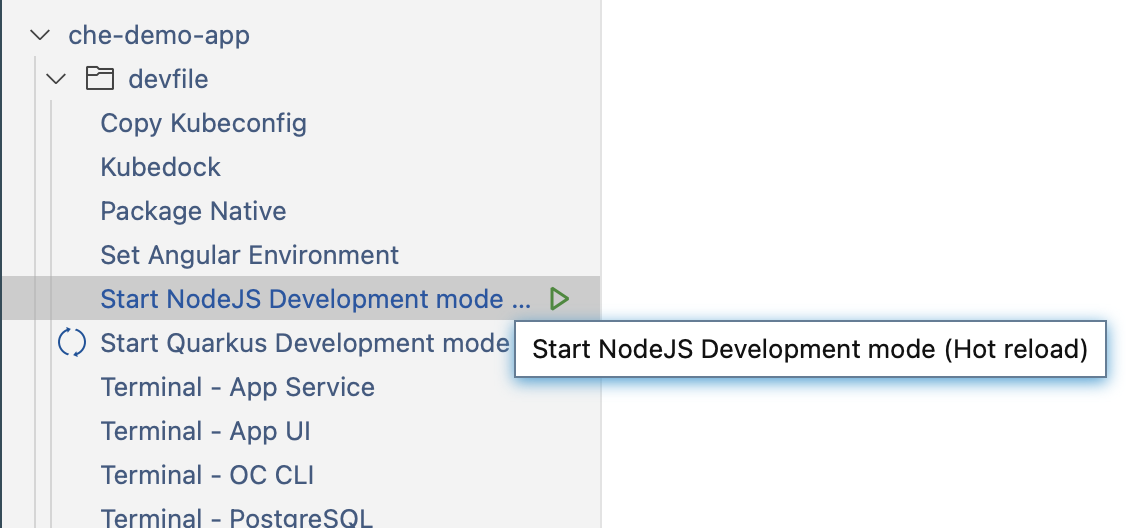
Start the Angular app in live dev mode:
-
Open a browser tab to the Angular app:
Wait until the Angular app is running, then click on the
Open in New Tabbutton that is down in the bottom right: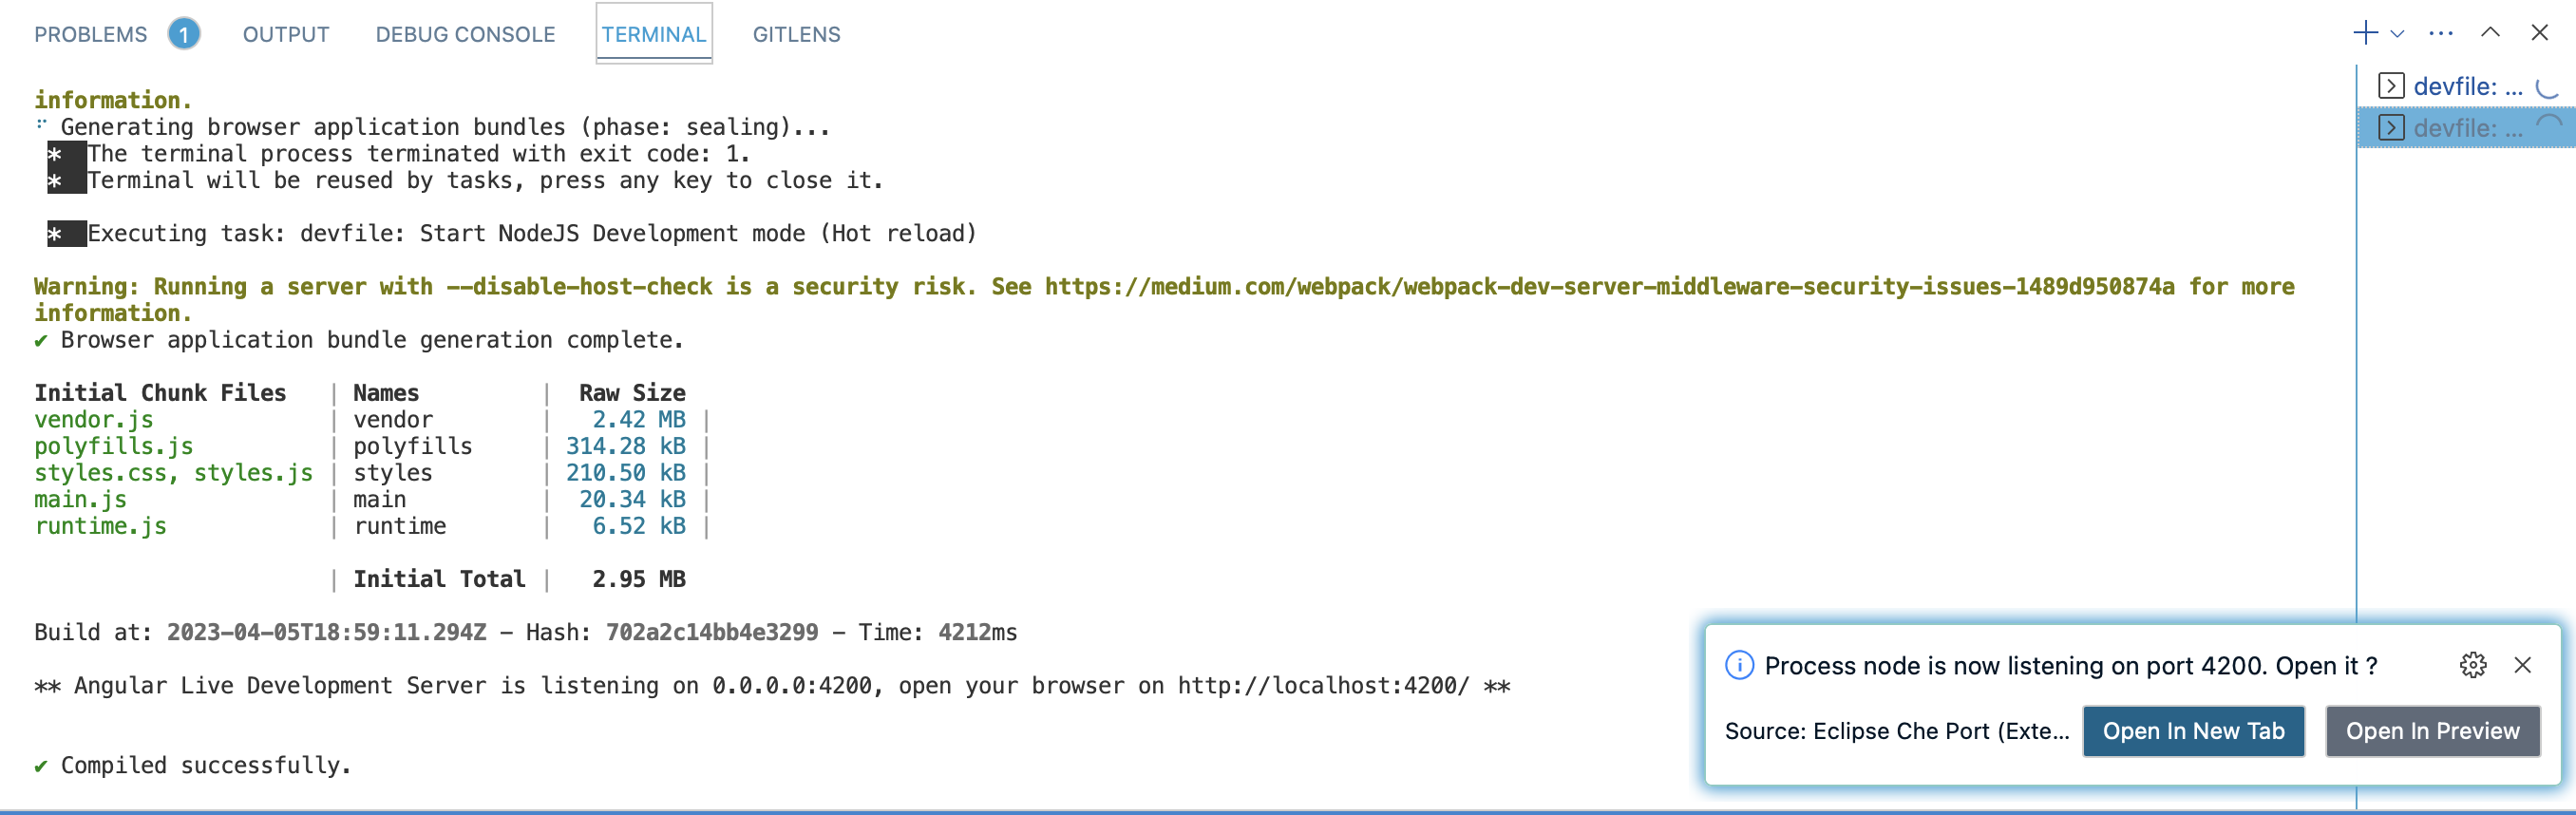
-
Click
Openin the popup dialog:
-
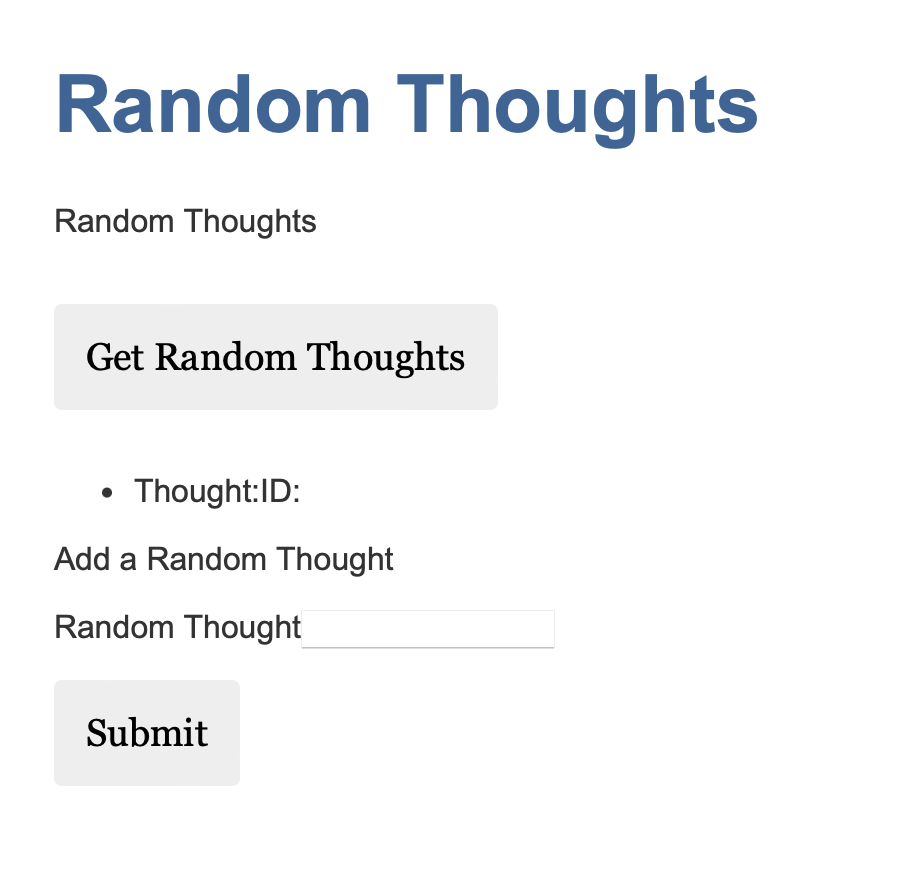
You should now see my really lame Angular app:
-
Go back to the VS Code tab and open the
app.component.tsfile in theche-demo-app-uiproject: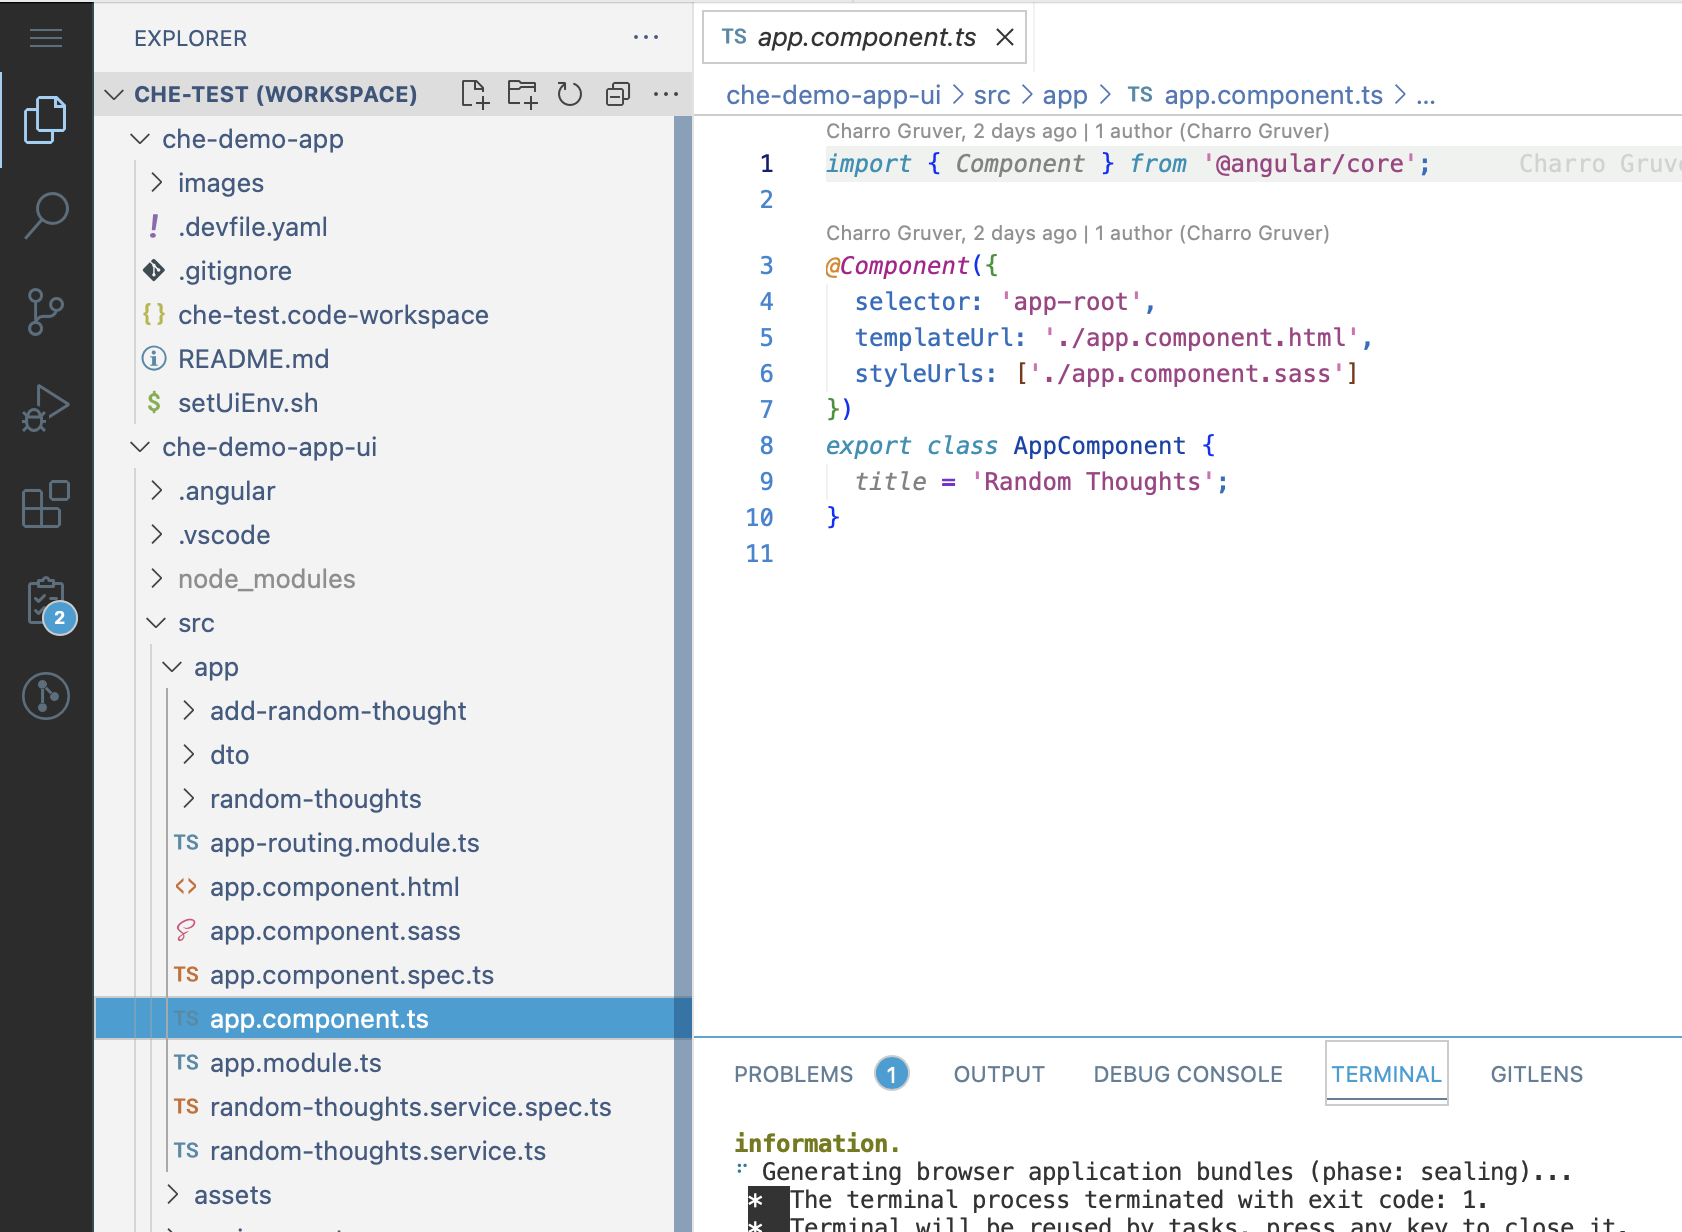
-
Change the
titletoMy Random Thoughts: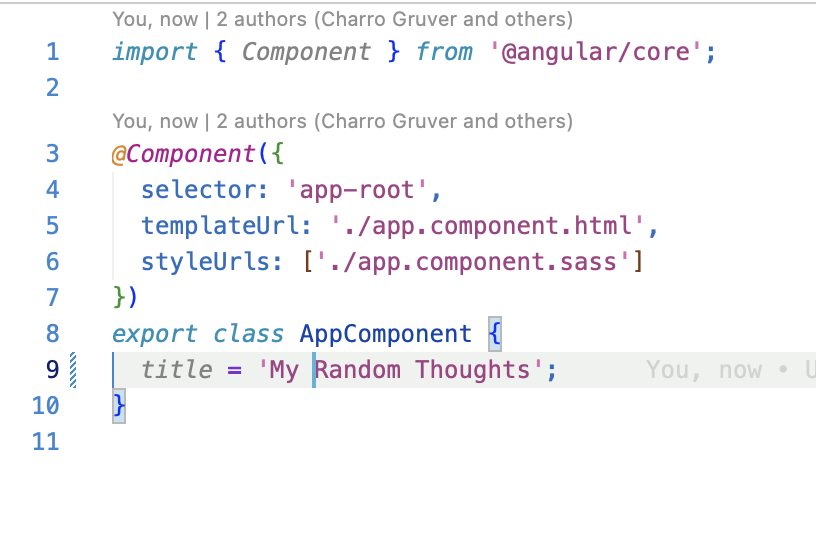
-
Notice that the browser tab, with the Angular app open, immediately reflects your change!
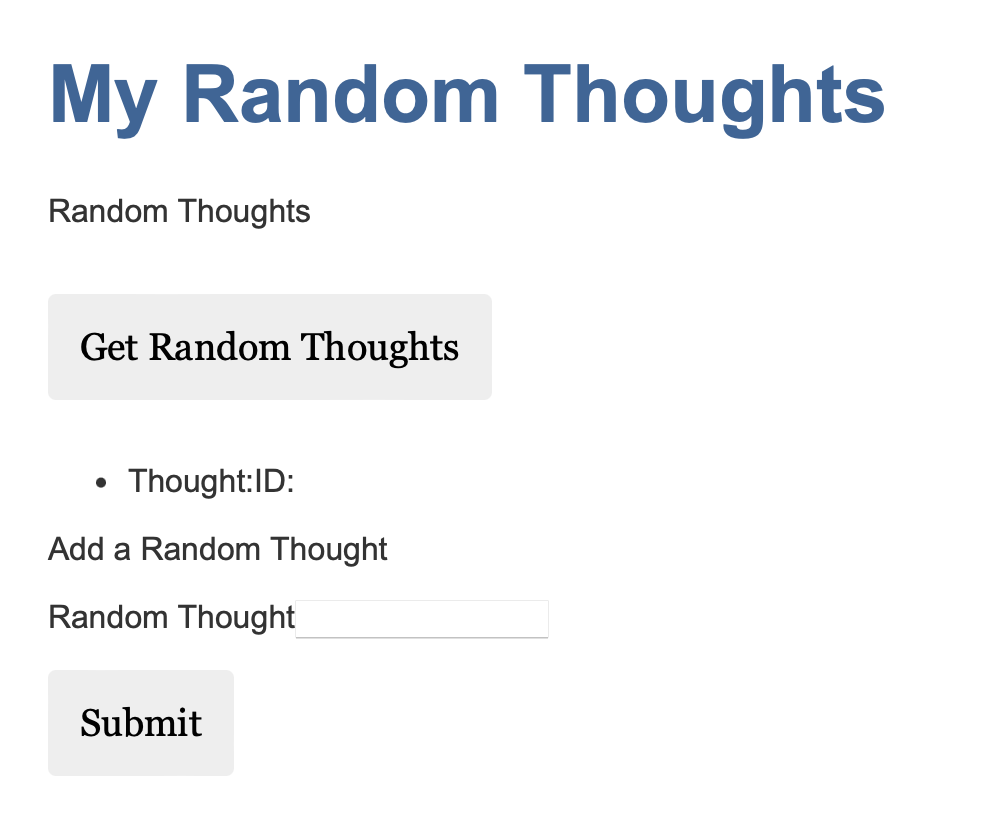
You are LIVE CODING with Angular!!!
-
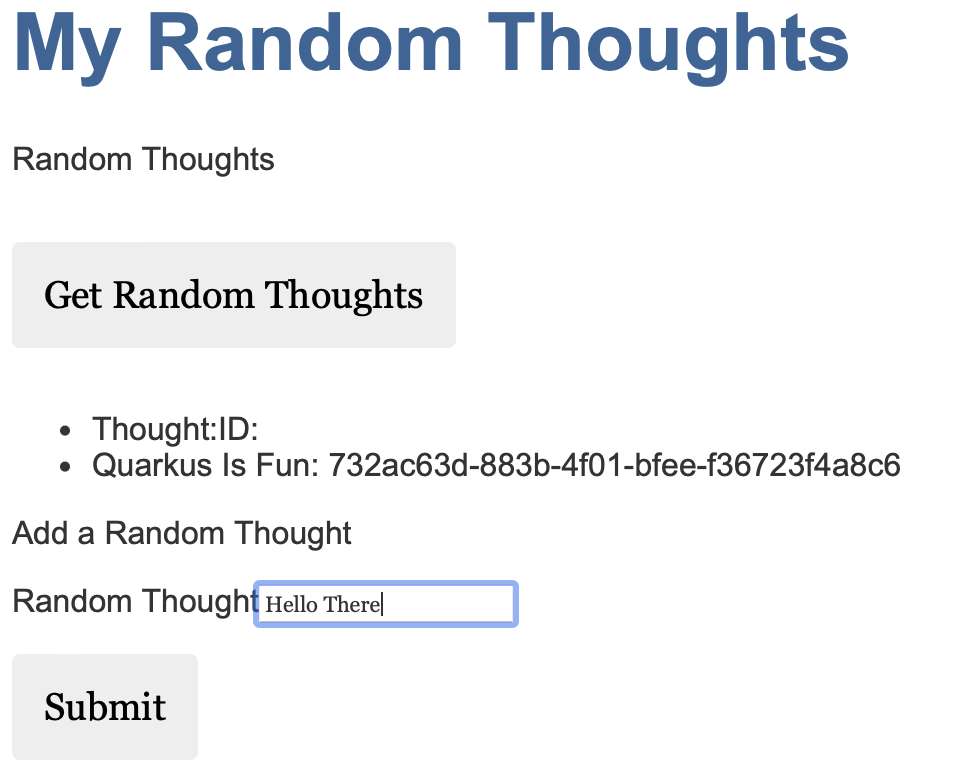
Type
Quarkus Is Funinto theRandom Thoughttext field and clickSubmit: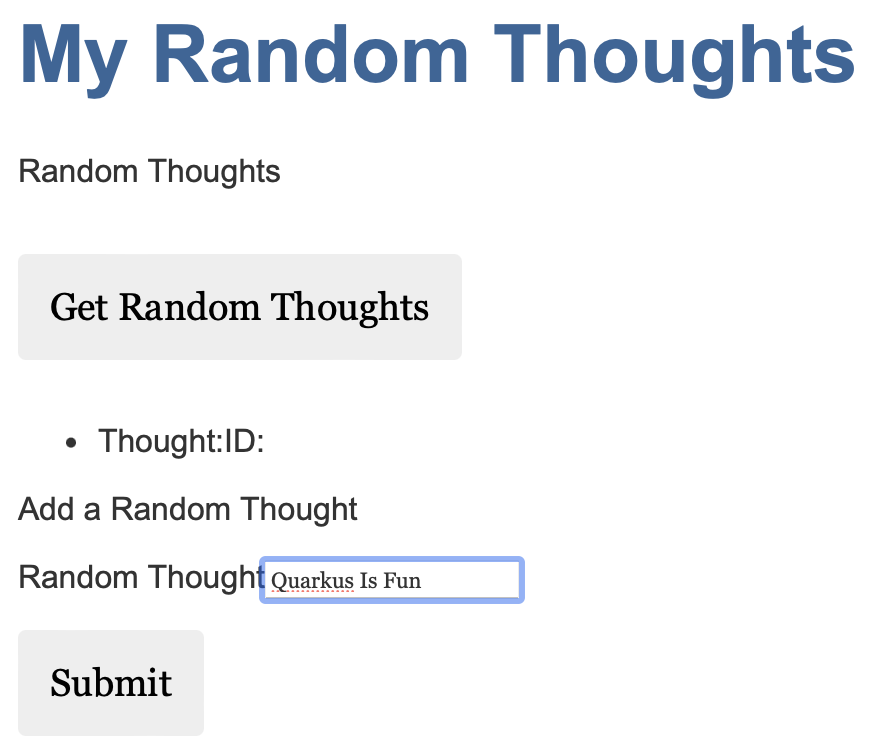
-
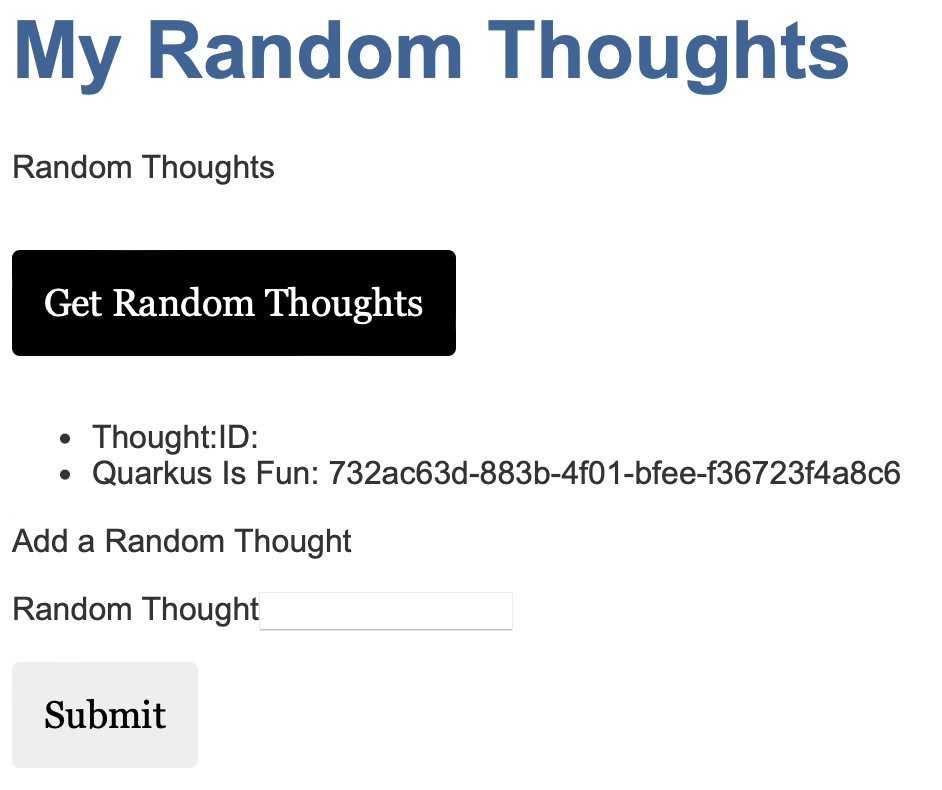
Click on the
Get Random Thoughtsbutton and observe the response: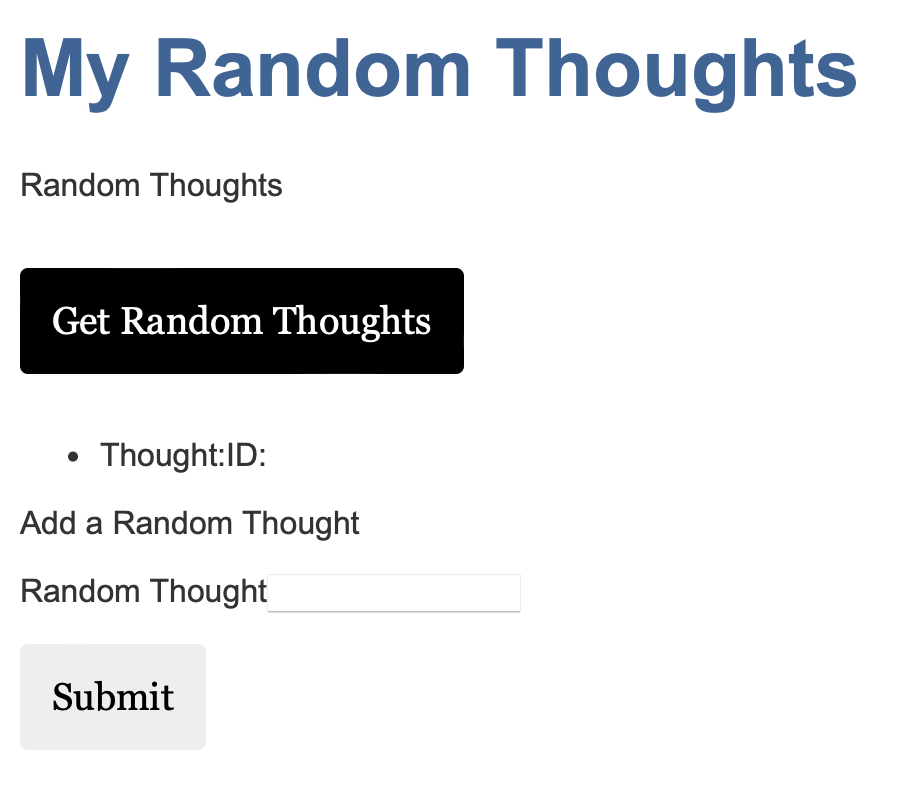
-
The Quarkus app assigns a UUID to your thoughts which are then stored in the PostgreSQL database that is running in your workspace.
-
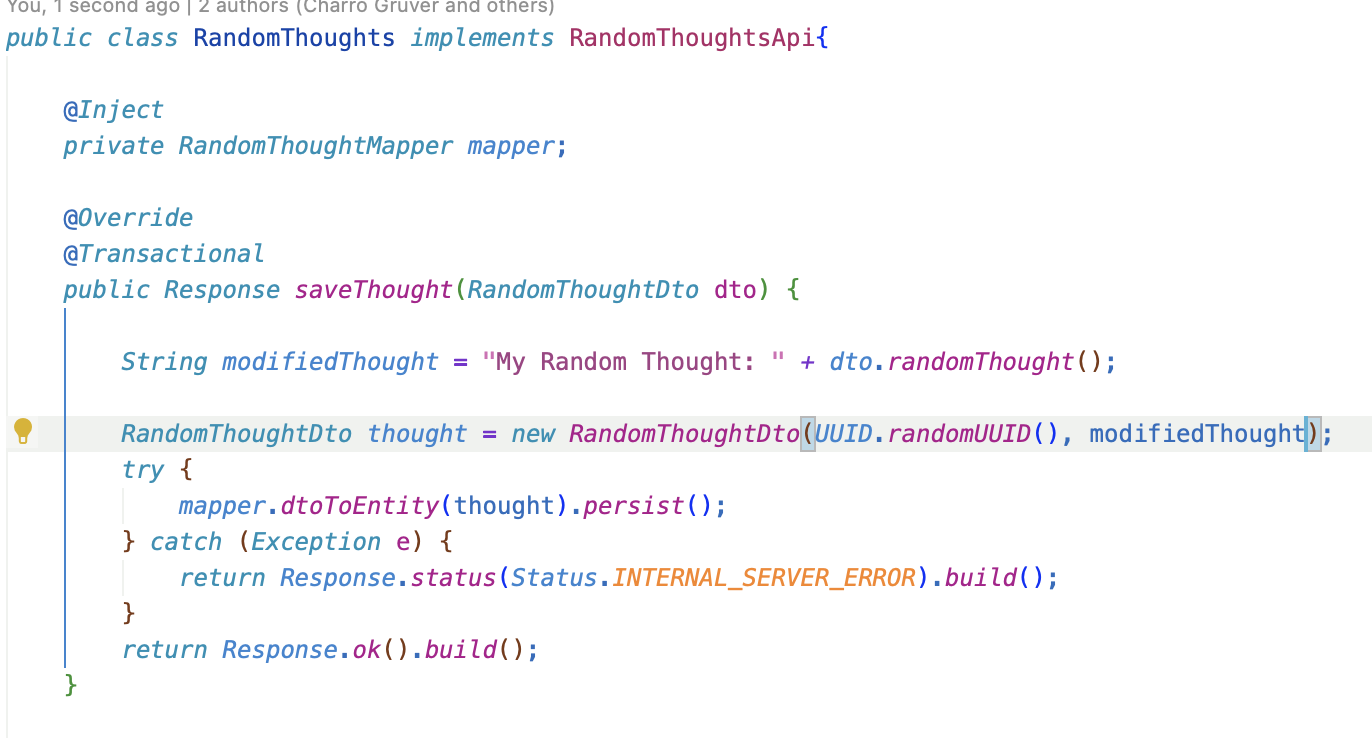
Now let’s make a change to the Quarkus app:
Open the file;
src/main/java/fun/is/quarkus/randomThoughts/service/RandomThoughts.javain theche-demo-app-serviceproject: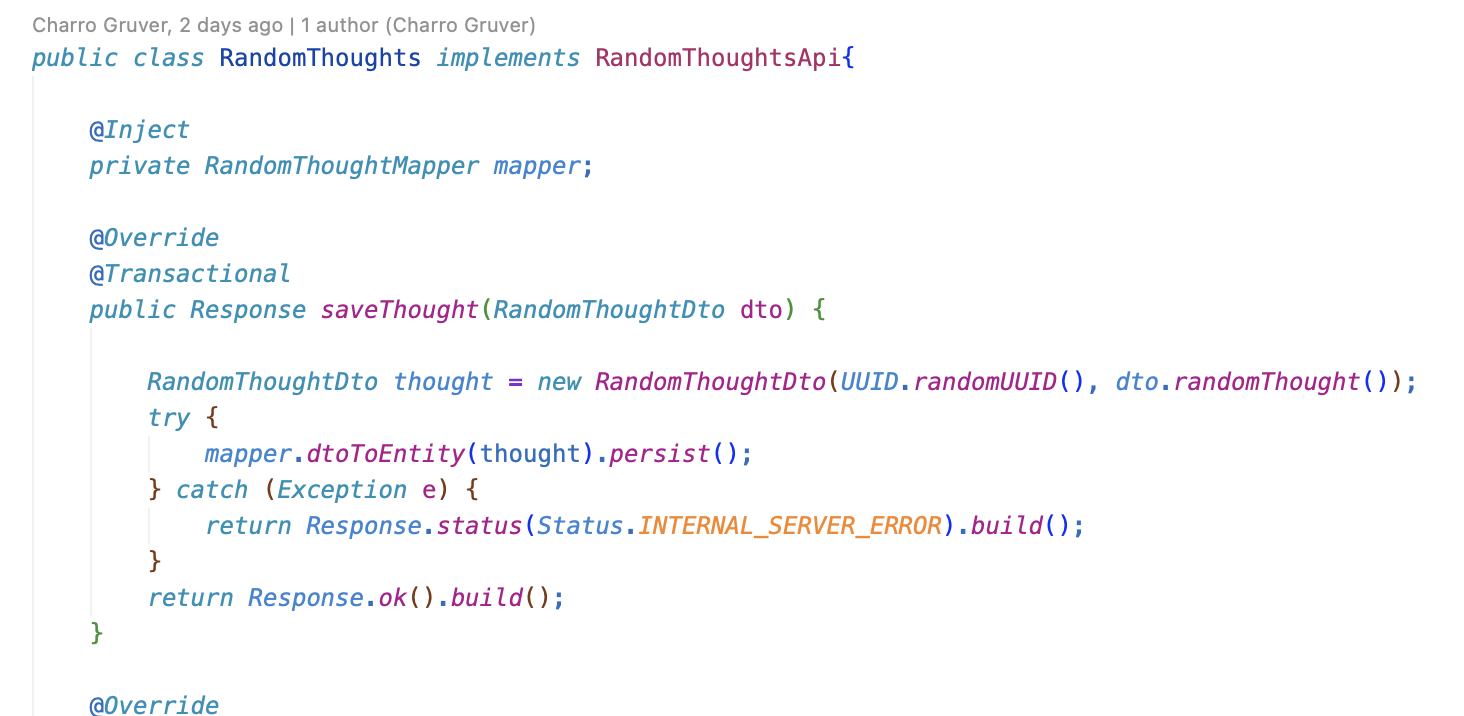
-
Make the code changes below:
String modifiedThought = "My Random Thought: " + dto.randomThought();

RandomThoughtDto thought = new RandomThoughtDto(UUID.randomUUID(), modifiedThought);
The file should now look like:
-
Now go back to the tab with the running Angular app and add another thought:
-
Click on
Get Random Thoughtsand notice the change: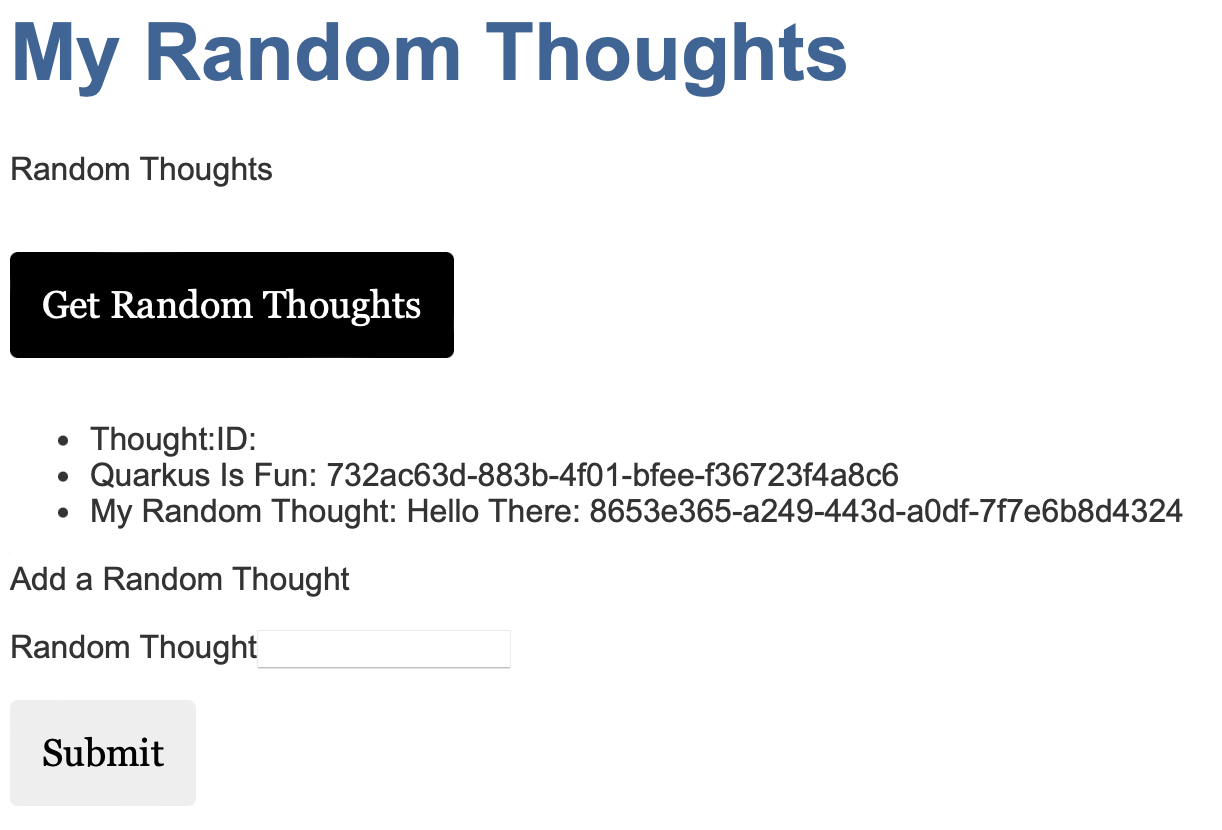
So, that’s a quick demo of live coding in Dec Spaces / Eclipse Che.
Stop, Start, & Delete
Go back to the Eclipse Che landing page. We’ll explore stopping, starting, and deleting a workspace.
-
In the upper left portion of the page, click on the
Workspacessection belowCreate Workspace:
-
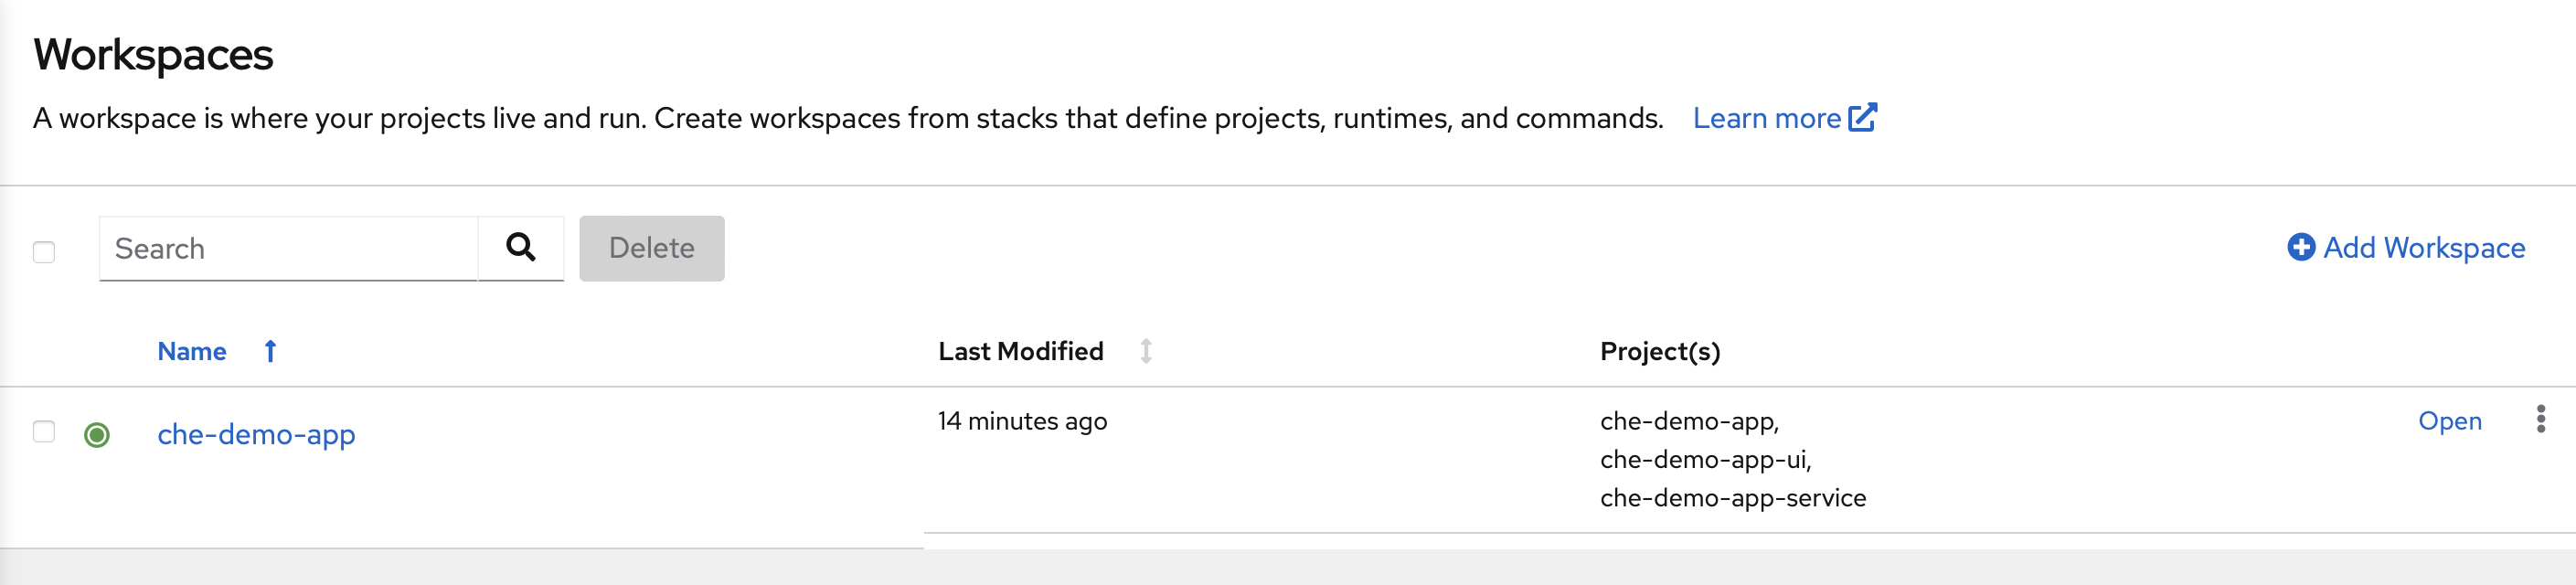
You can now see all of your workspaces… all one of them…
-
Click on the three vertical dots on the right side of the row with your running workspace:
Select
Stop Workspace
-
Restart your workspace:
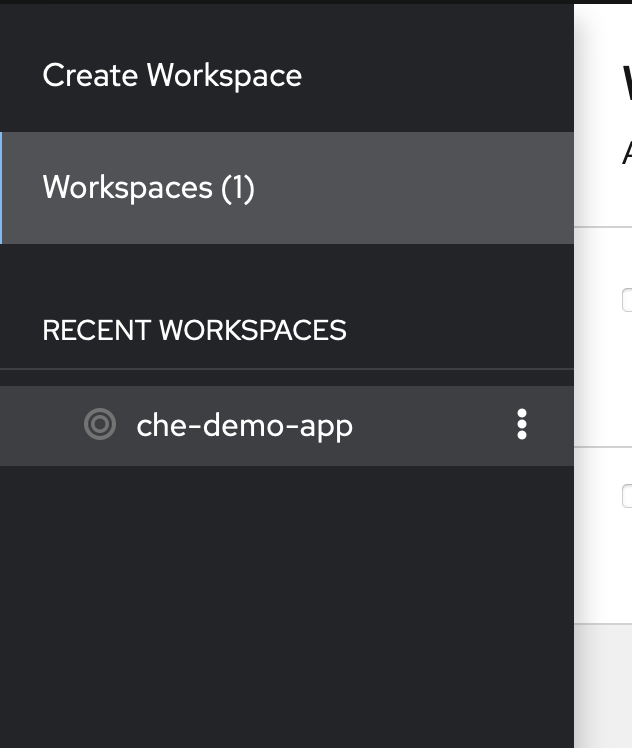
You can restart your workspace from the same menu, or you can click on the name of your workspace that is in the left hand column of the screen:
-
Observe your worspace restart:
When VS Code opens, you can reopen the VS Code workspace. You will notice that all of your uncommitted code changes are preserved.
-
Now, delete the workspace:
Click on the three vertical dots on the right side of the row with your stopped workspace and select
Delete Workspace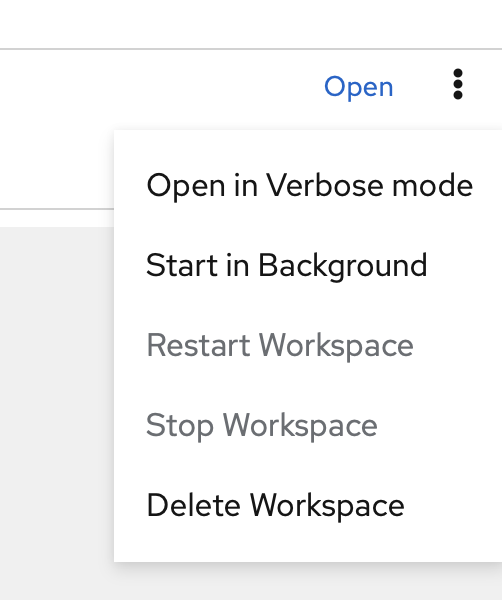
-
Acknowledge the warning and click
Delete: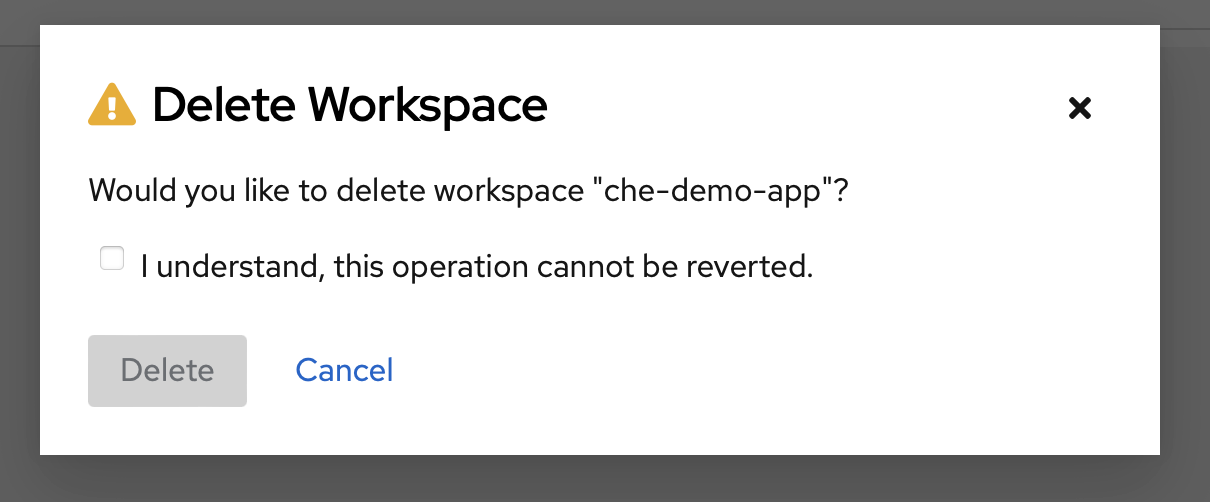
That’s it!
You can recreate the workspace by following the same procedures above.
Later I’ll dive deeper into the DevFile to show you how it all works.
Happy coding!