Quarkus for Architects who Sometimes Write Code - Being Persistent - Part 01
Note: This is part one of a three part post. In this post we’re going to set up a Cassandra persistence engine on OpenShift. We’ll be using Stargate as the API interface to Cassandra.
We’re going to use the K8ssandra Operator to manage our cassandra cluster.
Check out the project here:
In the next post we’ll get an introduction to the Stargate API, then we’ll create a Quarkus micro-service to store and retrieve data with Cassandra and Stargate.
I have created this tutorial so that you can do everything in OpenShift Local, formerly known as Code Ready Containers.
Install & Configure OpenShift Local
The first step, is to install OpenShift Local if you don’t already have it.
-
Go To: https://developers.redhat.com/products/openshift/overview
-
Select
Install Red Hat OpenShift on your laptopThis will take you to a login page. If you don’t have a Red Hat developer account you will register for one here. It’s free and you’ll get access to a lot of ebooks, guides, and tools.
-
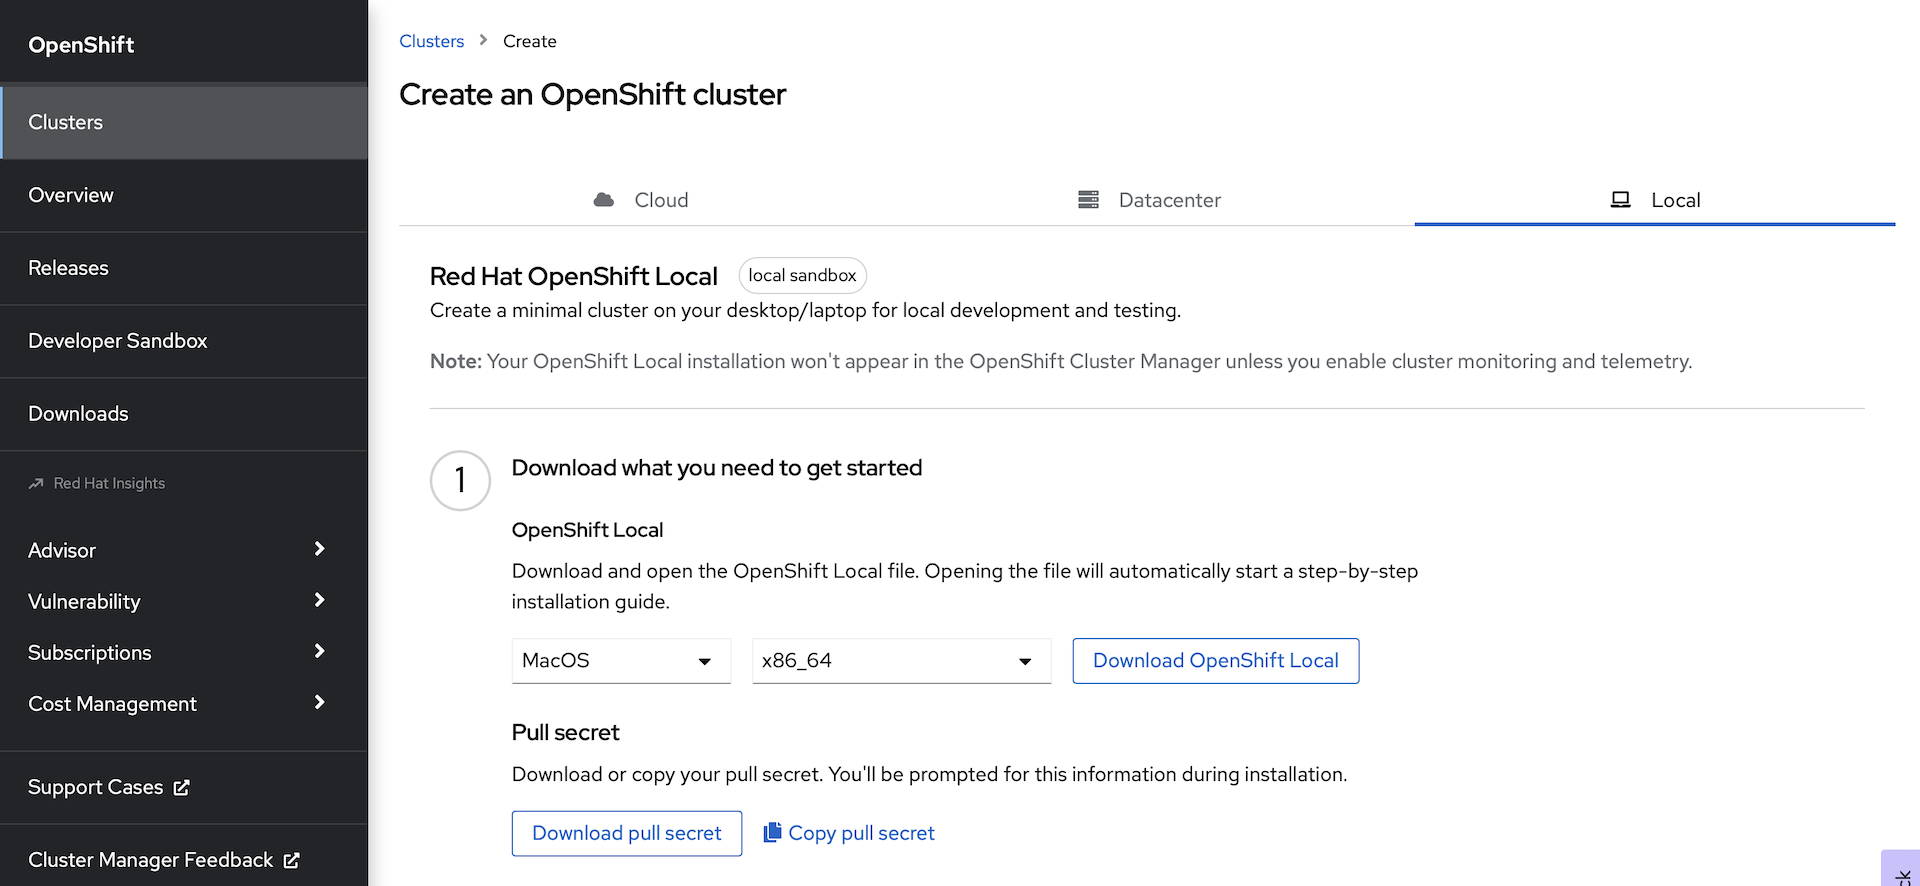
From the landing page after you log in, you will need to download two things:
-
Download the OpenShift Local installation package for your OS and architecture
-
Download your pull secret. This will give you access to all of the Operators in the Red Hat operator catalog.
-
-
Install OpenShift Local with the installation package that you downloaded.
-
Open a terminal and prepare your workstation to run the cluster:
crc setupNote: This will take a while. OpenShift Local will first download the latest cluster bundle, decompress it, and set up your system to run the cluster.
-
Configure your OpenShift Local cluster: Note: You need at least 16GB of RAM on your workstation. We’re going to configure the OpenShift machine with 12GB.
crc config set memory 12288 crc config set disk-size=100 -
Start the cluster:
crc startNote: You will be prompted for your Pull Secret here. Copy and paste it into the terminal when prompted.
INFO Checking if running as non-root INFO Checking if crc-admin-helper executable is cached INFO Checking for obsolete admin-helper executable INFO Checking if running on a supported CPU architecture INFO Checking minimum RAM requirements INFO Checking if crc executable symlink exists INFO Checking if running emulated on a M1 CPU INFO Checking if vfkit is installed INFO Checking if old launchd config for tray and/or daemon exists INFO Checking if crc daemon plist file is present and loaded INFO Loading bundle: crc_vfkit_4.11.3_arm64... CRC requires a pull secret to download content from Red Hat. You can copy it from the Pull Secret section of https://console.redhat.com/openshift/create/local. ? Please enter the pull secret -
Paste your pull secret in the terminal and hit
return/EnterNote: You only have to enter the pull secret once. Unless you run
crc cleanup, it will be persisted with your install. -
Wait for the cluster to start. This will take a while the first time.
INFO All operators are available. Ensuring stability... INFO Operators are stable (2/3)... INFO Operators are stable (3/3)... INFO Adding crc-admin and crc-developer contexts to kubeconfig... Started the OpenShift cluster. The server is accessible via web console at: https://console-openshift-console.apps-crc.testing Log in as administrator: Username: kubeadmin Password: JY2pF-sELmn-oc9R3-YYb6K Log in as user: Username: developer Password: developer Use the 'oc' command line interface: $ eval $(crc oc-env) $ oc login -u developer https://api.crc.testing:6443 -
Set your environment to interact with the running cluster:
eval $(crc oc-env)Note: If you ever need to retrieve the credentials to log in, run the following:
crc console --credentialsThe output will show you how to login with the two pre-configured users:
To login as a regular user, run 'oc login -u developer -p developer https://api.crc.testing:6443'. To login as an admin, run 'oc login -u kubeadmin -p FkIy7-LFYXG-PvYFZ-Ppp2G https://api.crc.testing:6443' -
Log into the cluster:
oc login -u kubeadmin -p <The Password For kubeadmin> https://api.crc.testing:6443 -
Launch the web console:
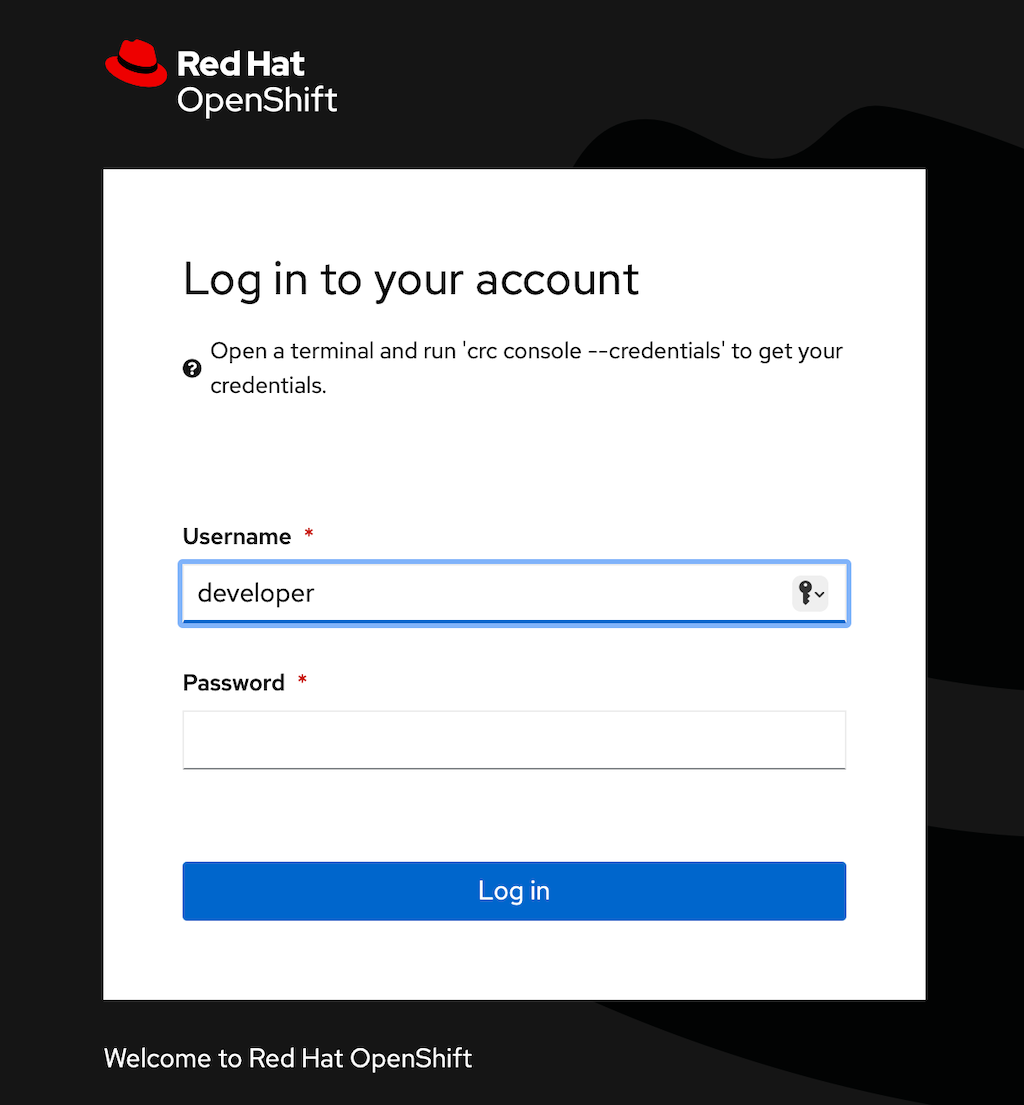
crc consoleThis will open your default browser at the OpenShift web console login page:
-
Login as the
kubeadminuser with the same password as above: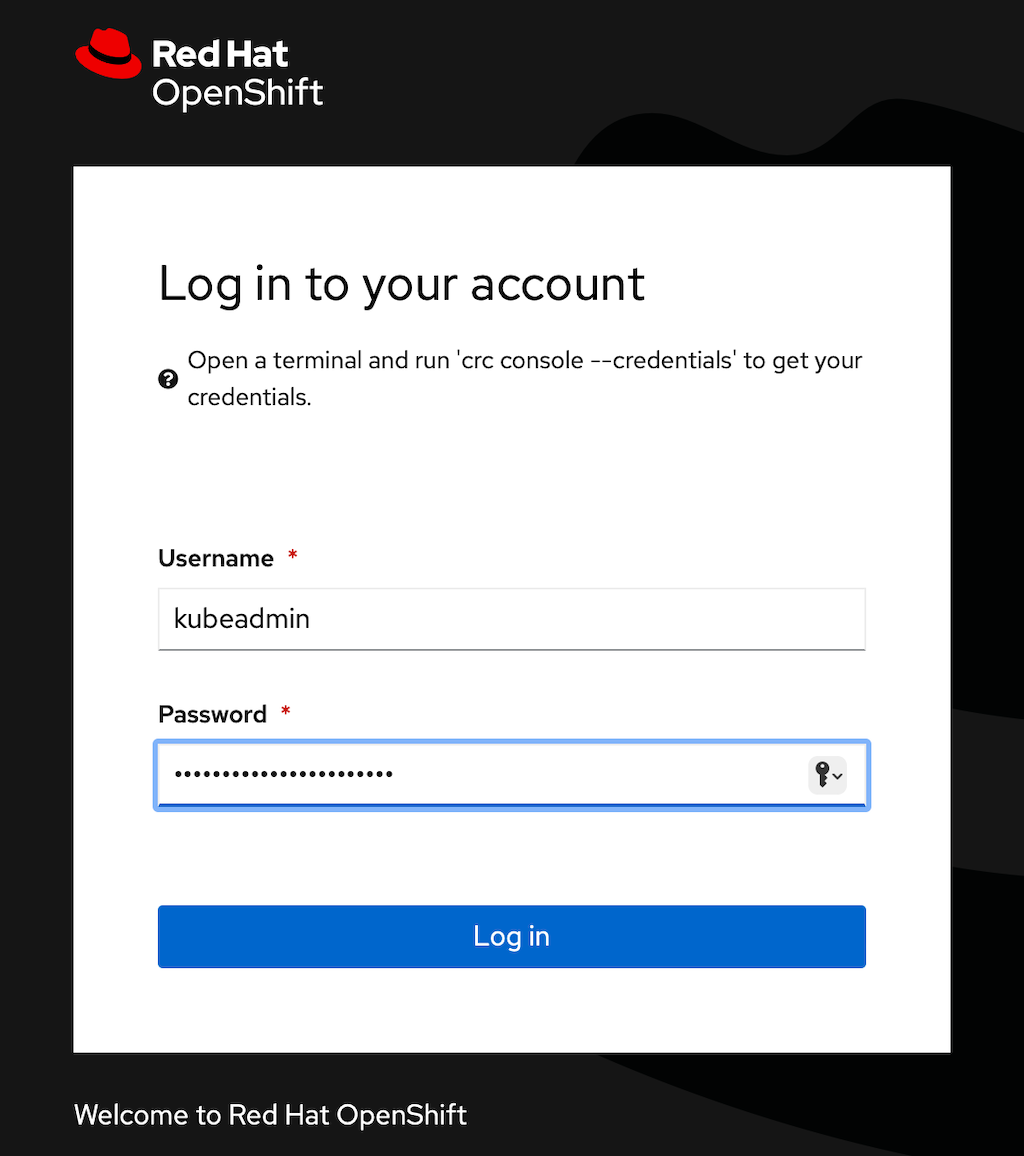
-
You should now see the OpenShift console landing page:
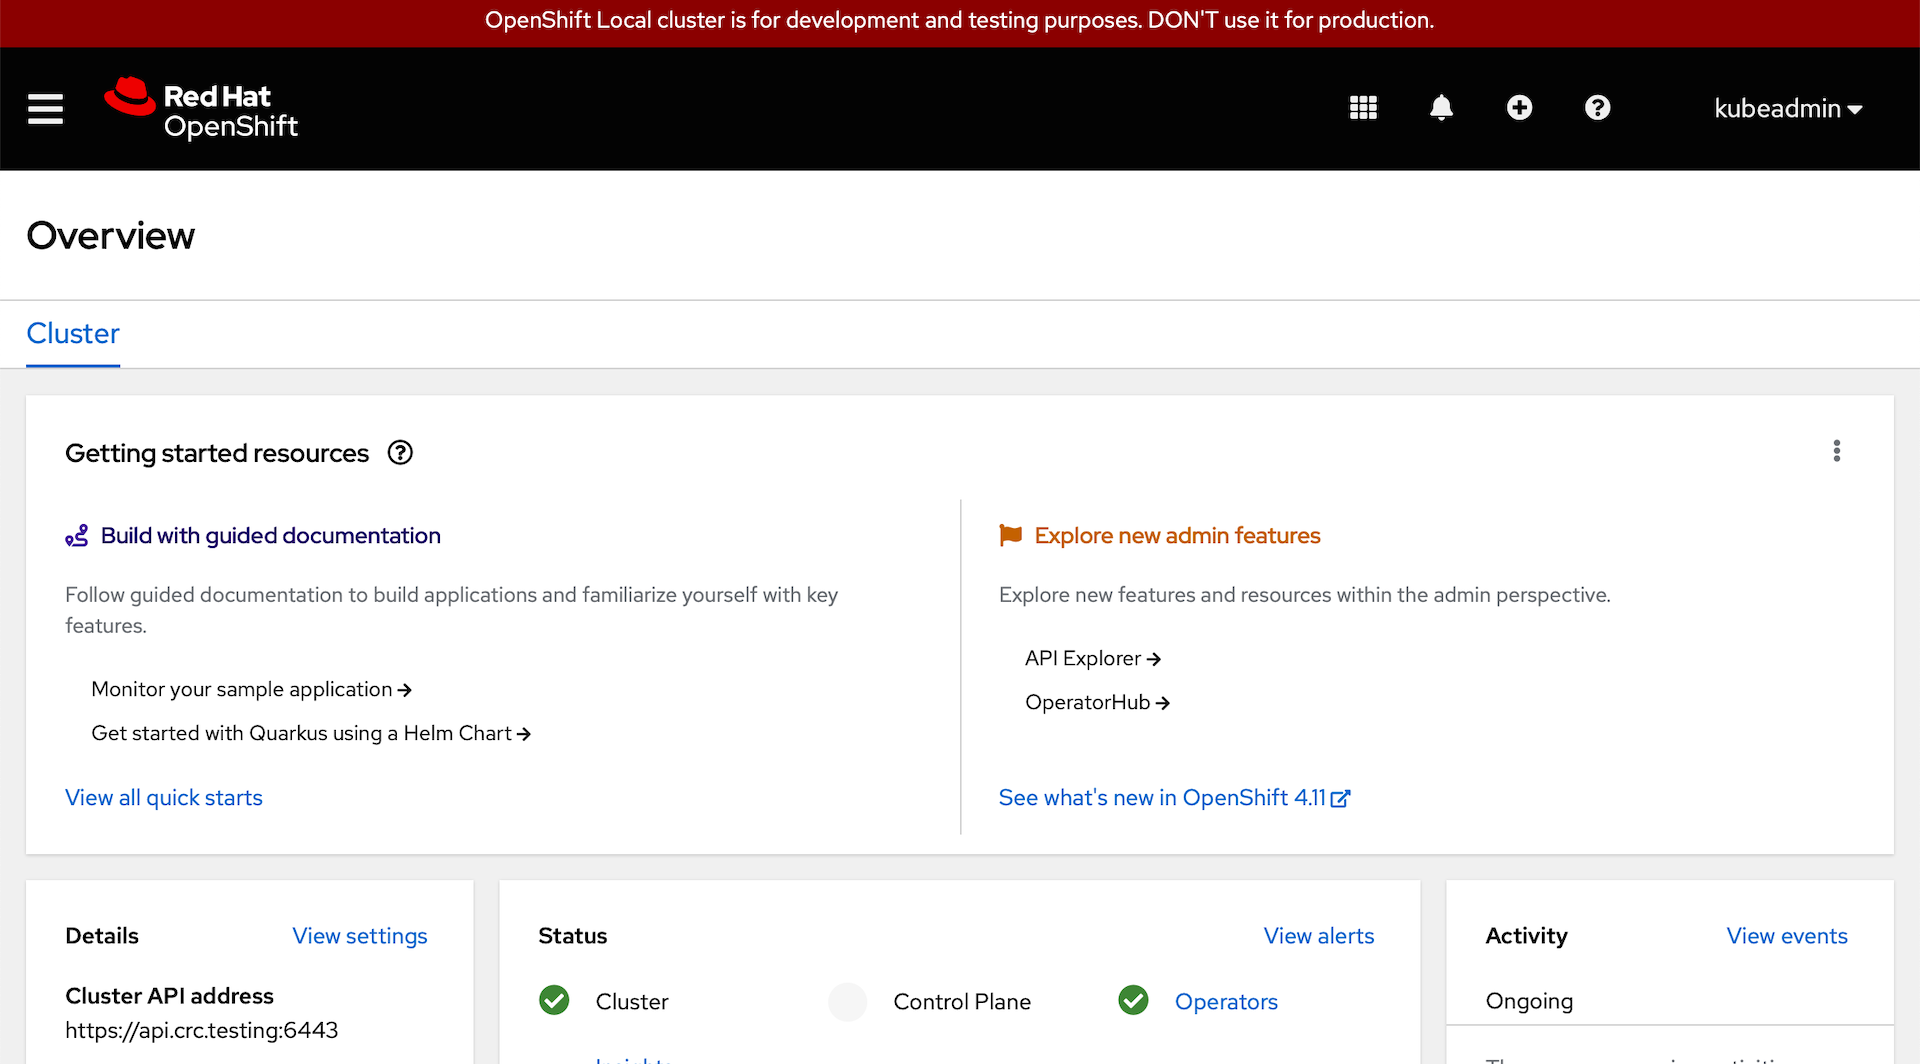
We’ll be using the CLI from the terminal to perform all of the next steps, but we’ll use the web console to verify that everything is running.
Install Cassandra and Stargate
Now we are going to install the k8ssandra operator. I have prepared all of the images that you will need and placed them in my Quay.io account: https://quay.io/user/cgruver0
Note: I’m using my personal Quay.io account for two reasons:
-
Some of the images needed by
k8ssandraare in Docker.io. If things don’t run smoothly during the install, you will encounter the Docker pull rate limitations. Unless you have a paid Docker account, this will slow you down. -
Some of you may be running on Apple silicon like I am. I prepared this whole tutorial on my M2 MacBook air.
Well… The
k8ssandraoperator does not officially support ARM64 cpu architecture. So, I built ARM64 images for all of the containers that we’ll be using.The build instructions for creating the multi-arch container images and associated manifests can be found here:
https://github.com/cgruver/k8ssandra-blog-resources/blob/main/README.md
Setup your workstation for the K8ssandra Install
-
You need to install
kustomizeif you don’t already have it: -
Set an environment variable: (Note: I am following the same conventions as in the previous posts)
export K8SSANDRA_WORKDIR=${HOME}/okd-lab/quarkus-projects/k8ssandra-work-dir -
Clone the helper repo that I created for you:
mkdir -p ${K8SSANDRA_WORKDIR} git clone https://github.com/cgruver/k8ssandra-blog-resources.git ${K8SSANDRA_WORKDIR}/k8ssandra-blog-resources -
Set the environment for the install
. ${K8SSANDRA_WORKDIR}/k8ssandra-blog-resources/versions.sh
export PULL_REGISTRY="quay.io/cgruver0"
Install Cert Manager
K8ssandra uses cert-manager to manager TLS certificates for the cassandra ecosystem.
Check out the project here:
-
Create a directory for temporary resources:
mkdir -p ${K8SSANDRA_WORKDIR}/tmp -
Download the manifest for installing cert-manager:
wget -O ${K8SSANDRA_WORKDIR}/tmp/cert-manager.yaml https://github.com/jetstack/cert-manager/releases/download/${CERT_MGR_VER}/cert-manager.yaml -
Prepare the
kustomizemanifest that I created for you:envsubst < ${K8SSANDRA_WORKDIR}/k8ssandra-blog-resources/kustomize/cert-manager-kustomization.yaml > ${K8SSANDRA_WORKDIR}/tmp/kustomization.yaml -
Install Cert Manager:
kustomize build ${K8SSANDRA_WORKDIR}/tmp | oc create -f - -
Verify the cert manager pods:
-
Go to the web console and select
workloads->podsfrom the left had navigation menu: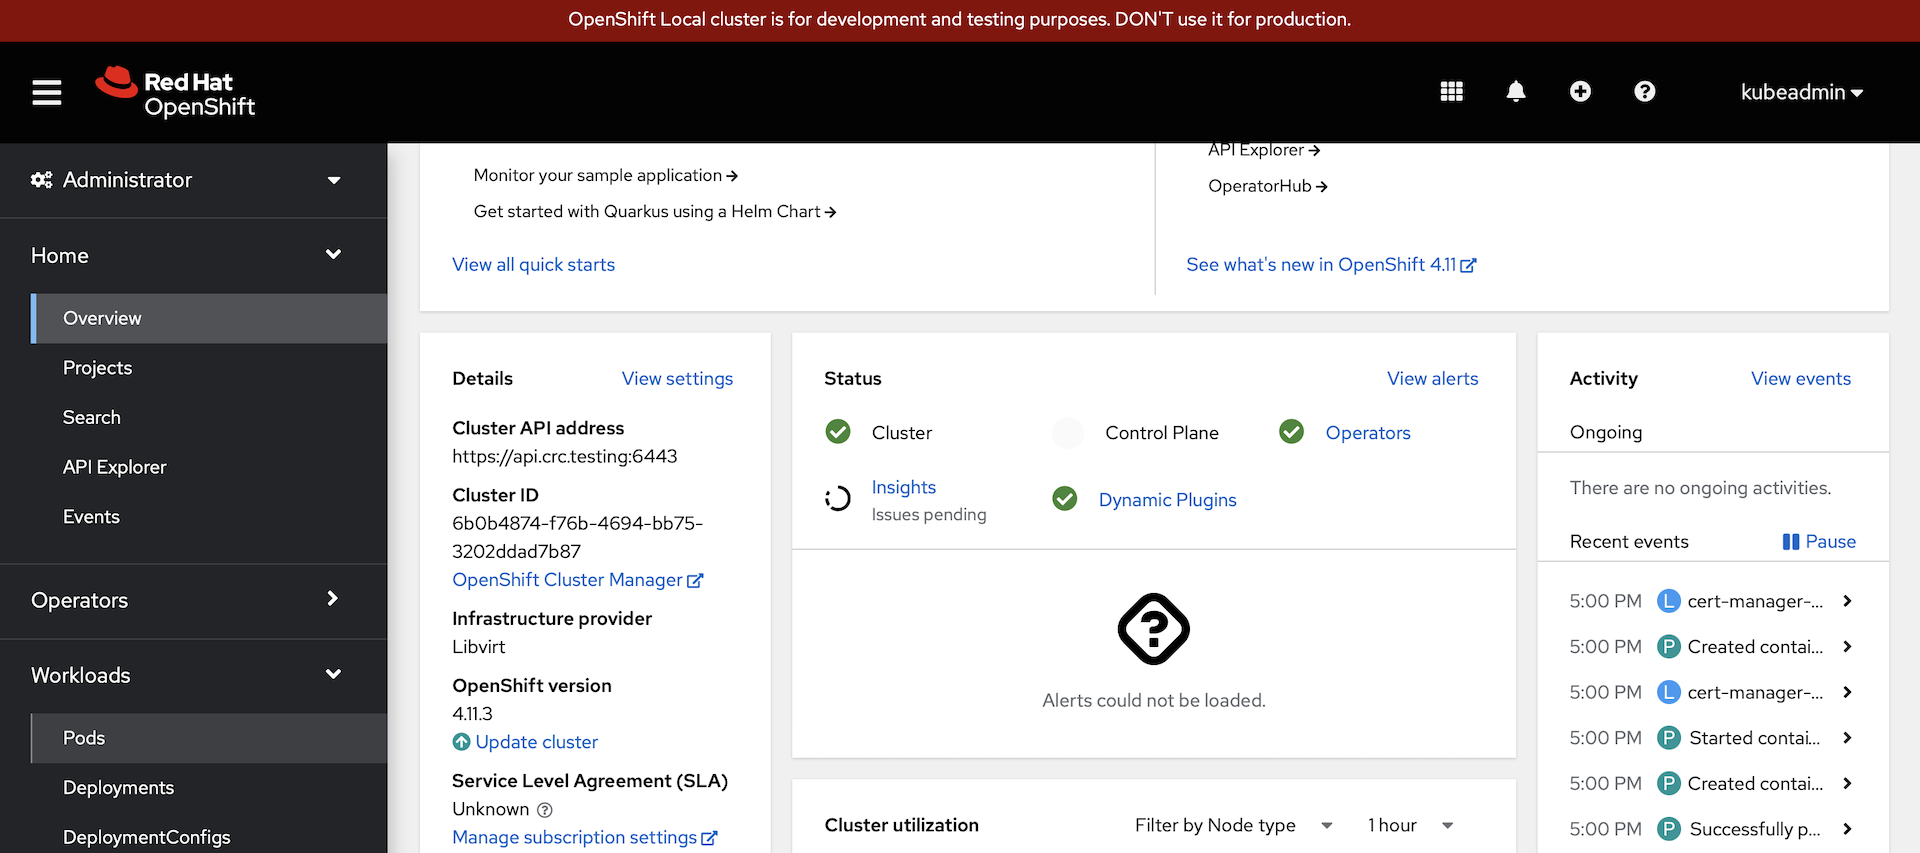
-
Filter on the
cert-managerproject: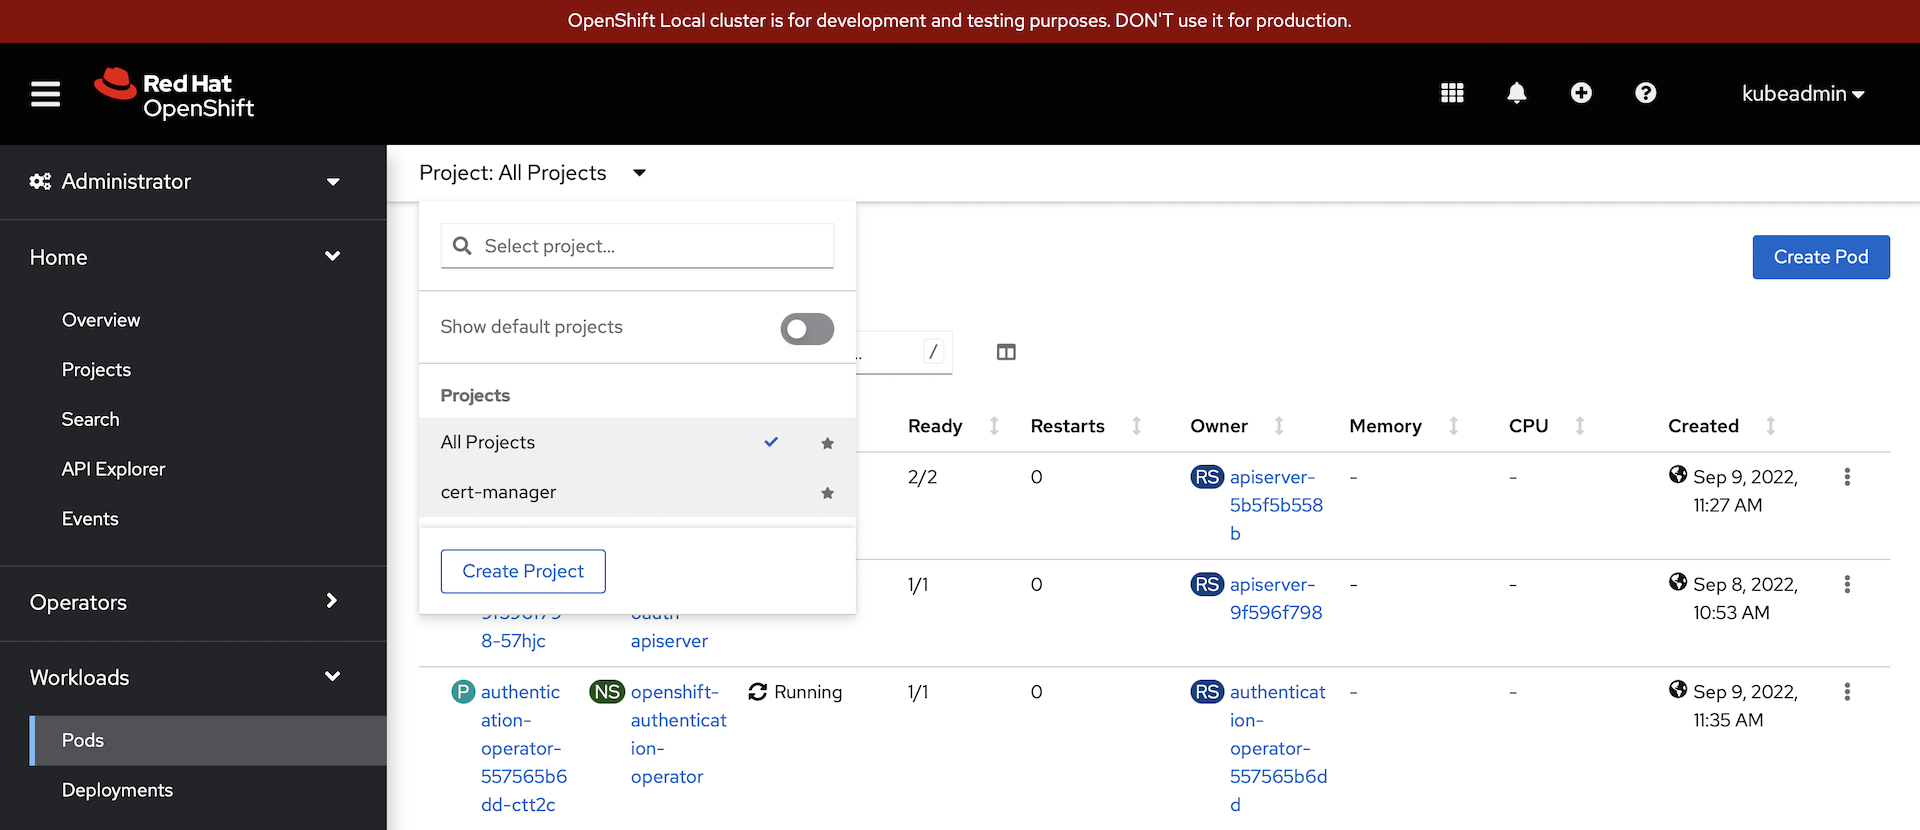
-
Note the running state of the three cert-manager pods:
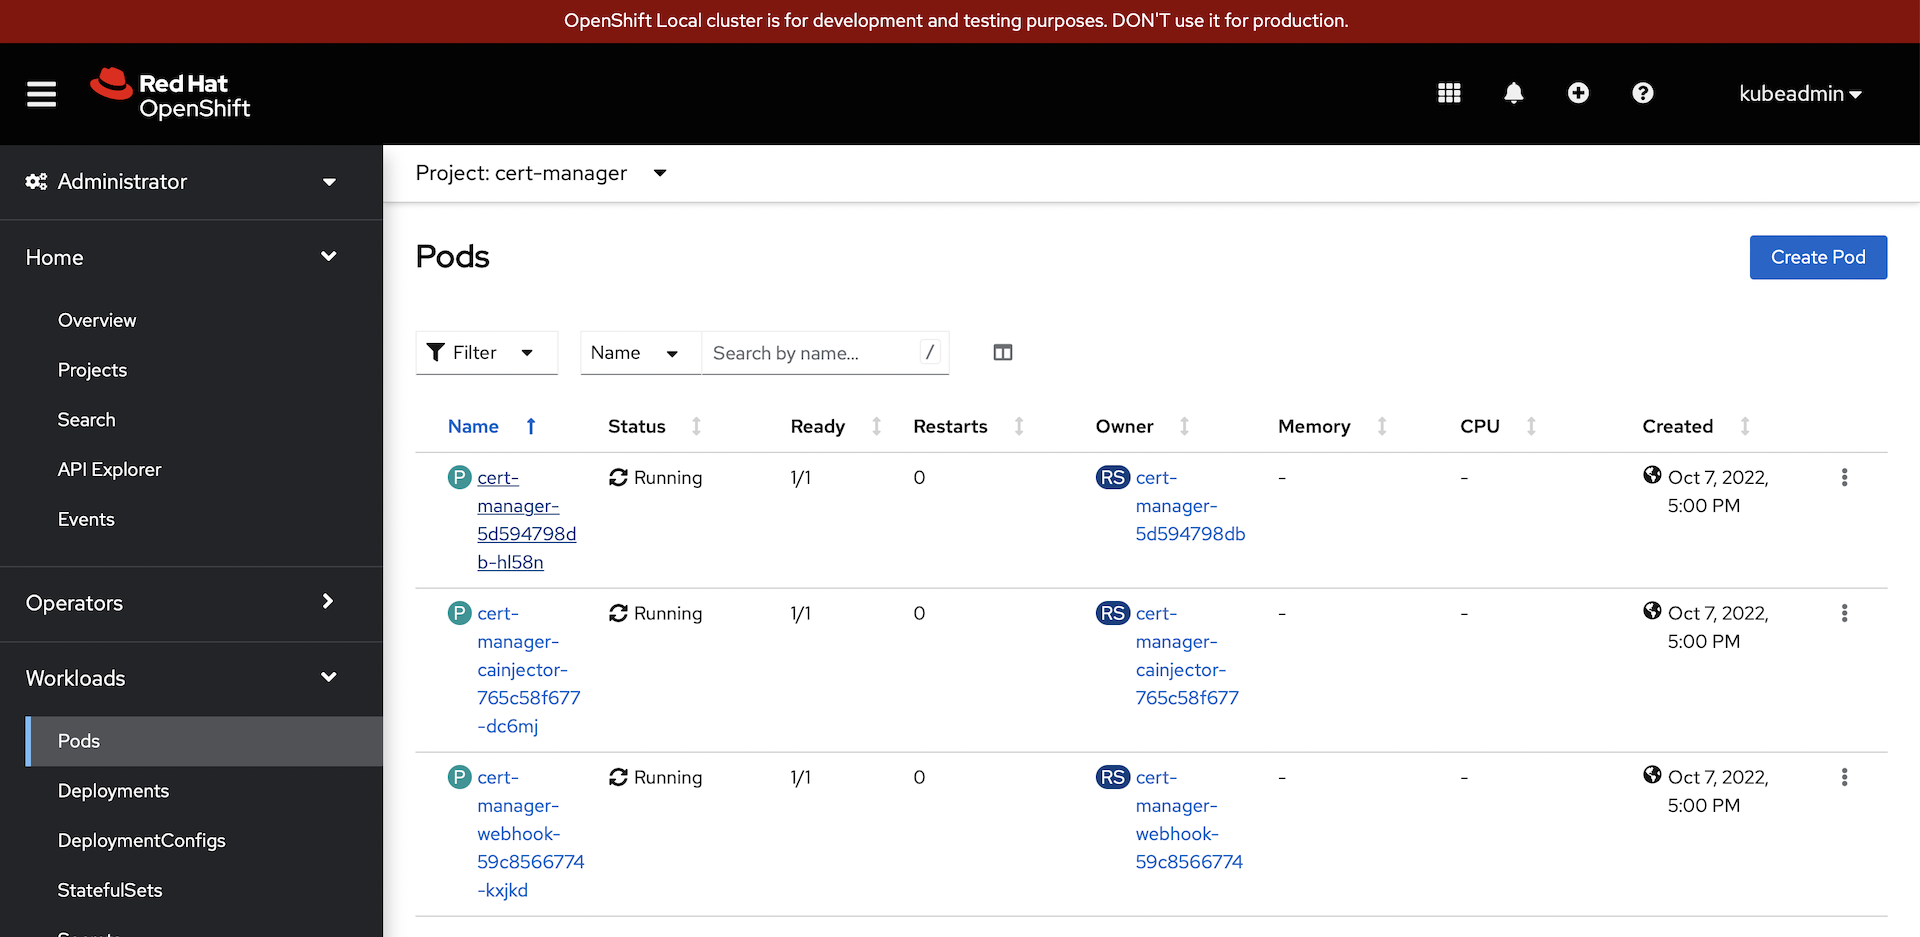
-
Install K8ssandra Operator
-
Prepare the
kustomizemanifest that I created for you:envsubst < ${K8SSANDRA_WORKDIR}/k8ssandra-blog-resources/kustomize/k8ssandra-kustomization.yaml > ${K8SSANDRA_WORKDIR}/tmp/kustomization.yaml -
Install the K8ssandra Operator
kustomize build ${K8SSANDRA_WORKDIR}/tmp | oc create -f - -
Patch the
k8ssandra-operatorRBAC role to work in OpenShift:oc -n k8ssandra-operator patch role k8ssandra-operator --type=json -p='[{"op": "add", "path": "/rules/-", "value": {"apiGroups": [""],"resources": ["endpoints/restricted"],"verbs": ["create"]} }]' -
Grant
anyuidto thedefaultservice account in thek8ssandra-operatornamespace:The Cassandra pods run with the
defaultservice account. They will need to run as a specific UID, and need increased privileges:oc -n k8ssandra-operator adm policy add-scc-to-user anyuid -z default
Configure the K8ssandra Operator
-
Stop the two k8ssandra pods:
oc -n k8ssandra-operator scale deployment cass-operator-controller-manager --replicas=0 oc -n k8ssandra-operator scale deployment k8ssandra-operator --replicas=0 -
Patch the Cass Operator configuration:
oc -n k8ssandra-operator patch configmap cass-operator-manager-config --patch="$(envsubst < ${K8SSANDRA_WORKDIR}/k8ssandra-blog-resources/manifests/cass-config-patch.yaml)" -
Start the k8ssandra operator pods back up:
oc -n k8ssandra-operator scale deployment cass-operator-controller-manager --replicas=1 oc -n k8ssandra-operator scale deployment k8ssandra-operator --replicas=1 -
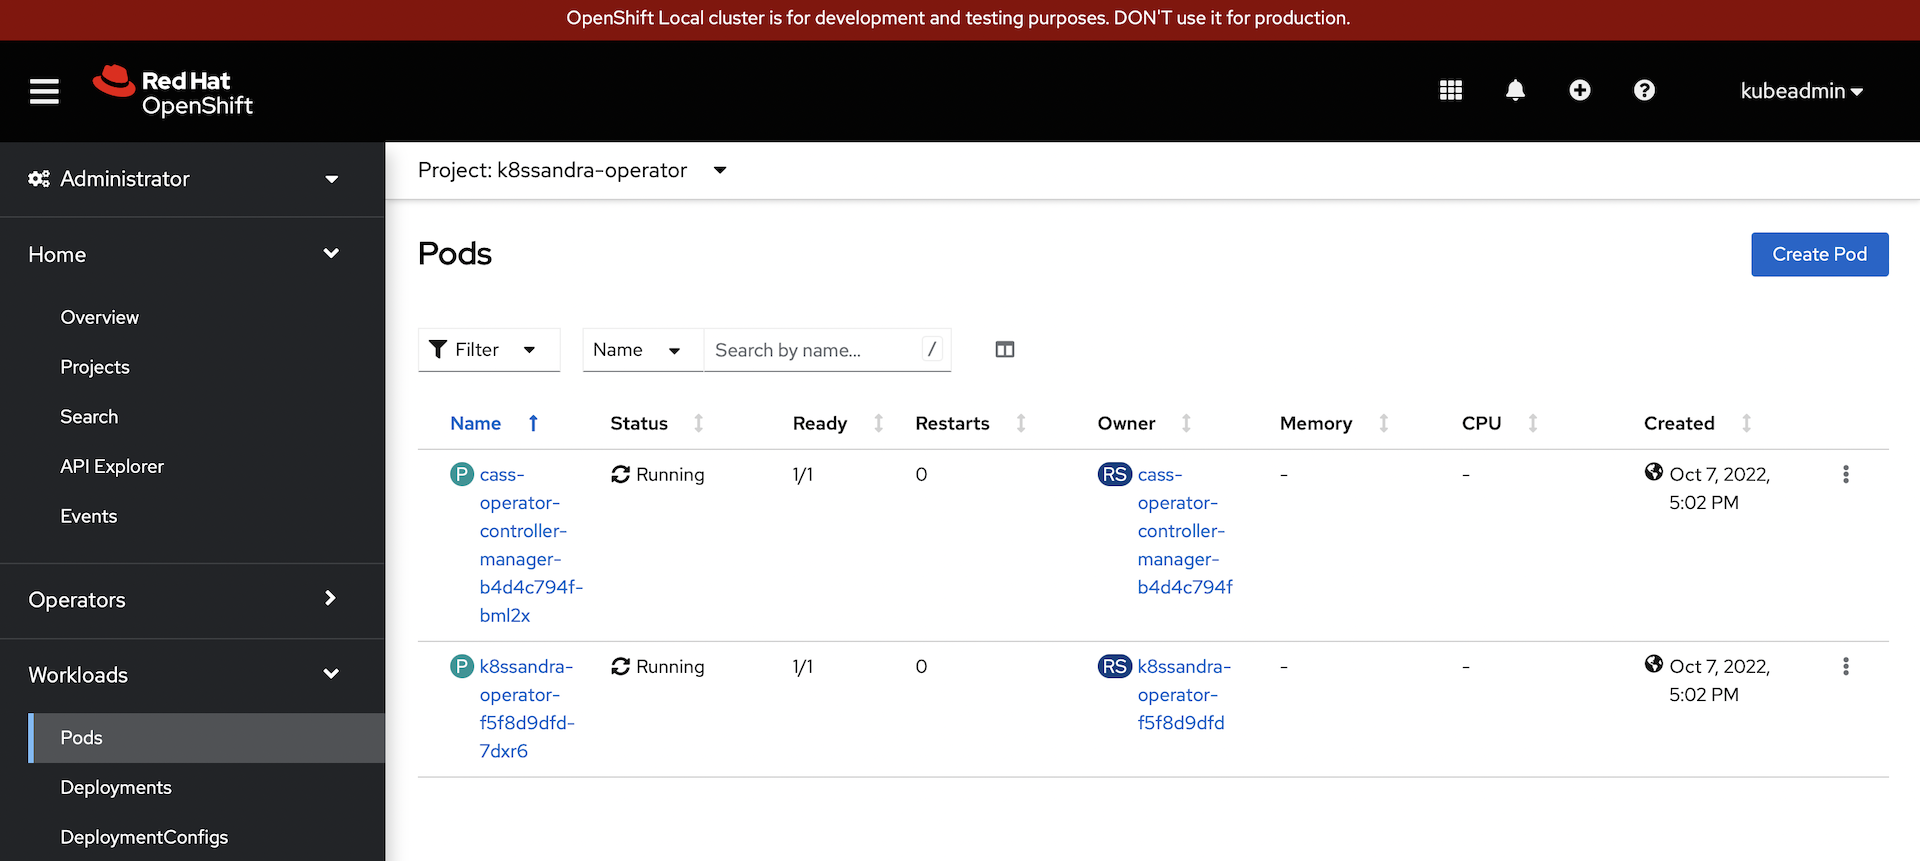
Verify that the operator pods are running:
-
Go back to the web console and select
Workloads->Podsand filter on thek8ssandra-operatorproject: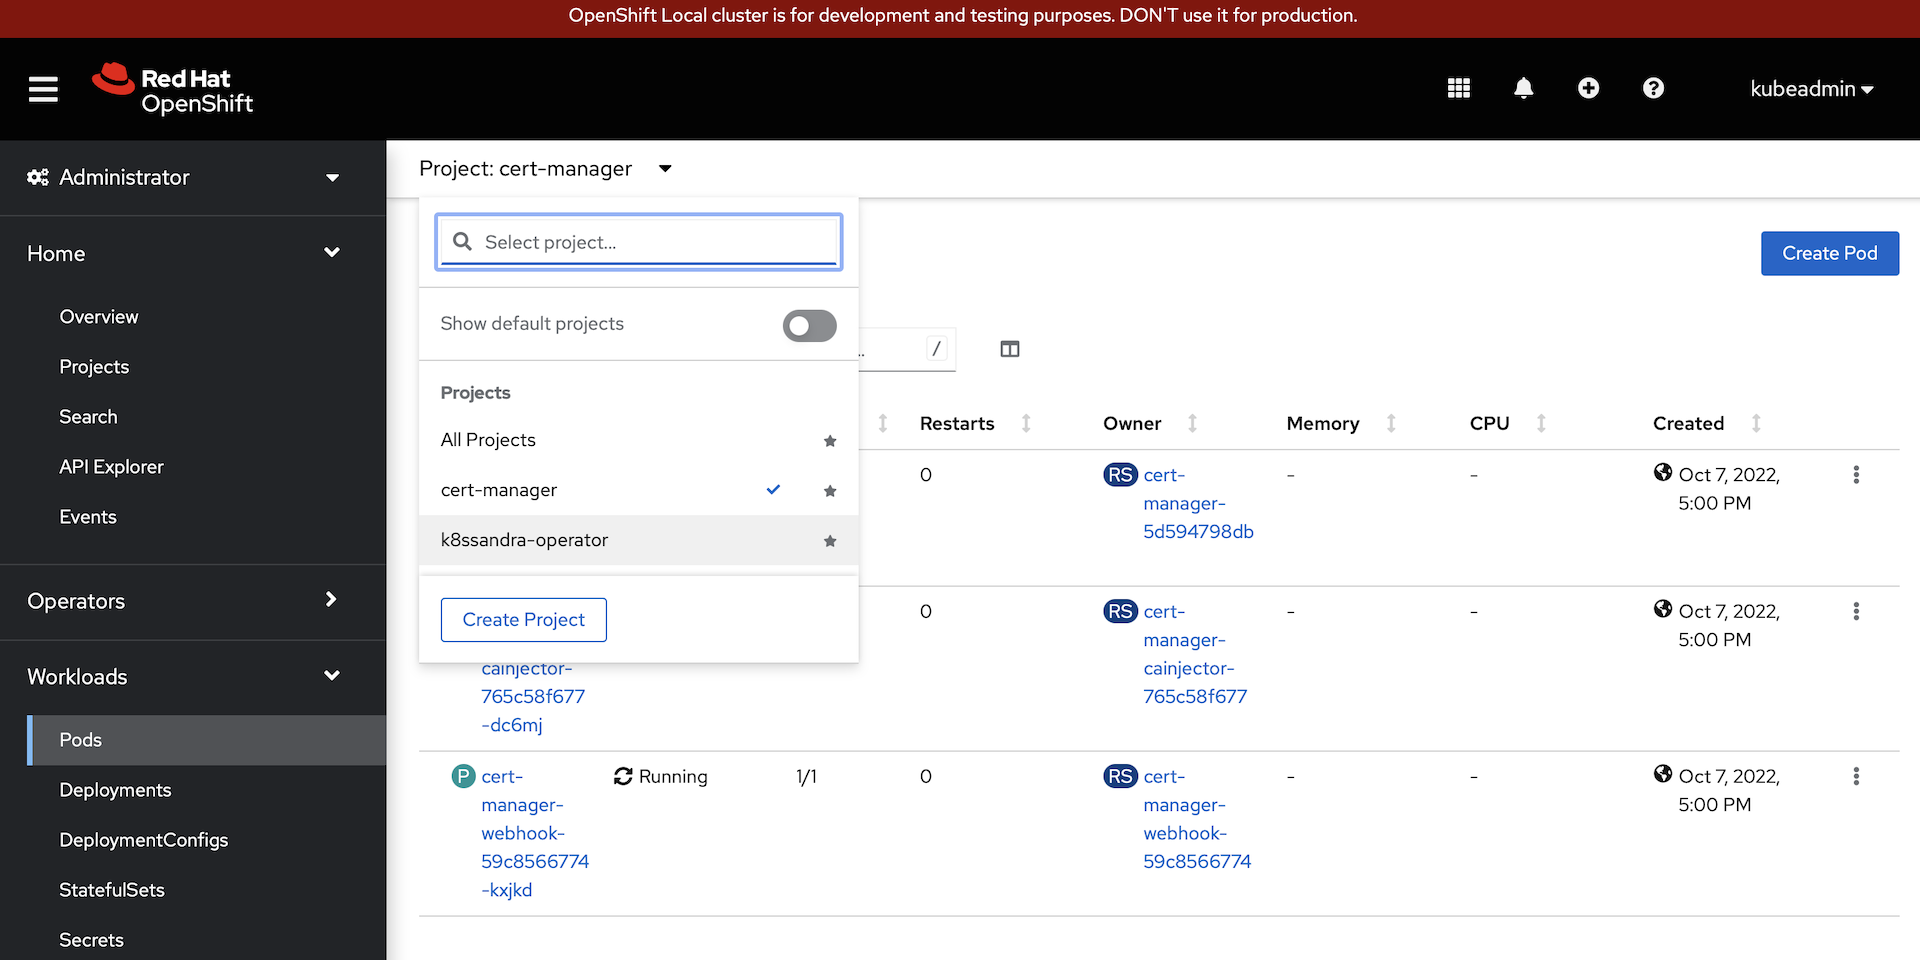
-
Note the running state of the two operator pods:
-
Deploy Cluster
Now, deploy a single-node Cassandra cluster:
envsubst < ${K8SSANDRA_WORKDIR}/k8ssandra-blog-resources/manifests/k8ssandra-cluster.yaml | oc -n k8ssandra-operator apply -f -
This will take a while to start up.
-
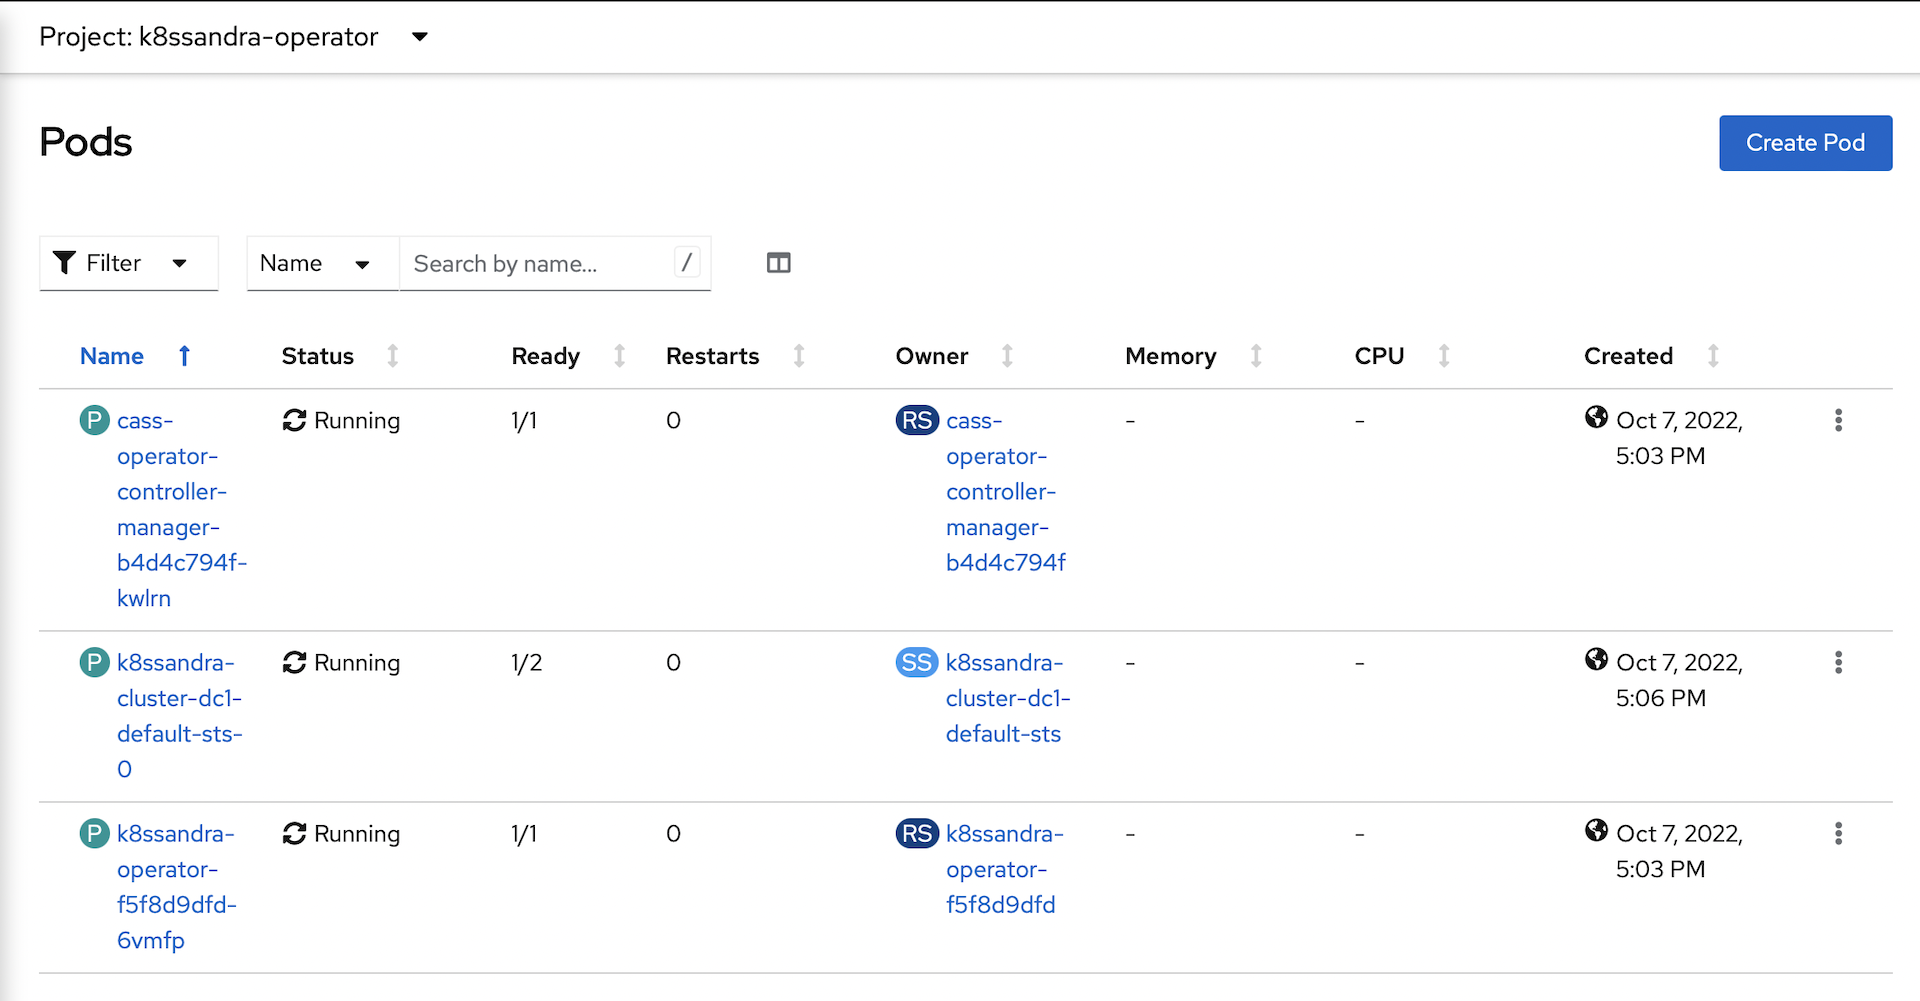
The cass operator will deploy a
StatefulSetfor the new cluster:
-
It will take a while for the cluster to provision:
-
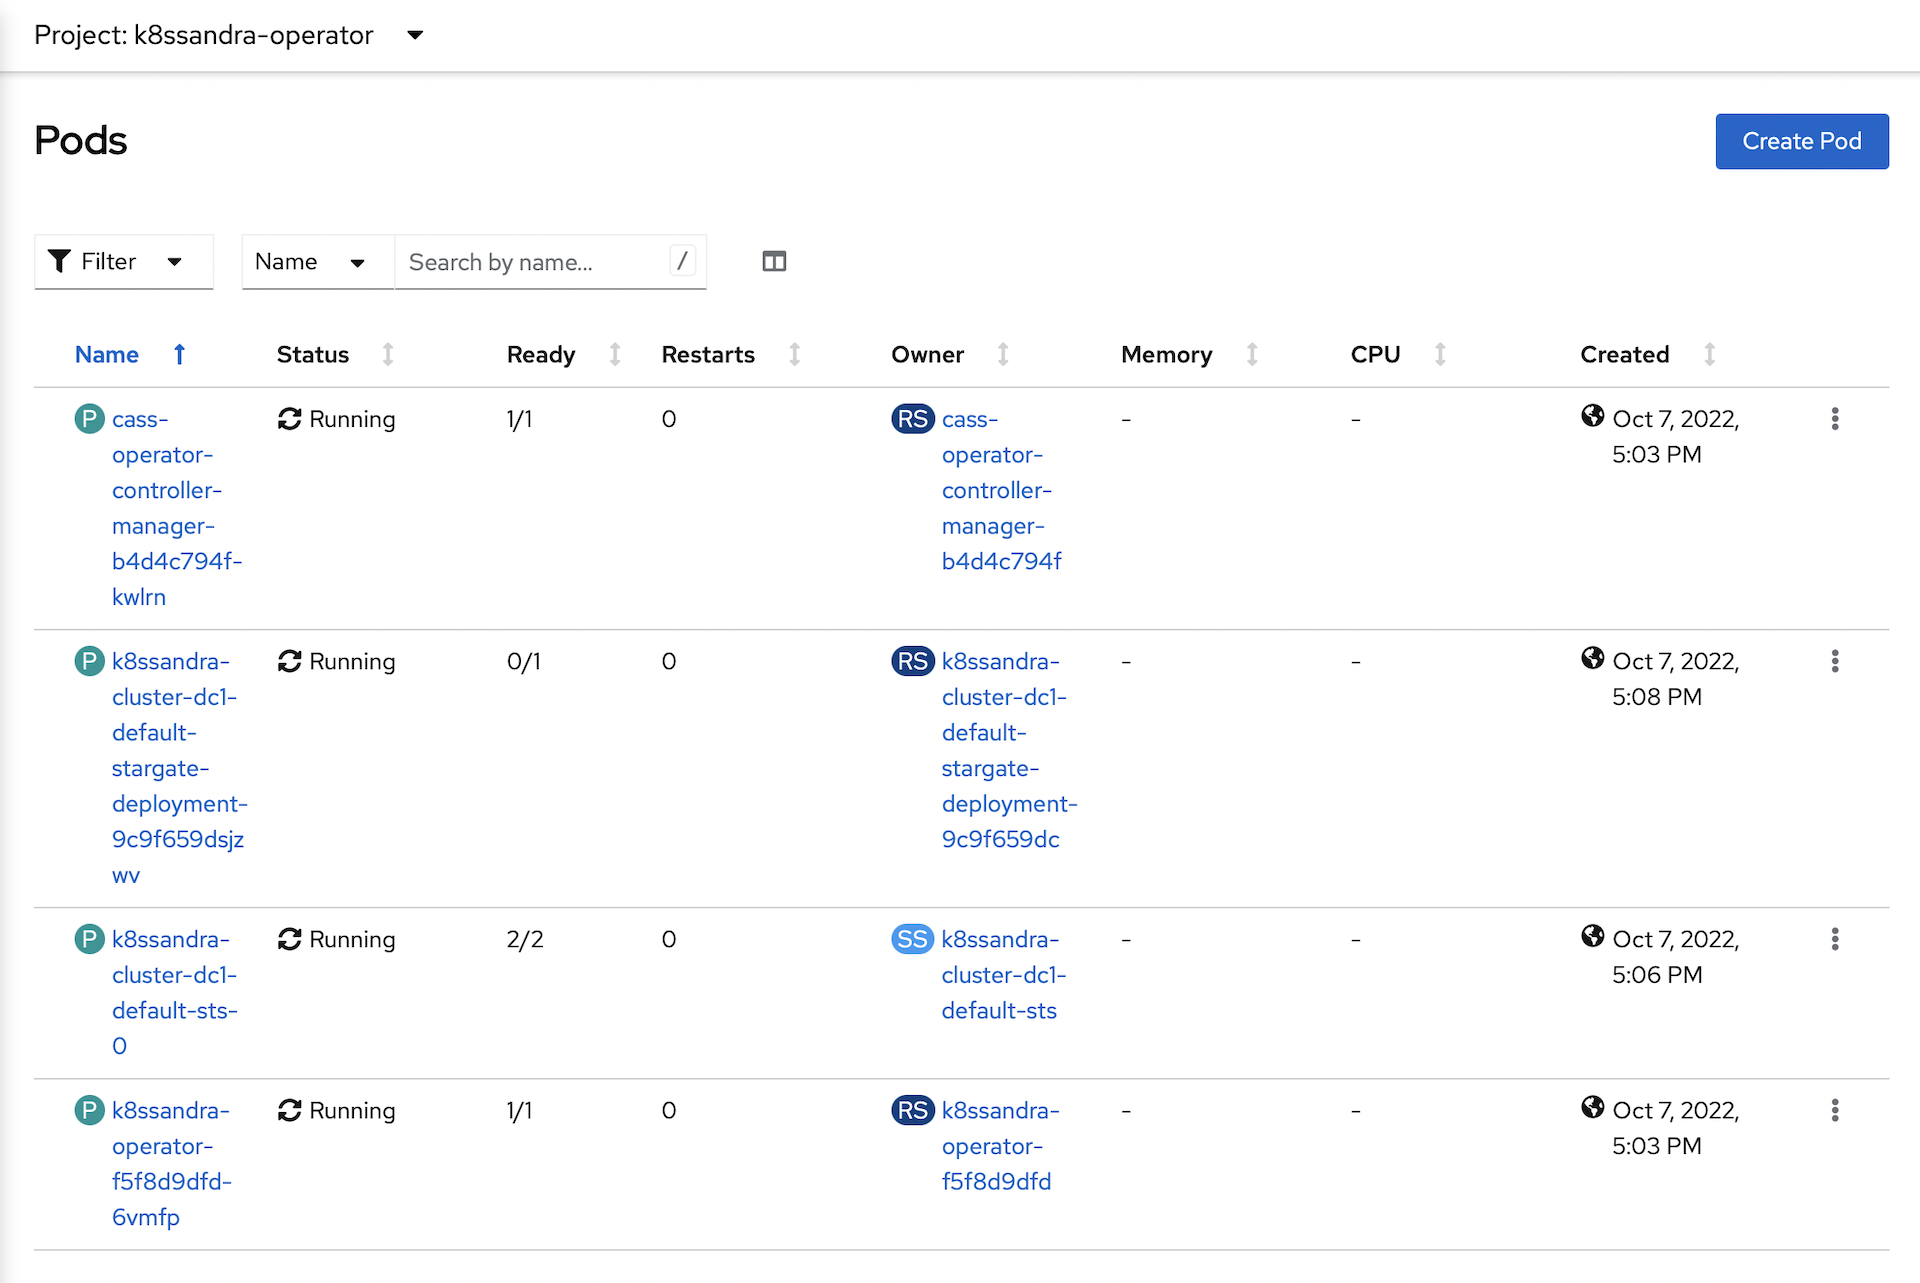
After the Cassandra instance is running, the operator will deploy Stargate:
-
All of the pods should be in a running and ready state when complete:

Expose Stargate Services
The final step is to expose the Stargate services as external Routes so that we can access the cassandra cluster with curl or Postman:
oc -n k8ssandra-operator create route edge sg-graphql --service=k8ssandra-cluster-dc1-stargate-service --port=8080
oc -n k8ssandra-operator create route edge sg-auth --service=k8ssandra-cluster-dc1-stargate-service --port=8081
oc -n k8ssandra-operator create route edge sg-rest --service=k8ssandra-cluster-dc1-stargate-service --port=8082
That’s it for this post. In the next post we’ll get an introduction to the Stargate API, then we’ll use this Cassandra cluster as the persistent backend for a Quarkus micro-service.
If you want to read ahead and start playing with this Cassandra cluster, check out the documentation here:
https://docs.datastax.com/en/astra-serverless/docs/quickstart/qs-document.html
https://docs.datastax.com/en/astra-serverless/docs/develop/tooling.html#postman-resources
When you are done with your cluster, you can stop it gracefully from a terminal window:
crc stop
When you are ready to use it again, simply restart it:
crc start
Note that it will take a while for the Cassandra cluster to restart and verify itself.
Cheers!