Let It SNO!
So… I planned this title a while back. How ironic that, as I sit here, we are expecting as much as a of foot of real snow…

That’s the view out my office window.
But, that’s not what today’s post is about. Instead, we’re going to make our own SNO. That is, Single Node OpenShift.
This is also the first in a series of posts about my journey to build a multi-region, active/active/active, application with cloud-native practices and technologies. Eventually we’ll use the SNO as the control-plane for our cluster-of-clusters.
So, without any further ado… Let’s make SNO!
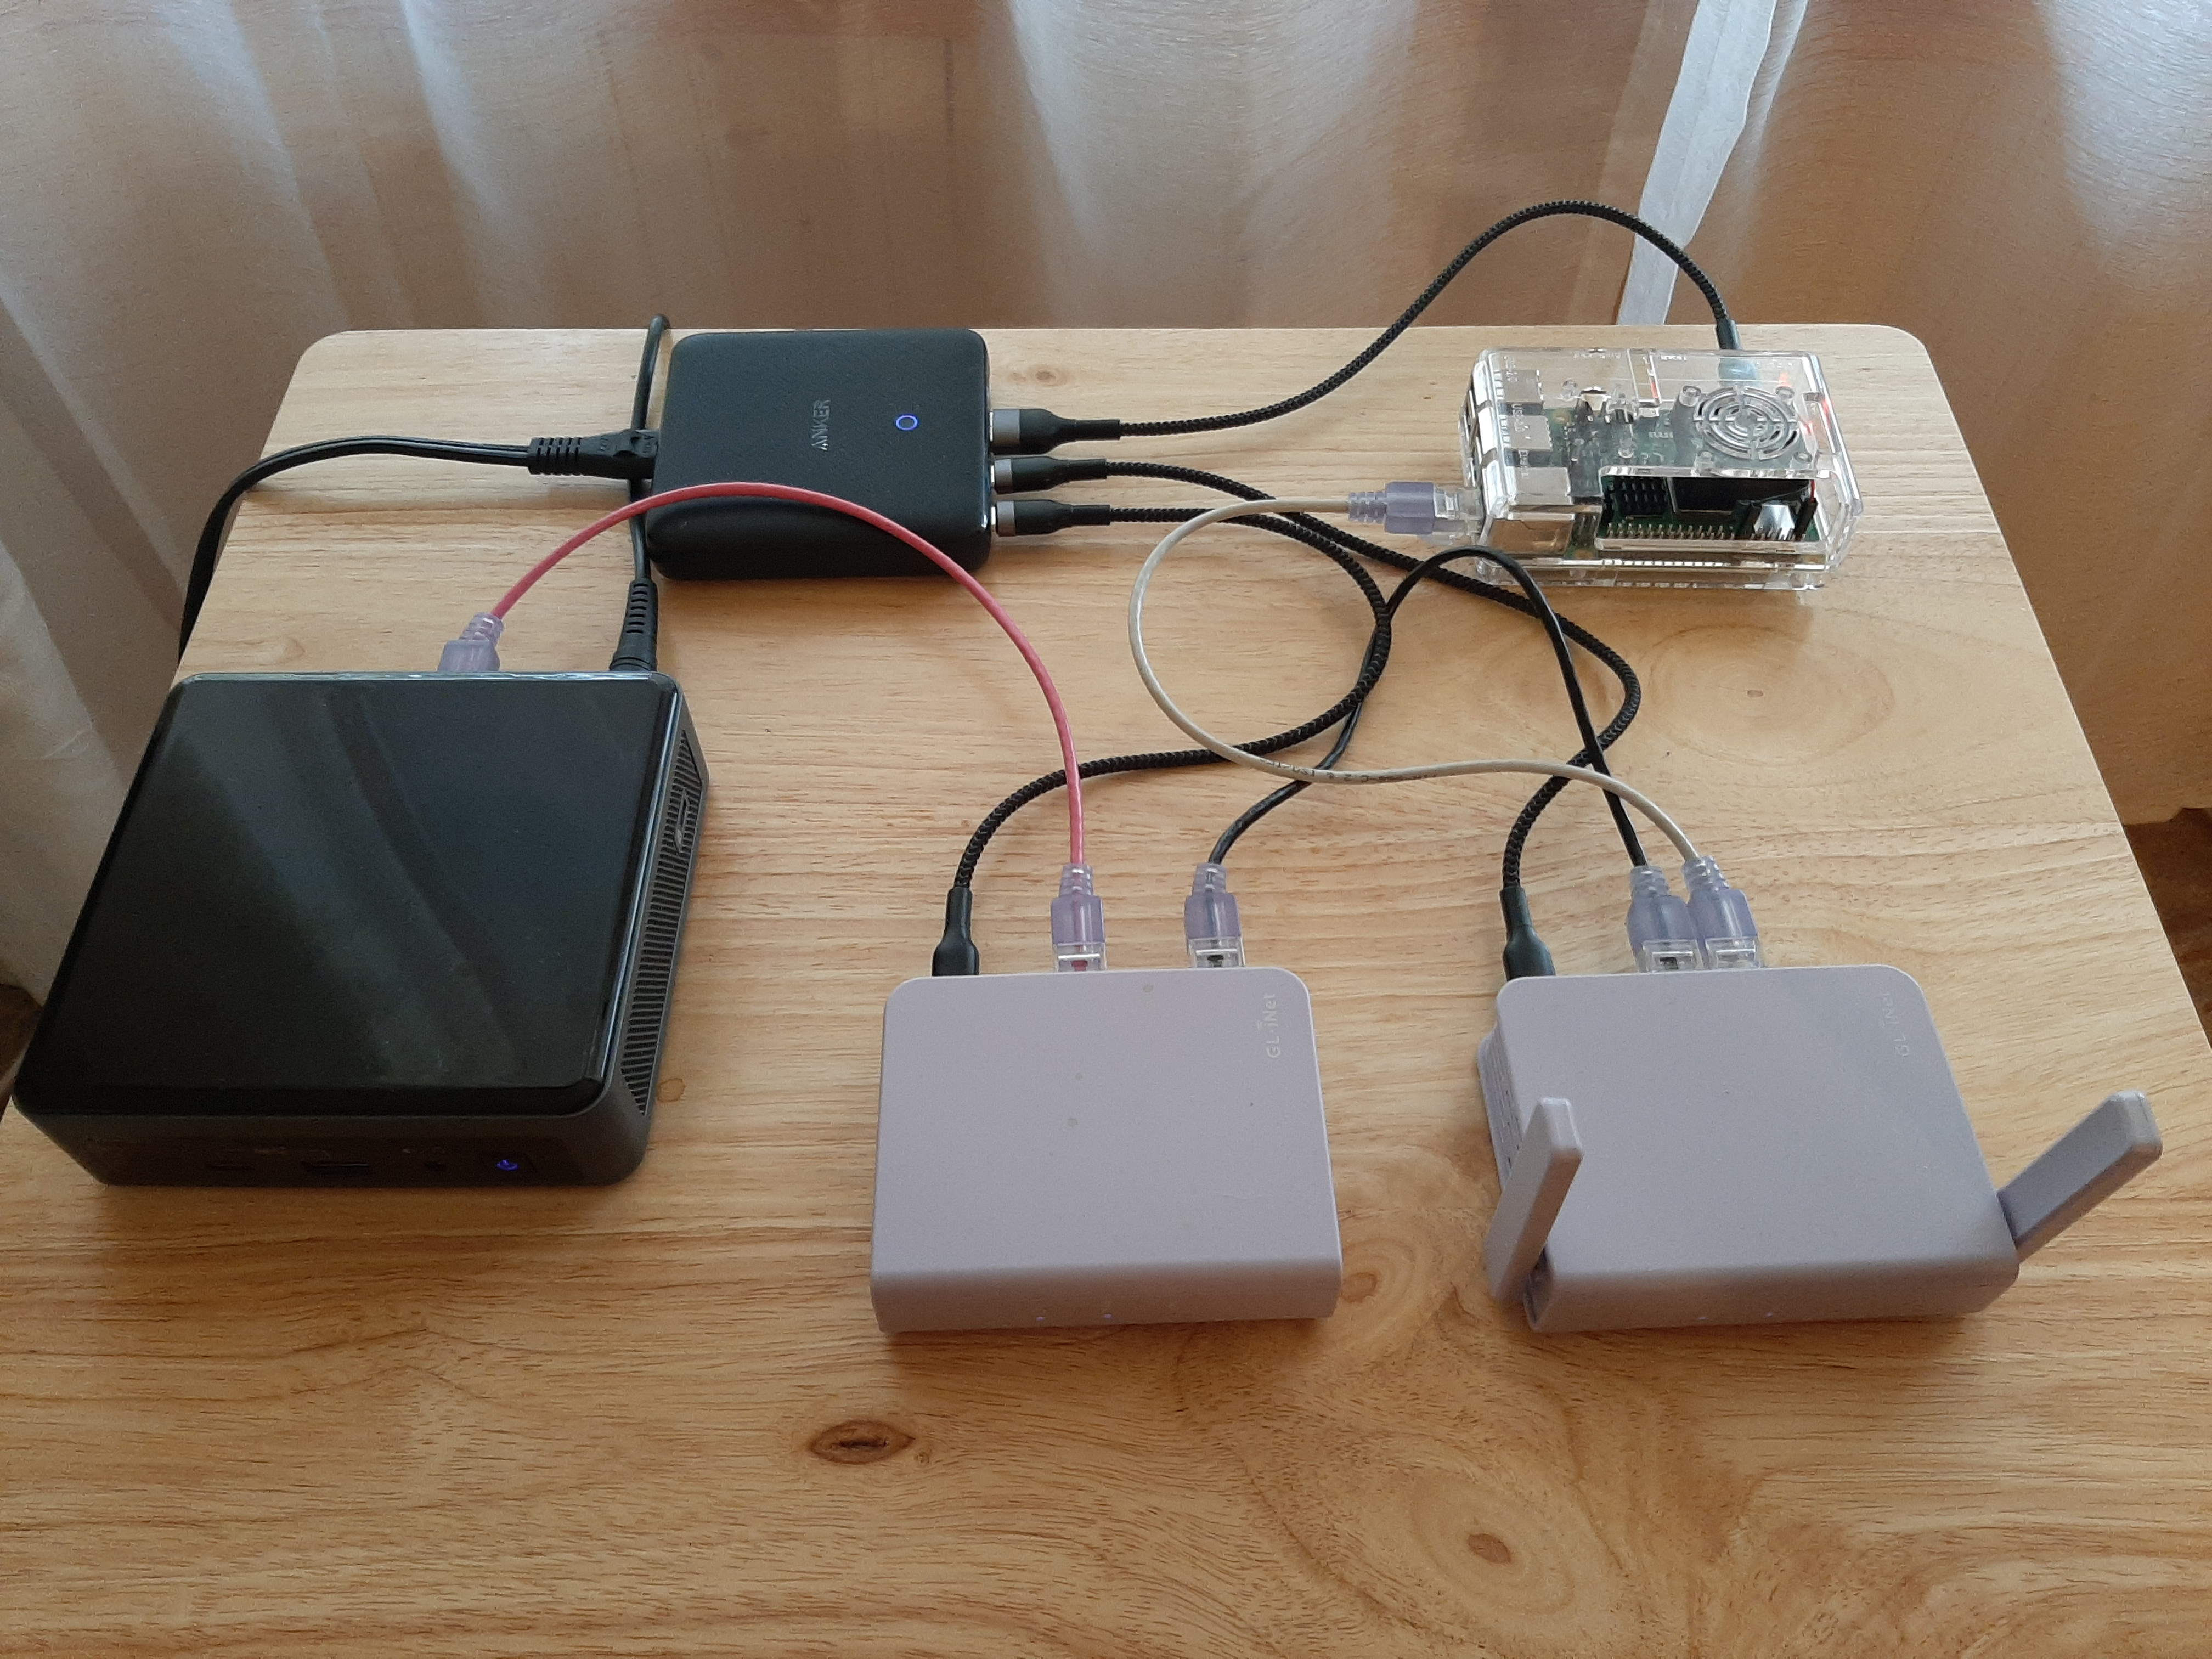
The equipment needed for this lab is identical to the setup for the KVM based OpenShift lab that I started this blog with.

Below is the complete bill of materials for your starter lab. I’ve included Amazon.com links to the gear that I have.
- Network:
- GL.iNet GL-MV1000W (Edge Router with WiFi)
- Note: You may also be able to use the less expensive GL.iNet GL-AR750S-Ext But, while it has dual-band WiFi, it is much more limited on internal storage, CPU, and RAM.
- GL.iNet GL-MV1000 (Internal Router)
- Note: The GL-AR750S-Ext will not work for this function.
- Raspberry Pi 4b 8GB (Bastion Host)
- SD Card for the Pi
- Anker 65W 4 Port PIQ 3.0 & GaN Fast Charger Adapter
- Note: I use this Anker power supply to run the routers and Pi off of one brick. It saves valuable bag space when travelling.
- USB C cables
- USB A to USB C cables
- Network Cables
- Inateck 2.5G Ethernet Adapter
- GL.iNet GL-MV1000W (Edge Router with WiFi)
- Compute:
-
Intel NUC10i7FNK configured with 64GB RAM, (2 X 32GB) & 1TB NVMe
Other NUC models will work as well. The key is to have at least 4 cores. The slim models are much more portable, so I tend to prefer those. I love the NUC10i7FNK because it has 6 cores. That’s 12 vCPUs for your lab!!! Prices fluctuate so much on the NUCs, M2 NVMe, and RAM that I am not listing any links here. But I get most of my compute gear from B&H Photo Video, or Amazon.com. Note: I am not an affiliate with either outlet, so no kickbacks here.
-
As with my other tutorials, this one is broken up into relevant pages:
- Workstation Setup
- Network Note: In this post I am also introducing a major refactor of my lab setup helper scripts. I find myself building and tearing down entire lab ecosystems often enough that I finally got tired of the relentless copy and paste required by the current layout of my lab tutorial. This refactor also makes it easier to deploy multiple clusters. We’ll use that later when we stand up the three clusters for our multi-region lab.
- Deploy Cluster