Let’s Set Up Some Tools for Developing Micro-Services - On A Raspberry Pi!
If you are going to be doing any micro-services development in your Kubernetes Home Lab, there are some useful tools that you are going to need. In this post, I’m going to show you how to set up a travel router and Raspberry Pi to be a portable micro-services dev environment.
After following the instructions in this post you will have the following:
-
A GL.iNet travel router that is set up to be the edge router for a home lab.
The router will provide LAN routing, WiFi, WAN firewall, and DNS for your home lab.
-
A Raspberry Pi with the following tools:
- Sonatype Nexus to be your lab artifact registry
- Gitea for your local Source Code Management
- Keycloak for IAM, & SSO
- Apicurio Studio for OpenAPI, and AsyncAPI schema development
Both of these network devices will be running OpenWRT. https://openwrt.org
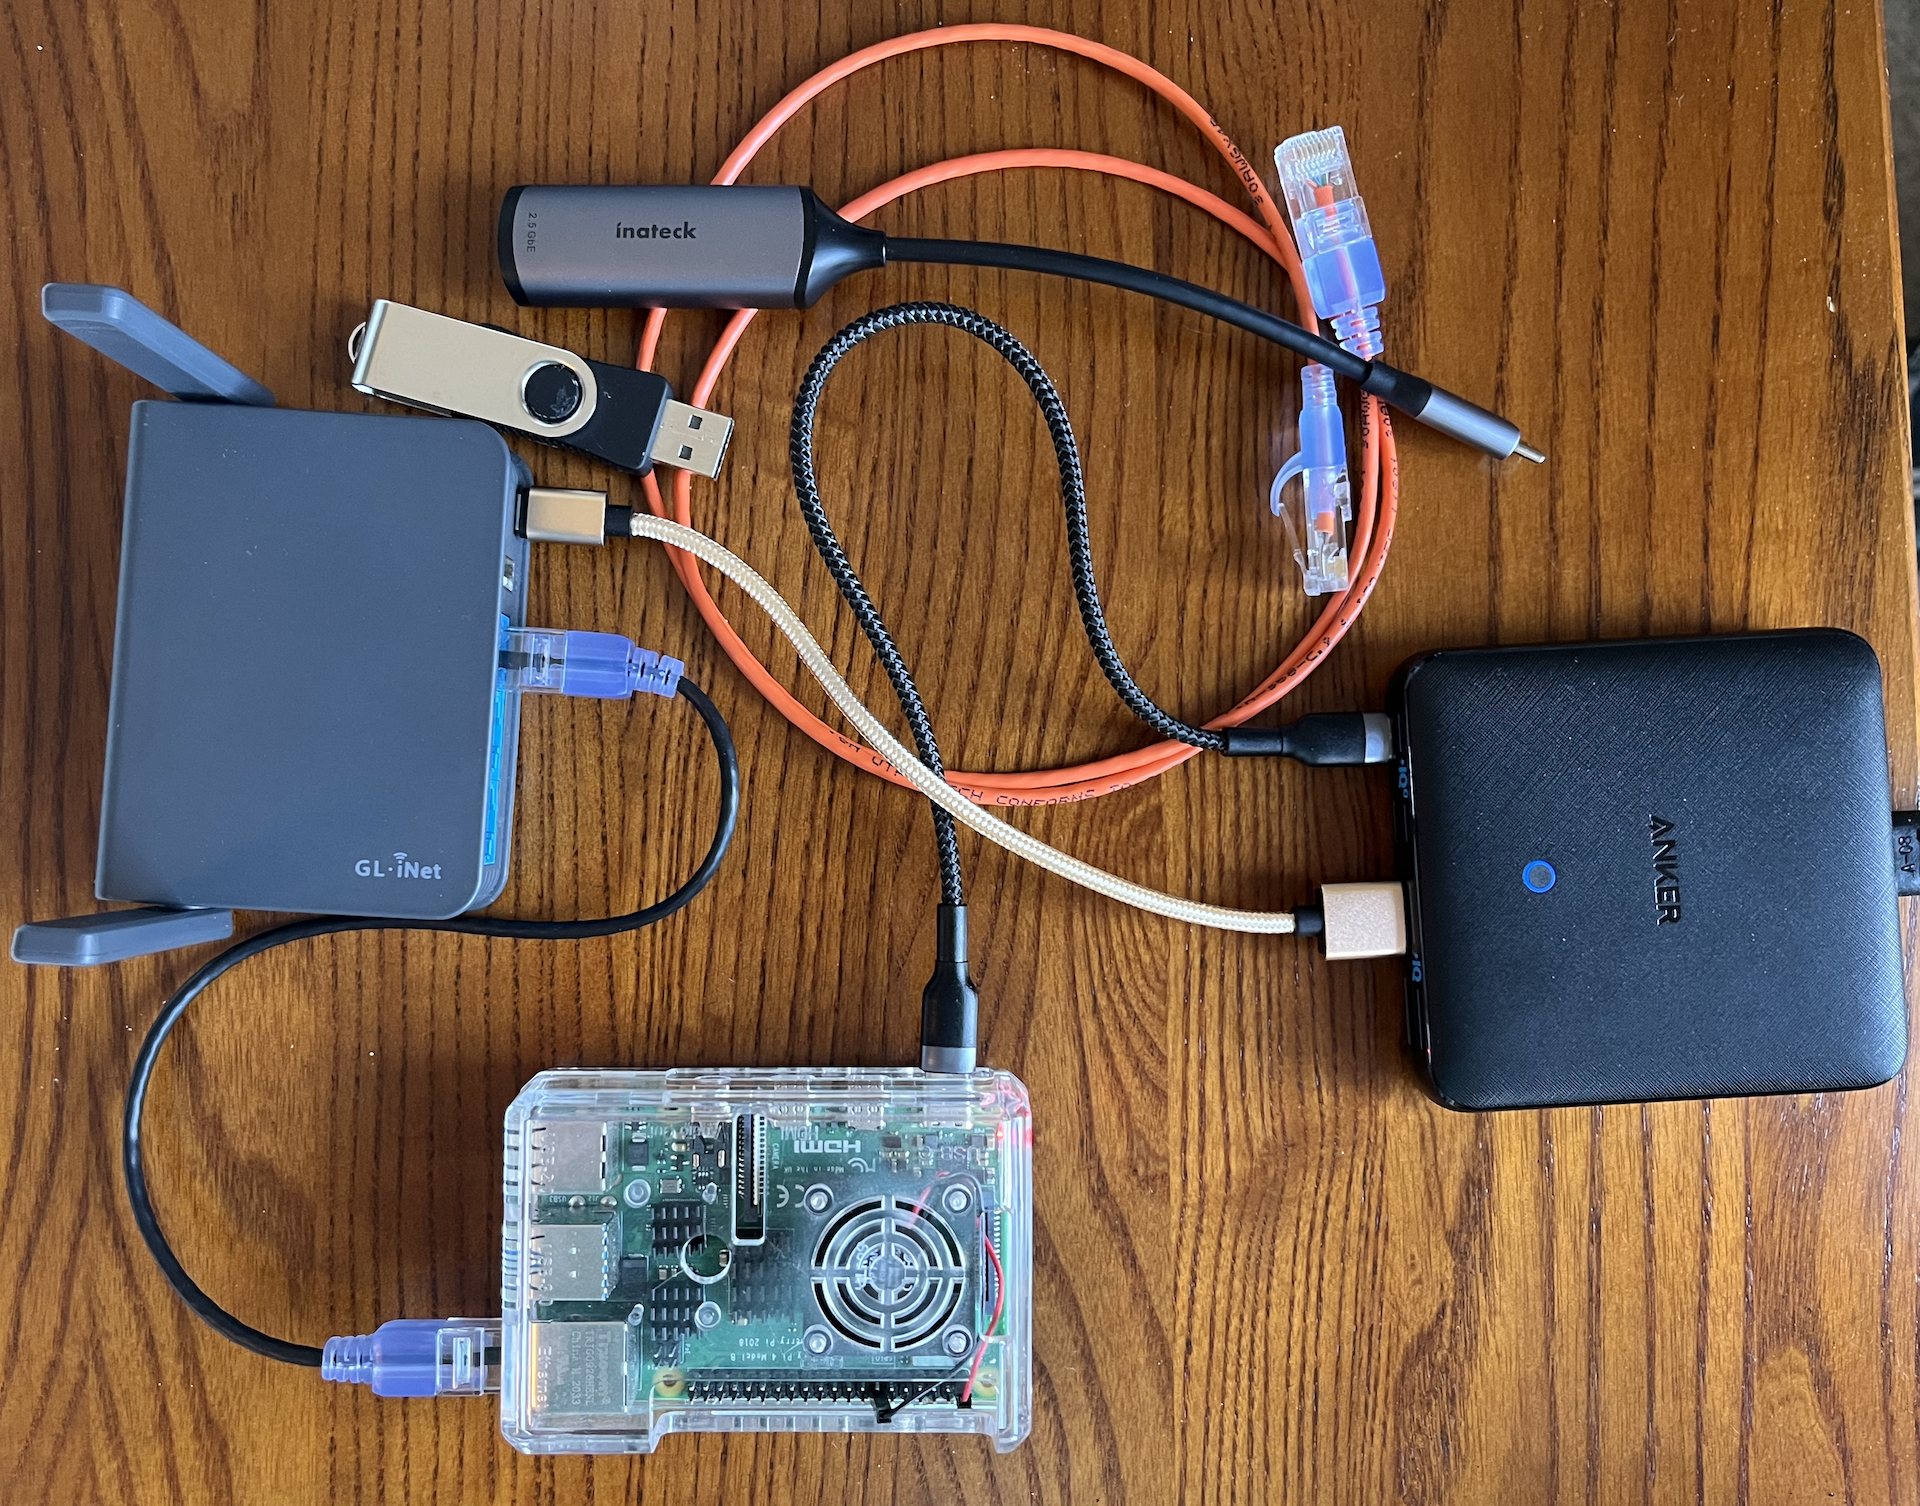
Get Your Lab Gear Together
Note: This is the same gear that you can use to start setting up a Kubernetes Home Lab based on OpenShift or OKD.
For this setup, you will need the following:
- GL.iNet AR-750S Travel Router
- Raspberry Pi 4B 8GB
- 256GB MicroSD Card
- USB Thumb Drive - at least 2GB
- 1Gb Ethernet Dongle
- 2 or 3 network patch cables, depending on your setup
I also use one of these to limit the number of wall warts that I have to carry: Anker 65W 4 Port PIQ 3.0 & GaN Fast Charger Adapter
Set Up Your Workstation
The first step is to install some tools on your development workstation.
I primarily develop on a MacBook, so these instructions are biased that way. However, this should work on a Linux based workstation as well. If you are using Windows, try setting up the Windows Subsystem For Linux. The important thing, is that you have access to the bash shell, and that you have a standard GNU like environment with common commands.
-
Create a directory structure for the home lab tools and configuration files:
mkdir -p ${HOME}/okd-lab/lab-config/domain-configs mkdir ${HOME}/okd-lab/bin -
Install
yqwe will need it for YAML file manipulation: https://mikefarah.gitbook.io/yq/-
MacOS:
brew install yq -
Linux:
mkdir ${HOME}/okd-lab/yq-tmp
YQ_VER=$(curl https://github.com/mikefarah/yq/releases/latest | cut -d"/" -f8 | cut -d\" -f1)
wget -O ${HOME}/okd-lab/yq-tmp/yq.tar.gz https://github.com/mikefarah/yq/releases/download/${YQ_VER}/yq_linux_amd64.tar.gz
tar -xzf ${HOME}/okd-lab/yq-tmp/yq.tar.gz -C ${HOME}/okd-lab/yq-tmp
cp ${HOME}/okd-lab/yq-tmp/yq_linux_amd64 ${HOME}/okd-lab/bin/yq
chmod 700 ${HOME}/okd-lab/bin/yq
rm -rf ${HOME}/okd-lab/yq-tmp
-
-
If you don’t have an SSH key pair configured on your workstation, then create one now:
ssh-keygen -t rsa -b 4096 -N "" -f ${HOME}/.ssh/id_rsa -
Copy the SSH public key to the Lab configuration folder:
cp ~/.ssh/id_rsa.pub ${HOME}/okd-lab/ssh_key.pub
Next we’ll install a CLI that will automate most of the setup tasks for your development lab.
Install καμαρότος, or in English, kamarótos - aka, my Lab CLI
I have written a set of shell scripts and functions which implement a CLI that I use to perform a lot of the tedious setup and management functions in my OpenShift home lab. I manage a number of OpenShift clusters, and tend to build and tear them down quite a bit. These scripts automate most of the work. https://github.com/cgruver/kamarotos
-
Clone the git repository that I have created with helper scripts:
mkdir -p ${HOME}/okd-lab/bin git clone https://github.com/cgruver/kamarotos.git ${HOME}/okd-lab/kamarotos -
Copy the helper scripts to
${HOME}/okd-lab:cp ${HOME}/okd-lab/kamarotos/bin/* ${HOME}/okd-lab/bin chmod 700 ${HOME}/okd-lab/bin/* -
Copy the example lab configuration files to ${HOME}/okd-lab/lab-config
mkdir -p ${HOME}/okd-lab/lab-config/domain-configs cp ${HOME}/okd-lab/kamarotos/examples/lab.empty.yaml ${HOME}/okd-lab/lab-config/lab.yaml -
Add the following to your shell environment:
Your default shell will be something like
bashorzsh. Although you might have changed it.You need to add the following line to the appropriate shell file in your home directory:
.bashrc, or.zshrc, etc…Bash:
echo ". ${HOME}/okd-lab/bin/labEnv.sh" >> ~/.bashrcZsh:
echo ". ${HOME}/okd-lab/bin/labEnv.sh" >> ~/.zshrcNote: Take a look at the file
${HOME}/okd-lab/bin/labEnv.sh. It will set variables in your shell when you log in, so make sure you are comfortable with what it is setting. If you don’t want to add it to your shell automatically, the you will need to execute. ${HOME}/okd-lab/bin/labEnv.shbefore running any lab commands.It’s always a good practice to look at what a downloaded script is doing, since it is running with your user privileges… I know that you NEVER run one of those;
curl some URL | bash… without looking at the file first… right? -
Log off and back on to set the variables.
Review the configuration
The documentation for καμαρότος is here: Command Line Interface for your Kubernetes (OpenShift) Home Lab
-
Your lab domain will be:
my.awesome.lab -
Your lab network will be:
For example:
10.11.12.0/24 -
These settings are in:
${HOME}/okd-lab/lab-config/lab.yamldomain: my.awesome.lab network: 10.11.12.0 router-ip: 10.11.12.1 bastion-ip: 10.11.12.10 netmask: 255.255.255.0 centos-mirror: rsync://mirror.facebook.net/centos-stream gitea-version: 1.16.8 keycloak-version: 18.0.1 apicurio-version: 0.2.54.Final openwrt-version: 21.02.3 git-url: https://gitea.my.awesome.lab:3000 sub-domain-configs:Note: If you want different network settings, or a different domain, change this file accordingly.
Set Up The Router
You can use the GL.iNet GL-AR750S either as an access point, or as an access point plus repeater for wireless connection to your home network.
I highly recommend using a cable to connect the router to your home network. You will get much faster network speeds than you get in repeater mode. But, the repeater mode is usable. Especially when traveling.
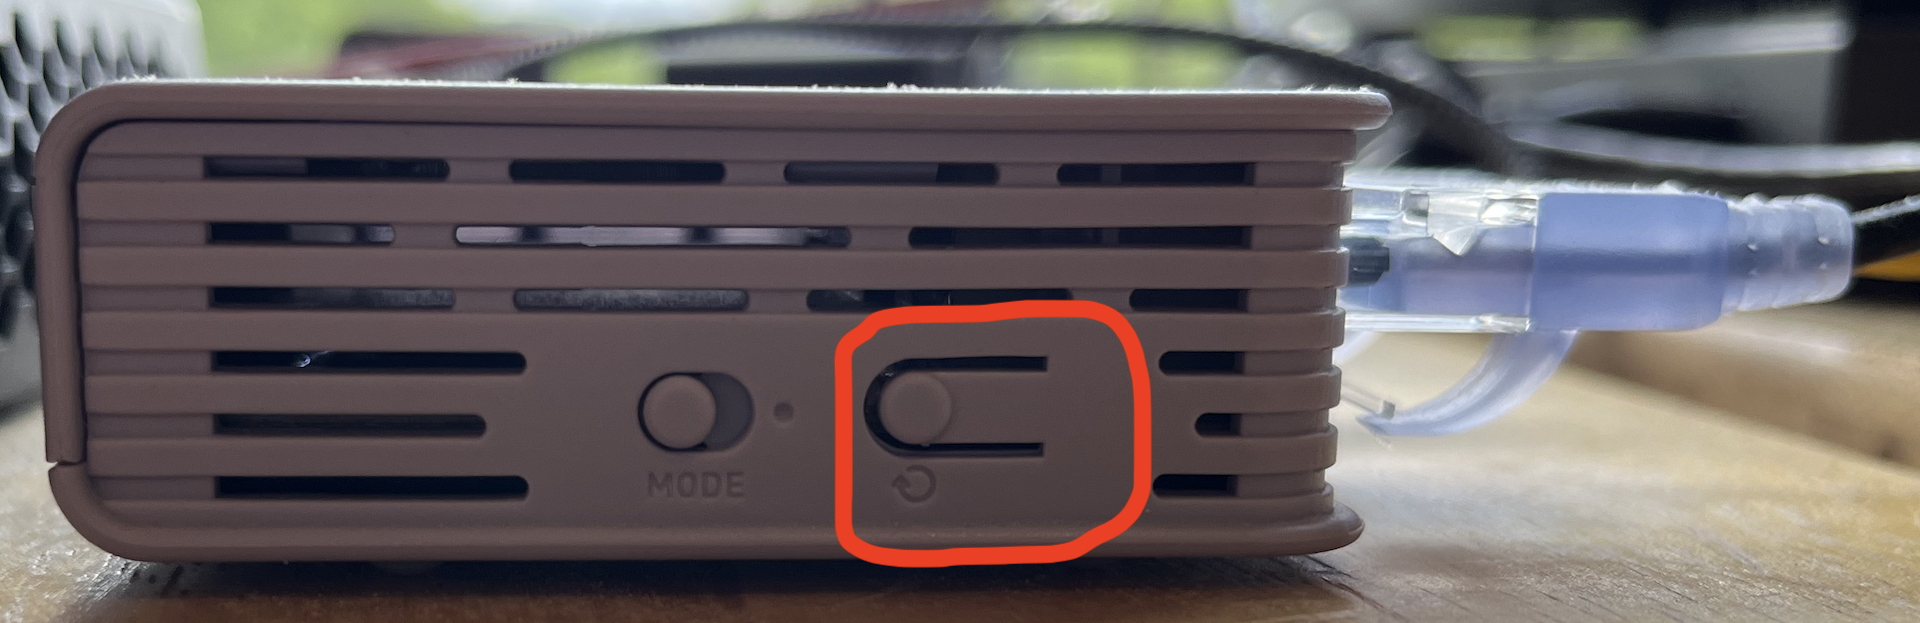
Note: If at any time you need to reset the router, or any of the below commands fail and need to be rerun, do this:
Hold the highlighted button for about 10 seconds. When you first press the button, the left most LED will start to slowly blink. After about 3-4 seconds it will blink a bit faster. After about 9-10 seconds it will blink really fast. At this point, let go of the button. Your router will factory reset itself.
-
Set the lab environment variables in your shell
labctx -
Use the ethernet dongle to connect your workstation to one of the LAN ports on the router. The LAN ports are the two ports closest to the power input.
-
Initialize the router configuration:
To use the router with a wired connection to your home network, do this:
labcli --router -i -e -wlYou will prompted to enter an
ESSIDand a passphrase for your new lab network.To use the router in repeater mode, do this instead:
labcli --router -i -e -wl -wwYou will prompted to enter the
ESSID,Channel, andPassphrasefor the wireless network you are bridging to, and you will prompted to enter anESSIDand a passphrase for your new lab network.Note: The router will dump a list of the Wireless Networks that it sees. You can get the channel from that list as well.
When the configuration is complete, the router will power off.
-
Power the router back on, and connect the router to your home network router, unless you are using wireless repeater mode.
-
Unplug the ethernet dongle, and connect your workstation to your new lab WiFi network.
-
Verify that DNS is working properly:
ping google.com -
Finish configuring the router:
labcli --router -s -eNote: If you want to see the details of what labcli scripts are doing, I have a page with the manual instructions here: Edge Network Router Configuration
-
Wait for the router to reboot, and then reconnect to your new lab network.
-
Verify that DNS is working properly:
ping google.com
Set Up The Pi
We are going to use the travel router that we set up previously to configure the OS for the Raspberry Pi.
Note: You will need a USB type A thumb drive with at least 2-GB capacity for this step. The thumb drive will be reformatted during this process, so don’t use one with important files on it.
-
Insert the SD Card into the router.
-
Insert the thumb drive into the USB slot on the router.
-
Install and configure OpenWRT on the SD Card:
labcli --pi -iThis will take a while to complete.
Note: You can safely ignore errors like:
umount: can't unmount /dev/sda3: Invalid argument -
Remove the SD Card from the router and insert it into the Pi.
-
Remove the thumb drive from the USB slot on the router.
-
Connect the network adapter from the Pi to a LAN port on the router.
-
Power on the Pi.
-
Ensure that the Pi is on line:
ping bastion.my.awesome.lab -
Complete the configuration of the Pi:
labcli --pi -sNote: You can ignore this note at the end of the install:
After the Pi reboots, run ssh -o StrictHostKeyChecking=no -o UserKnownHostsFile=/dev/null root@10.11.12.10 "nohup /root/bin/MirrorSync.sh &"This is for creating a mirror of CentOS Stream for installing KVM hosts as part of a KVM based OpenShift Lab. Building a Portable Kubernetes Home Lab with OpenShift - OKD4
When the configuration is complete, the Pi will reboot.
Install The Dev Tools
Sonatype Nexus
-
Ensure that the Pi is on line:
ping bastion.my.awesome.lab -
Install Sonatype Nexus
labcli --dev-tools -nNote: If you want to see the details of what labcli scripts are doing, I have pages with the manual instructions here:
-
Start Nexus
ssh root@bastion.${LAB_DOMAIN} "/etc/init.d/nexus start" -
Nexus will take a while to start for the first time.
You can check for Nexus to be online with
curlcurl -k https://nexus.${LAB_DOMAIN}:8443Go make a nice cup of tea, coffee, or hot beverage of your choice. Nexus will be up shortly.
Note: On a MacBook, you might have to give DNS a nudge… It does not always pick up changes from the router…
labcli --dns -
After Nexus has started, trust the new Nexus cert on your workstation:
labcli --trust -n -
Log into Nexus:
Get the initial admin password for Nexus:
echo $(ssh root@bastion.${LAB_DOMAIN} "cat /usr/local/nexus/sonatype-work/nexus3/admin.password")Now point your browser to
https://nexus.${LAB_DOMAIN}:8443. Login, and create a password for your admin user.
If prompted to allow anonymous access, select to allow.
The ? in the top right hand corner of the Nexus screen will take you to their documentation.
Gitea
-
Install Gitea
labcli --dev-tools -gNote: If you want to see the details of what labcli scripts are doing, I have pages with the manual instructions here:
-
Start Gitea
ssh root@bastion.${LAB_DOMAIN} "/etc/init.d/gitea start" -
Make sure that Gitea is running:
curl -k https://gitea.${LAB_DOMAIN}:3000Note: On a MacBook, you might have to give DNS a nudge… It does not always pick up changes from the router…
labcli --dns -
Trust the gitea certs on your workstation:
labcli --trust -gThe Gitea web console will be at:
https://gitea.${LAB_DOMAIN}:3000https://gitea.my.awesome.lab:3000
The script creates two users for Gitea:
gitea- This is your Gitea admin userdevuser- This is a non-privileged user for Gitea.
Both passwords are initialized to
password. You will be prompted to change them when you log in.
KeyCloak
Next we’re going to install KeyCloak. We’ll initially set it up to be the IAM provider for Apicurio. Later we can use it as the IAM for our micro-services.
-
Install The KeyCloak application components:
labcli --dev-tools -k -
Log into the Raspberry Pi and temporarily start KeyCloak so that you can finish the setup:
ssh root@bastion.${LAB_DOMAIN} su - keycloak PATH=/usr/local/java-11-openjdk/bin:${PATH} KEYCLOAK_ADMIN=admin KEYCLOAK_ADMIN_PASSWORD=admin /usr/local/keycloak/keycloak-server/bin/kc.sh start -
When Keycloak is running, you should see something similar at the tail of the log on your screen:
2022-06-16 18:41:53,528 INFO  [org.keycloak.services] (main) KC-SERVICES0050: Initializing master realm
2022-06-16 18:42:01,344 INFO  [org.keycloak.services] (main) KC-SERVICES0009: Added user 'admin' to realm 'master'
2022-06-16 18:42:02,573 INFO  [io.quarkus] (main) Keycloak 18.0.1 on JVM (powered by Quarkus 2.7.5.Final) started in 45.353s. Listening on: https://0.0.0.0:7443
2022-06-16 18:42:02,575 INFO  [io.quarkus] (main) Profile prod activated.
2022-06-16 18:42:02,575 INFO  [io.quarkus] (main) Installed features: [agroal, cdi, hibernate-orm, jdbc-h2, jdbc-mariadb, jdbc-mssql, jdbc-mysql, jdbc-oracle, jdbc-postgresql, keycloak, narayana-jta, reactive-routes, resteasy, resteasy-jackson, smallrye-context-propagation, smallrye-health, smallrye-metrics, vault, vertx]
We started Keycloak like this just to initialize the
Adminuser, and create the master realm. We’ll stop Keycloak now, and start it as a Daemon process. -
Now, stop Keycloak by hitting
<ctrl + C>in the terminal window where you started Keycloak:^C2022-06-16 19:02:29,927 INFO [org.infinispan.CLUSTER] (Thread-16) ISPN000080: Disconnecting JGroups channel `ISPN` 2022-06-16 19:02:30,086 INFO [io.quarkus] (main) Keycloak stopped in 0.307s keycloak@bastion:~$ -
Exit the Raspberry Pi terminal
-
Now start Keycloak
ssh root@bastion.${LAB_DOMAIN} "/etc/init.d/keycloak start" -
Wait a minute for Keycloak to start.
-
Make sure that Keycloak is running:
curl -k https://keycloak.${LAB_DOMAIN}:7443Note: On a MacBook, you might have to give DNS a nudge… It does not always pick up changes from the router…
labcli --dns -
Trust the Keycloak cert:
labcli --trust -k
Change the initial Password for the admin user
Navigate to https://keycloak.my.awesome.lab:7443
-
Click on
Adminisration Console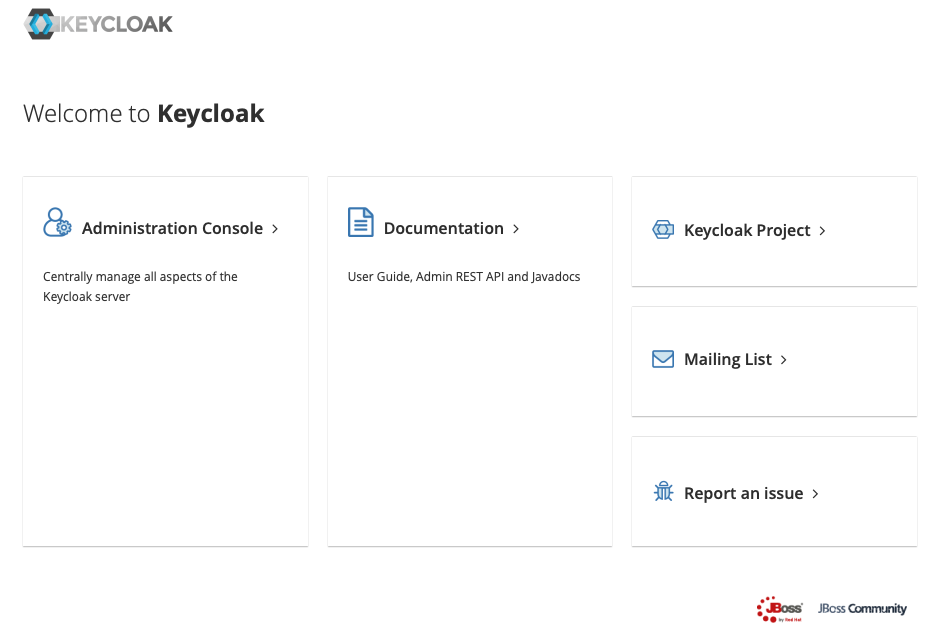
-
Log in with
admin,admin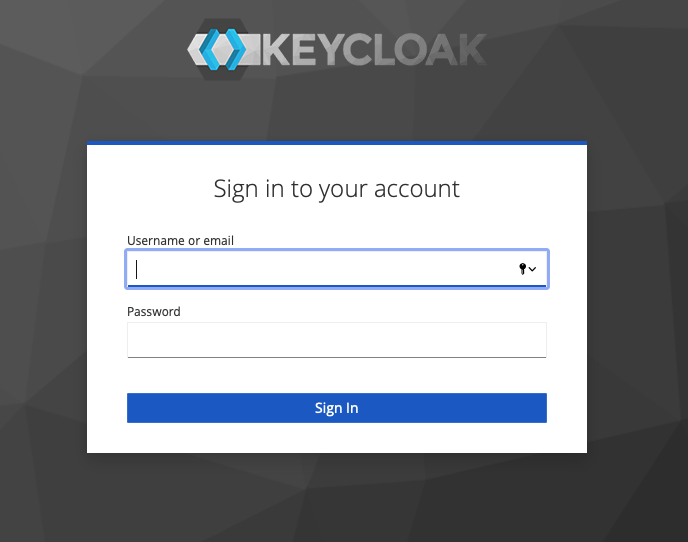
-
In the upper right hand corner, select the user
Admindropdown, and selectManage Account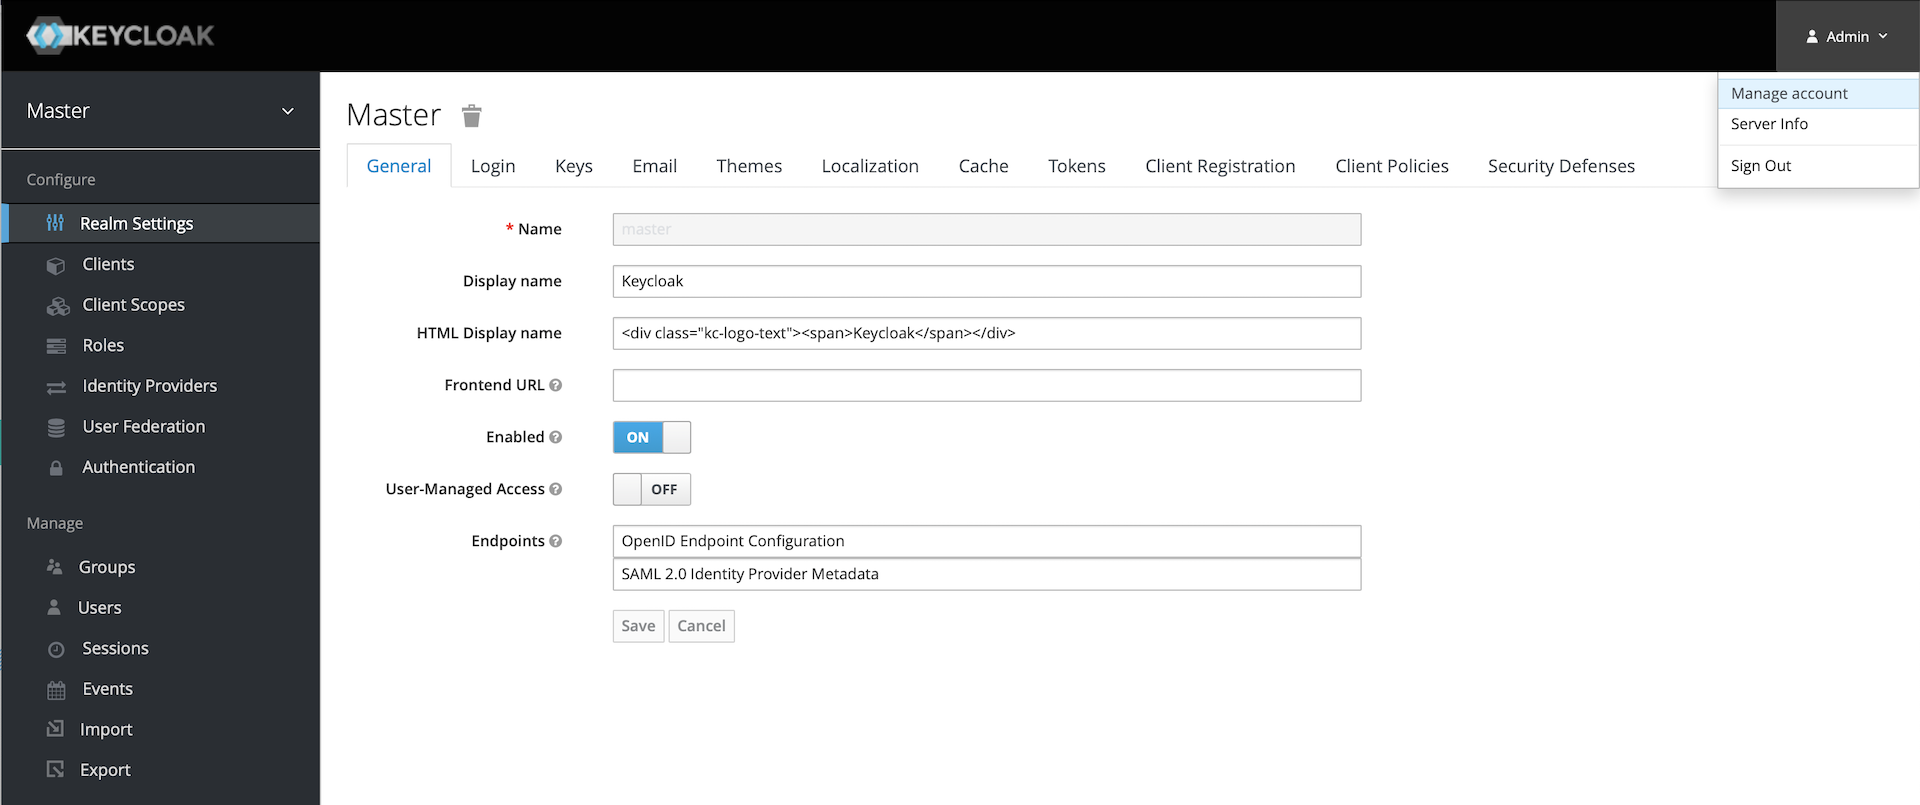
-
From the middle box, select
Signing in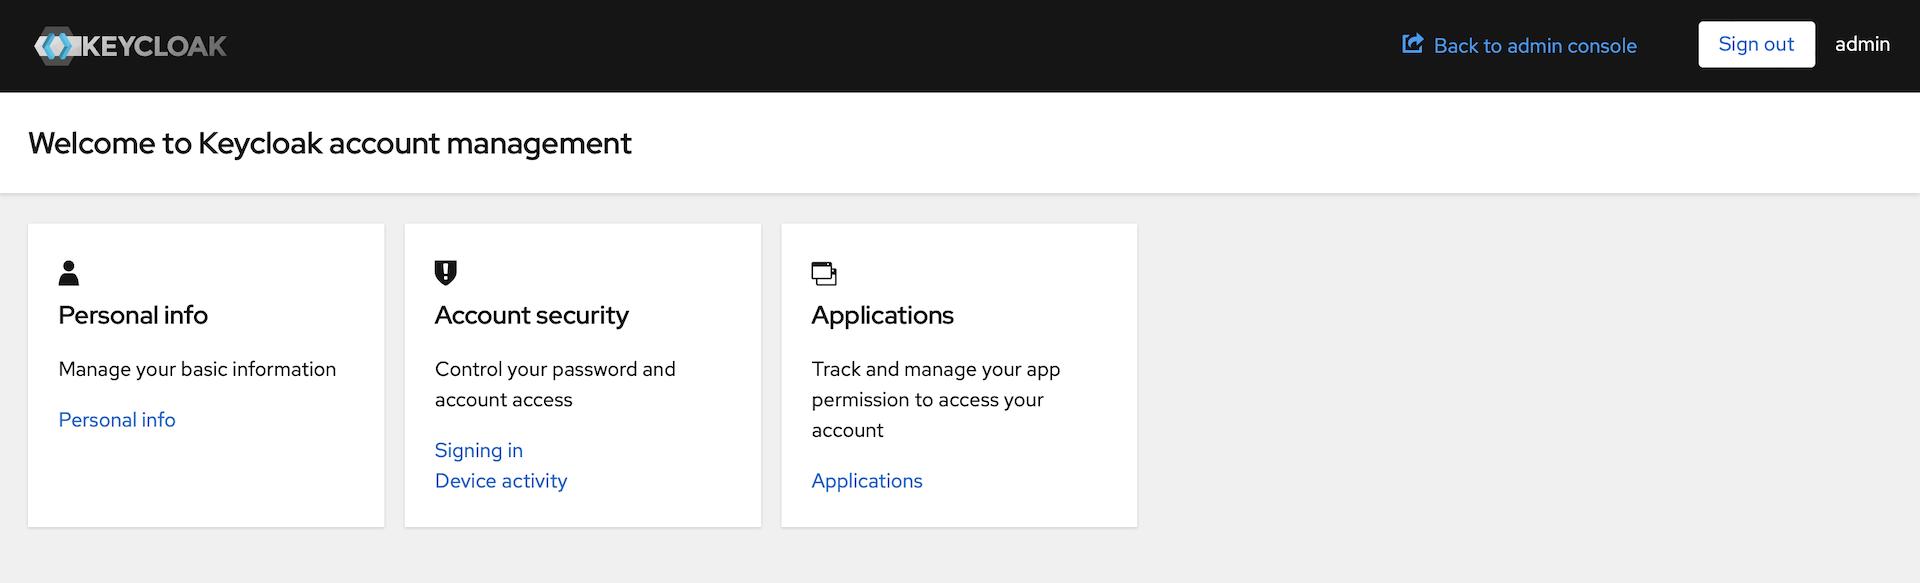
-
On the right hand side, select the
Updatebutton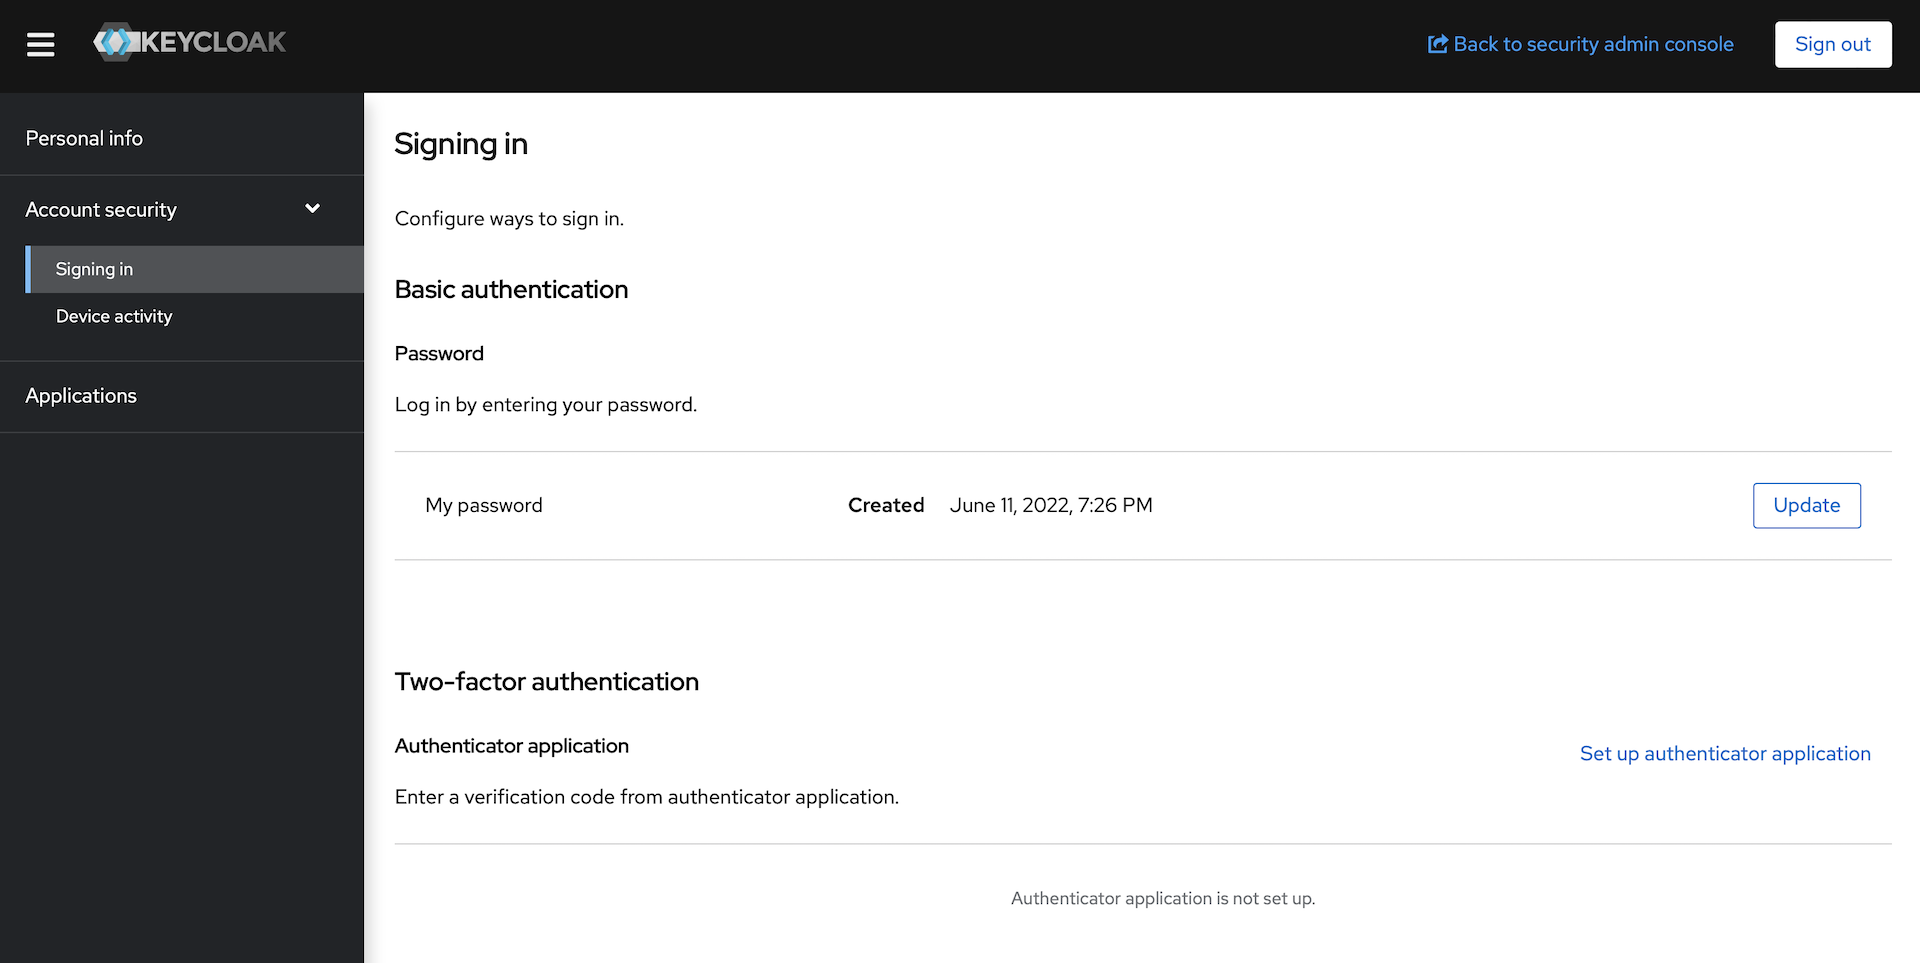
-
Create a new Password
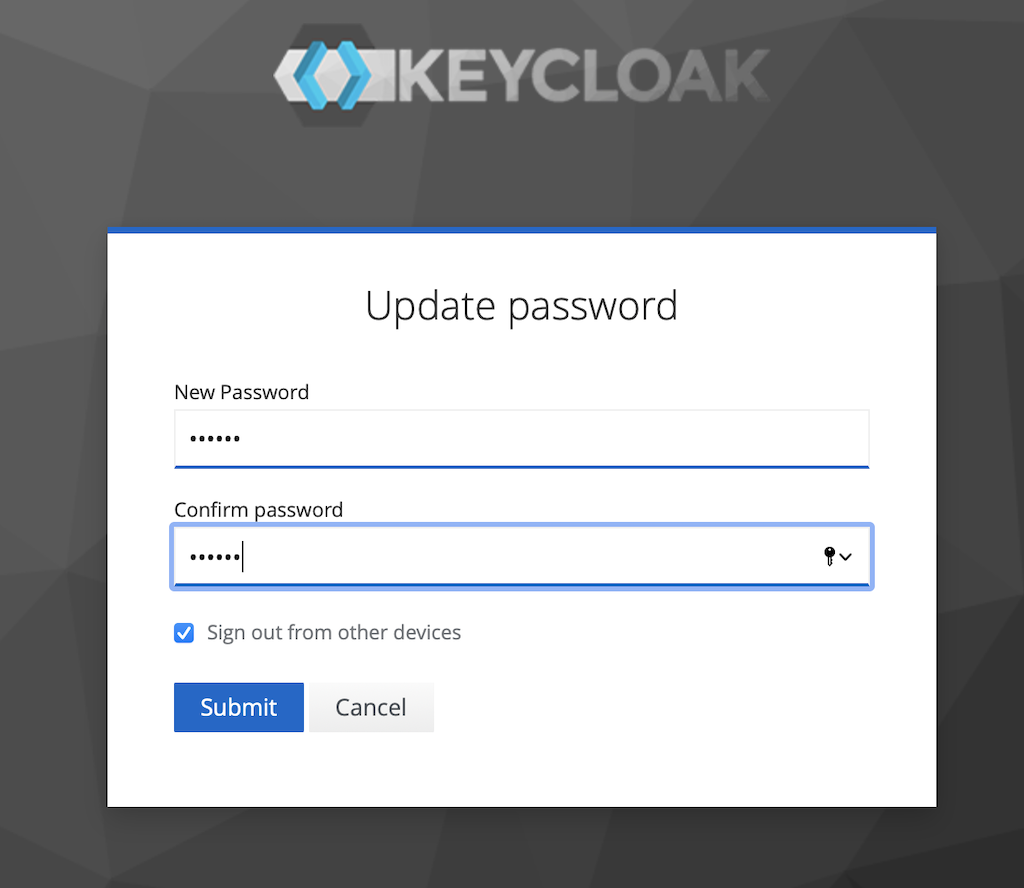
-
In the upper right of the screen, click on
Back to security admin console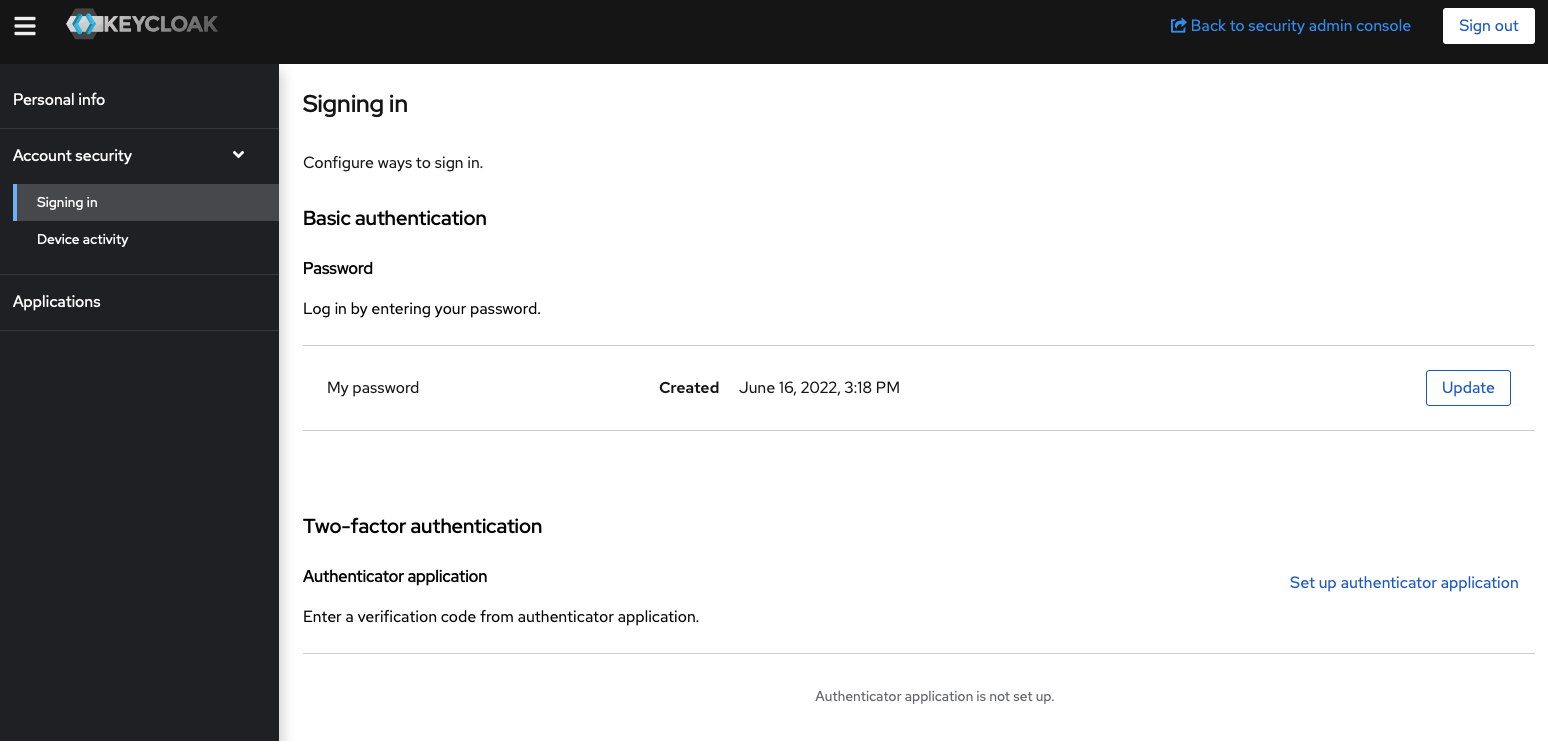
Configure the Apicurio Realm
-
Download the prepared realm file for Apicurio:
wget -O ${OKD_LAB_PATH}/keycloak-realm.json https://raw.githubusercontent.com/Apicurio/apicurio-studio/master/distro/quarkus/openshift/auth/realm.json -
Prepare the realm file for import into Keycloak:
export APICURIO_URL=https://apicurio.${LAB_DOMAIN}:9443Mac OS:
sed -i "" "s|APICURIO_UI_URL|${APICURIO_URL}|g" ${OKD_LAB_PATH}/keycloak-realm.jsonLinux:
sed -i "s|APICURIO_UI_URL|${APICURIO_URL}|g" ${OKD_LAB_PATH}/keycloak-realm.json -
Go back to the Keycloak console:
-
In the upper left of the screen, hover over
Master, and selectAdd realm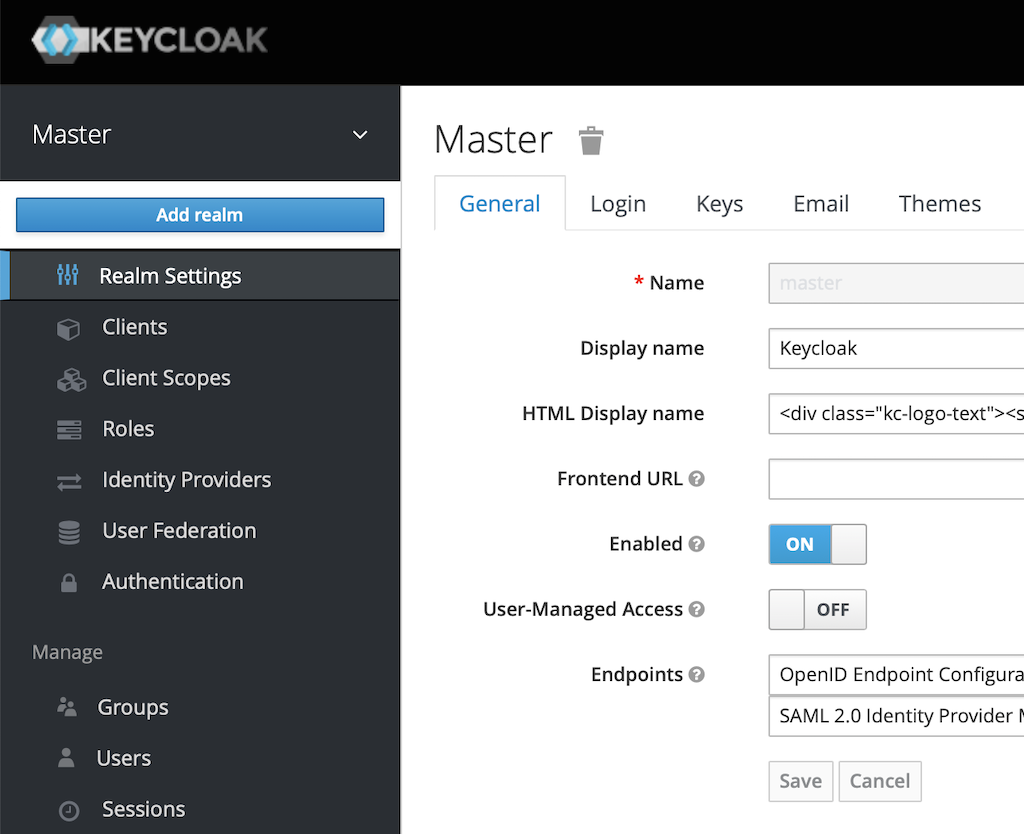
-
Click the
Select filebutton: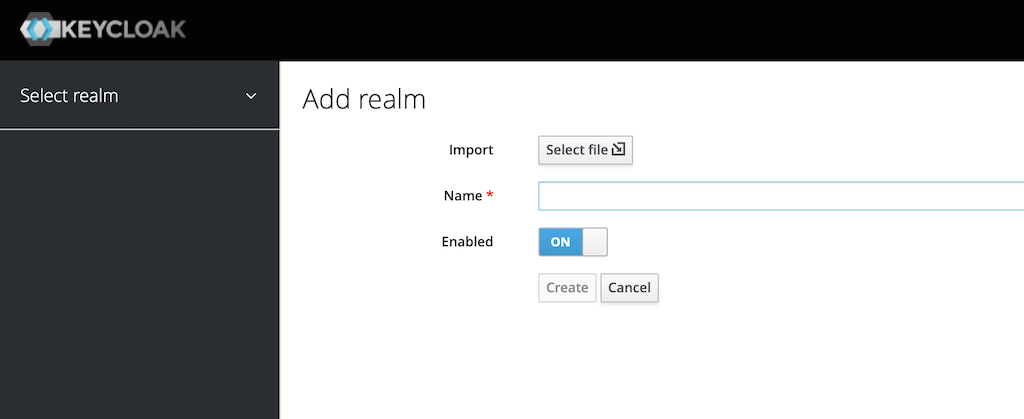
-
Select the file at
${OKD_LAB_PATH}/keycloak-realm.json -
Click
Create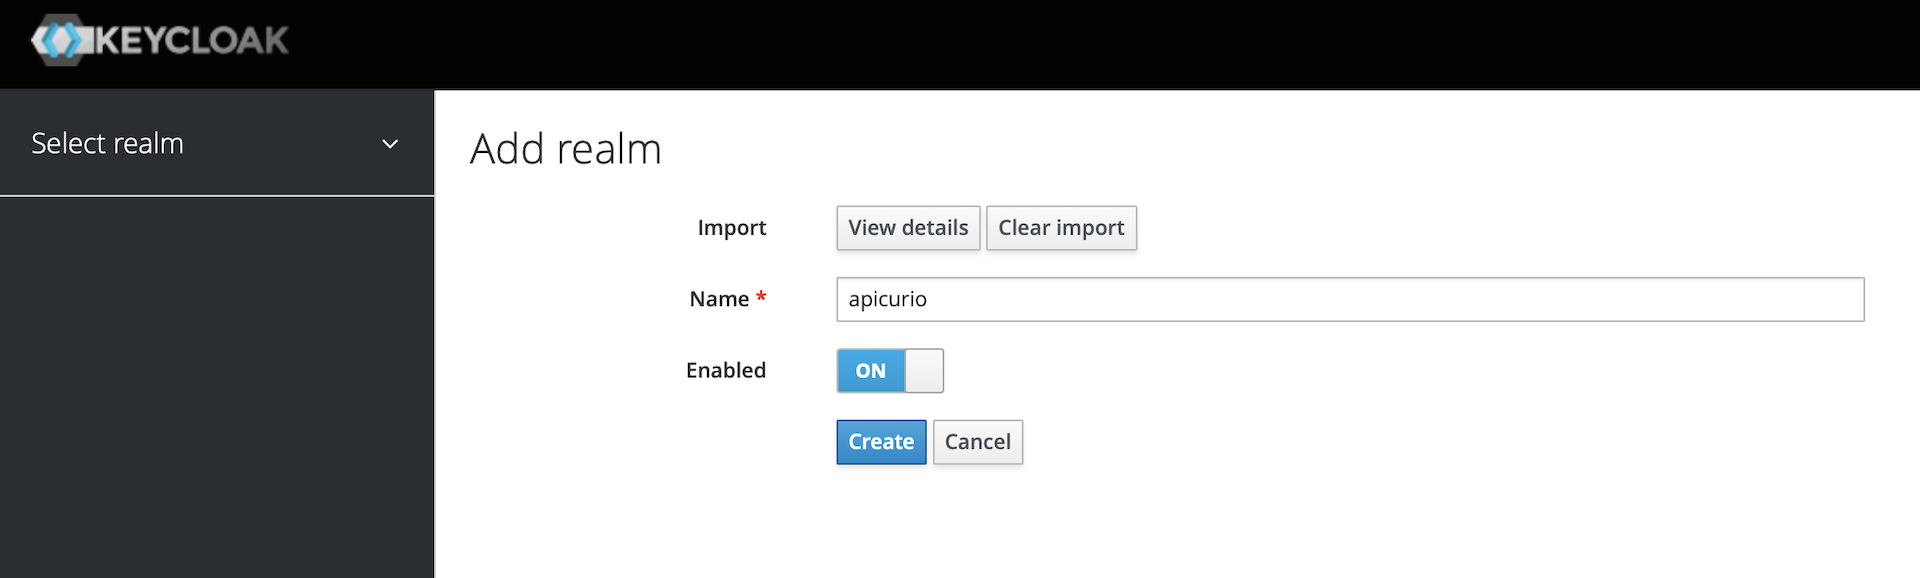
-
Click on the
Themestab: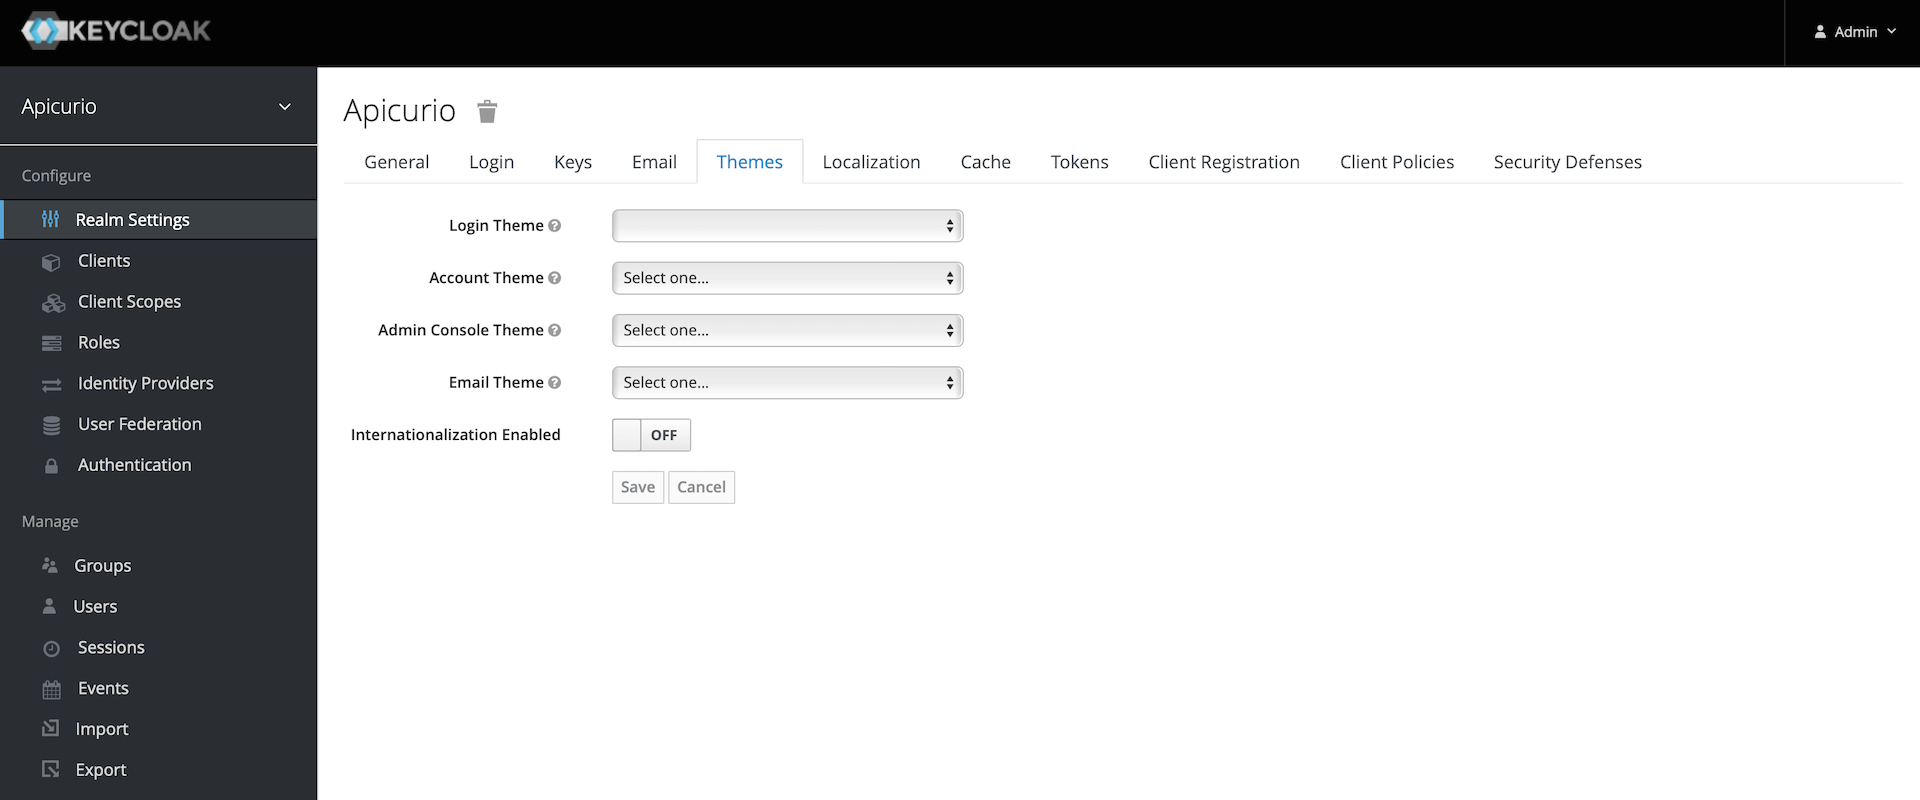
-
Select
keycloakfor each Theme: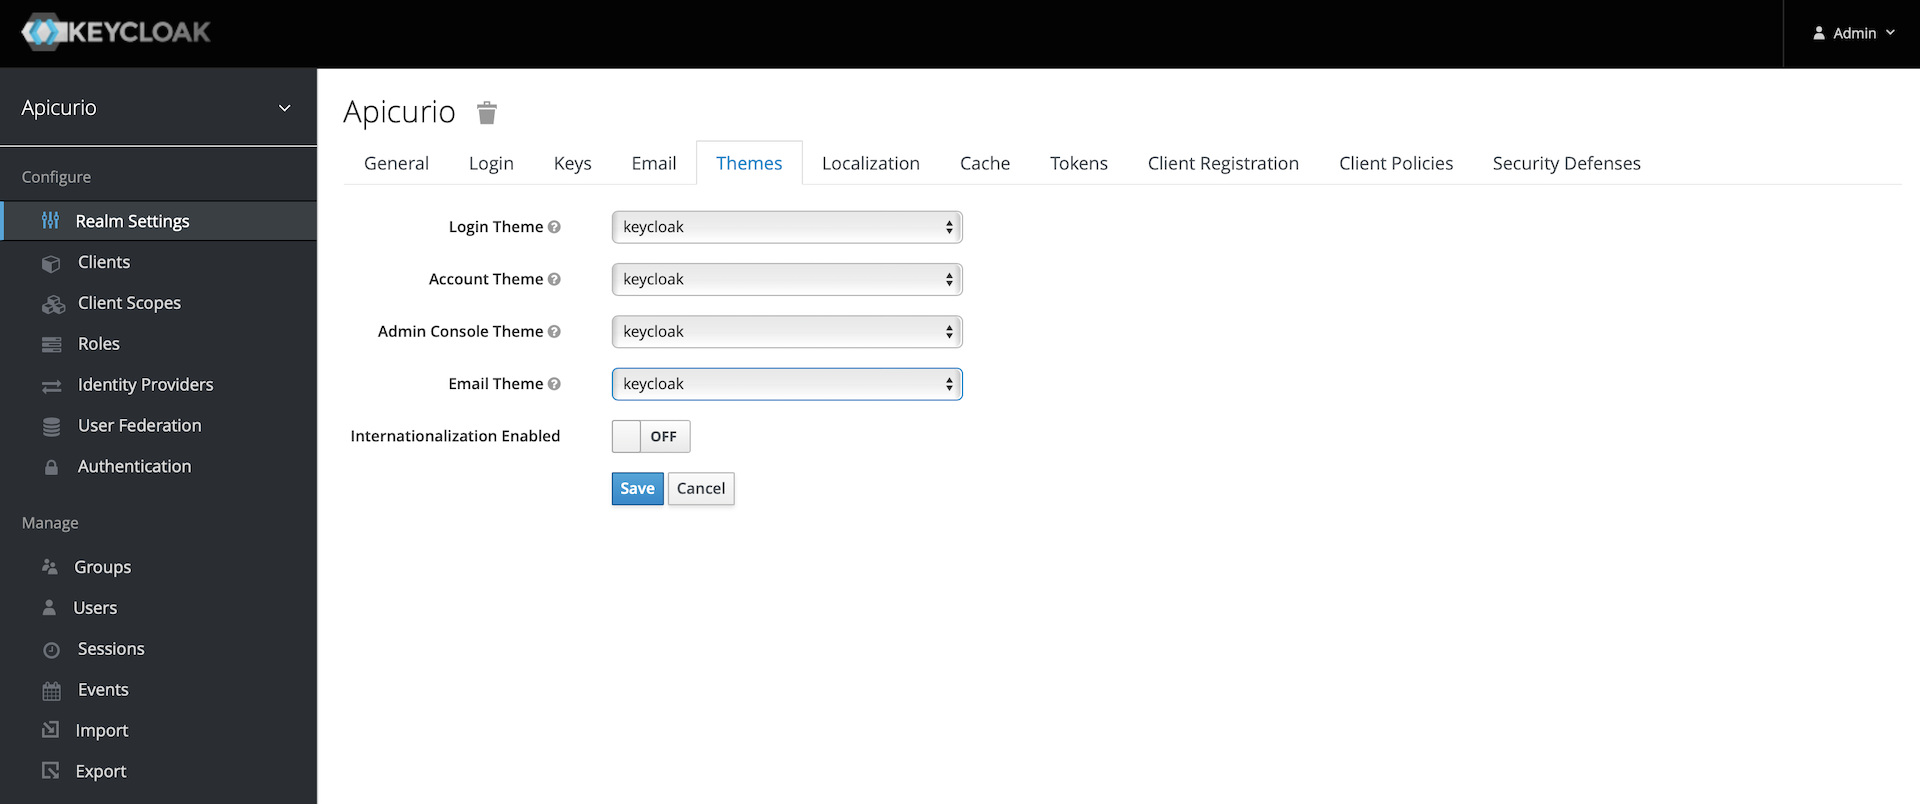
-
Sign out of Keycloak
Apicurio
Finally, let’s install Apicurio
-
Install the Apicurio application components
labcli --dev-tools -a -
Start Apicurio
ssh root@bastion.${LAB_DOMAIN} "/etc/init.d/apicurio start" -
Make sure that Apicurio is running:
curl -k https://apicurio.${LAB_DOMAIN}:9443Note: On a MacBook, you might have to give DNS a nudge… It does not always pick up changes from the router…
labcli --dns -
Trust the Apicurio cert:
labcli --trust -a -
Create a user:
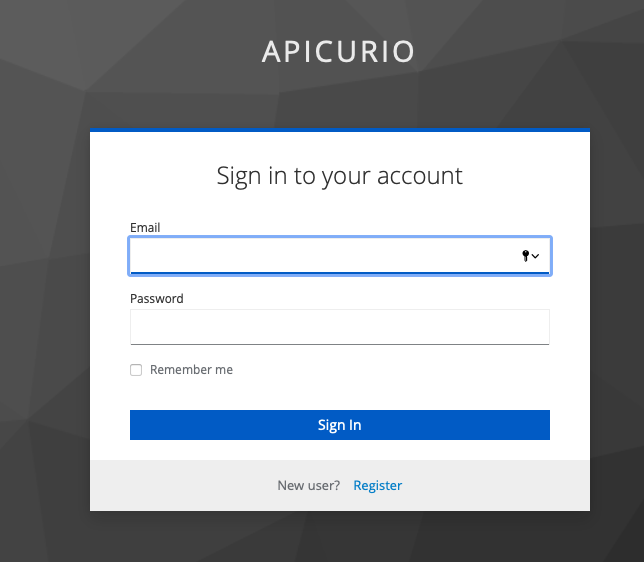
Point your browser to: https://apicurio.my.awesome.lab:9443
-
Click on
Registerat the bottom of the Sign in dialog to open the registration form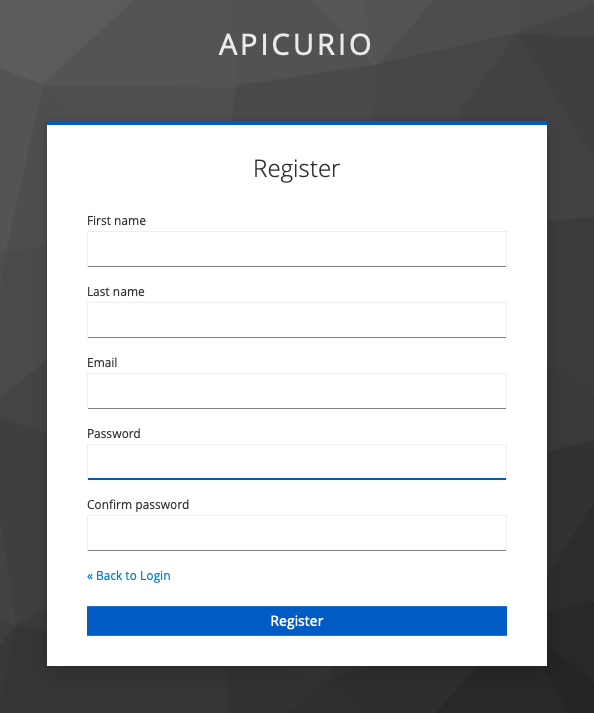
-
Fill in the form and click
Register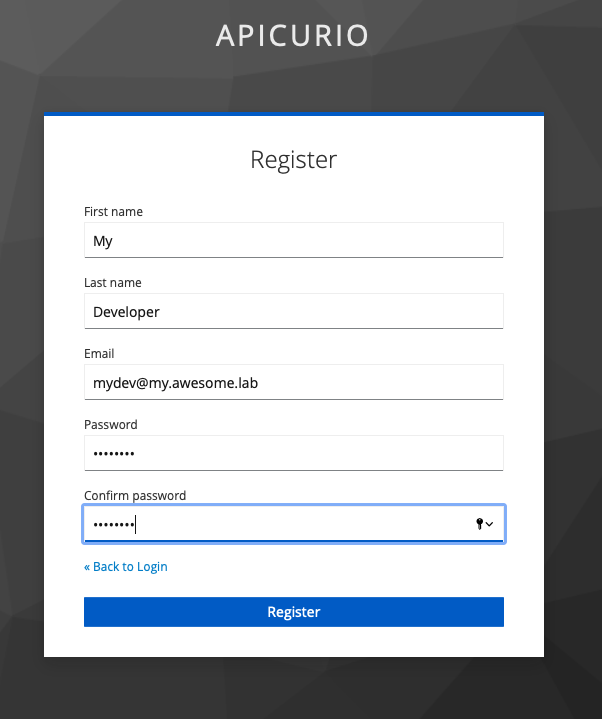
-
Welcome to Apicurio
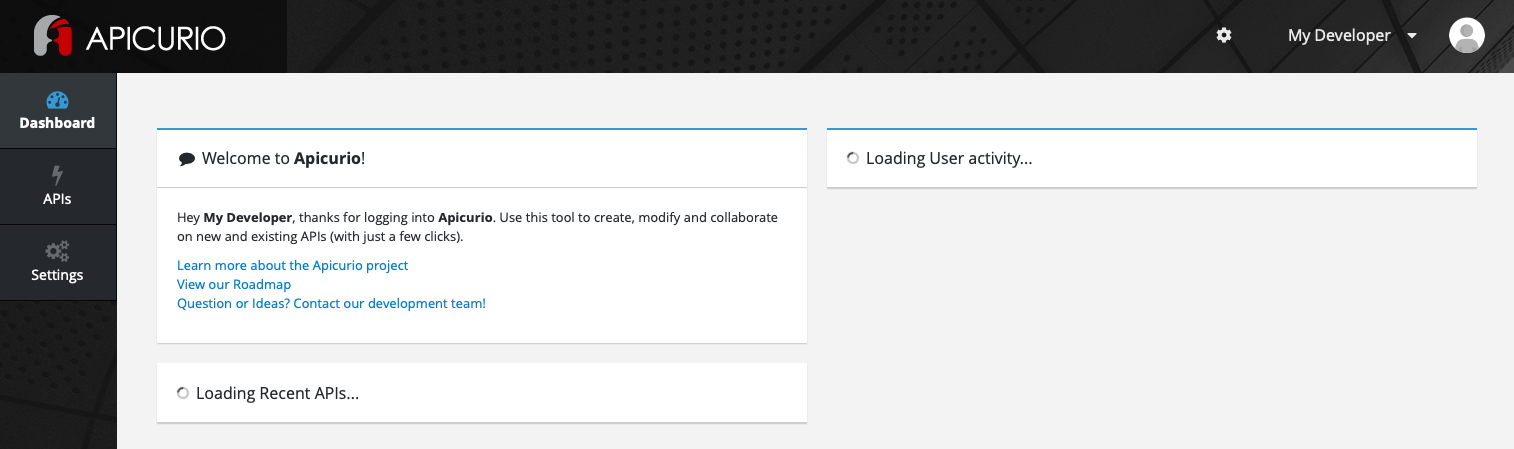
That’s it! You now have a travel router that provides firewall, VPN, DNS, and a host of other services. Plus, a Raspberry Pi with an HTTP server, Nexus, Gitea, KeyCloak, and Apicurio.
If you ever need to change the wireless network settings, you can access the GL.iNet web console at http://router.my.awesome.lab. Becareful not to change the LAN settings, or DNS settings. You will mess up your lab network.
You can access your dev tools at these URLs:
| Tool | URL |
|---|---|
Nexus |
https://nexus.my.awesome.lab:8443 |
Gitea |
https://gitea.my.awesome.lab:3000 |
KeyCloak |
https://keycloak.my.awesome.lab:7443 |
Apicurio |
https://apicurio.my.awesome.lab:9443 |
In a future post, we’ll start using these tools to build an application with Quarkus, Kafka, and Cassandra. …running on OpenShift… Naturally…
Cheers!